
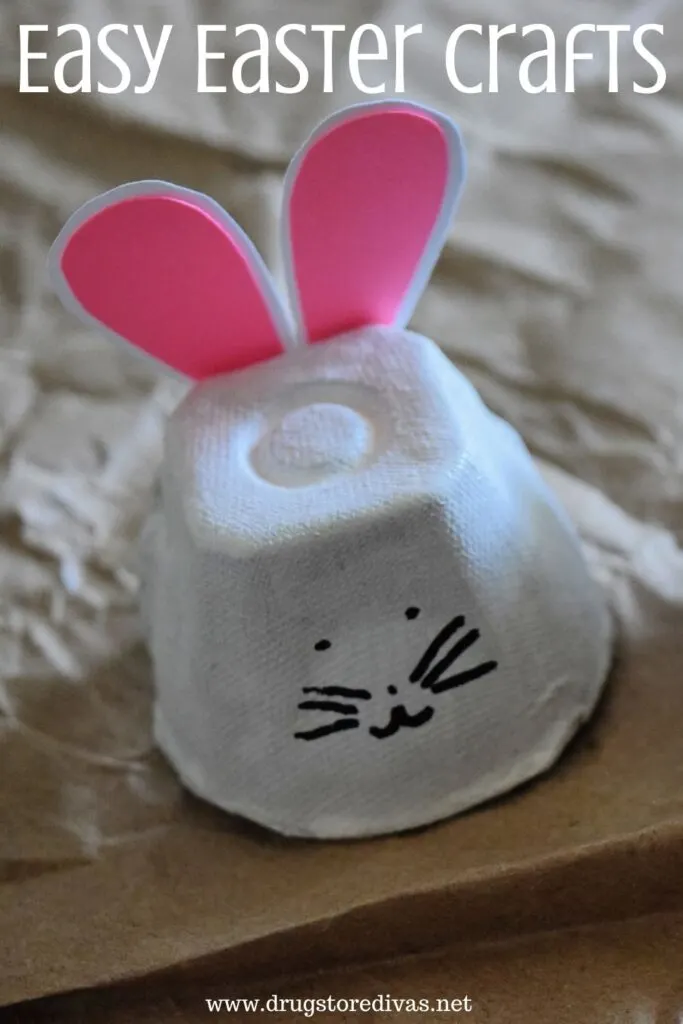
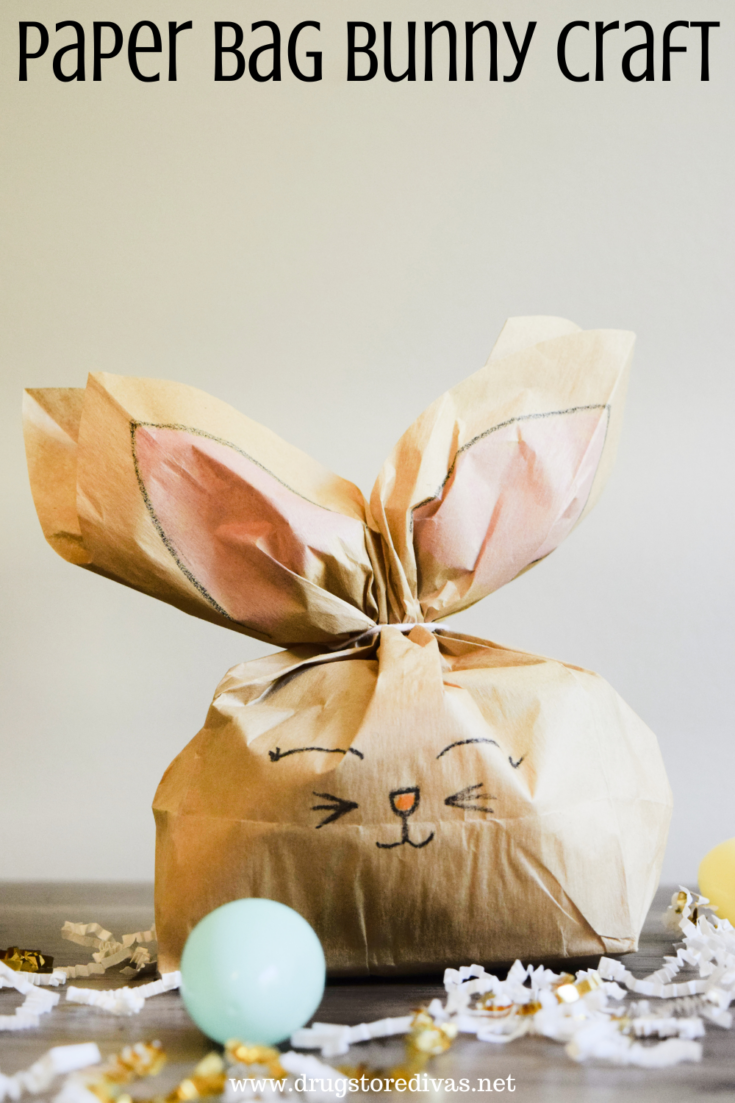
A brown paper bag and basic craft supplies are all you need to make an adorable Easter basket gift bag. Just follow the simple steps in this Paper Bag Bunny Craft.
For more ways to make this the best holiday, check out all of our Easter posts.


Easter is this weekend, which means now is when the bunny is really working in overdrive, making sure that everyone has treats and Easter eggs to hide and baskets to stick them in.
Speaking of baskets, if you’re having company this weekend, you might not have extra baskets for them, especially if they’re guests who don’t visit every Easter. Or maybe you’re giving gifts to your neighbors and you don’t want the extra expense of baskets. Enter our Paper Bag Bunny Bags.
These incredibly adorable bunnies are made from a paper bag and are a really fun way to package Easter treats. Plus, they’re super budget friendly because they’re made from simple materials that you probably already have at home. So you don’t need to run out and buy anything to make this craft.

This isn’t our only Easter idea on Drugstore Divas. For more fun ideas, check out our list of our Favorite Easter Crafts on the blog.
Paper Bag Bunny Craft
Affiliate links are included in this post and Drugstore Divas may make a small commission if you use them.
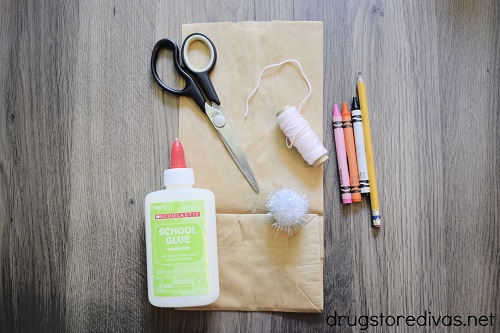
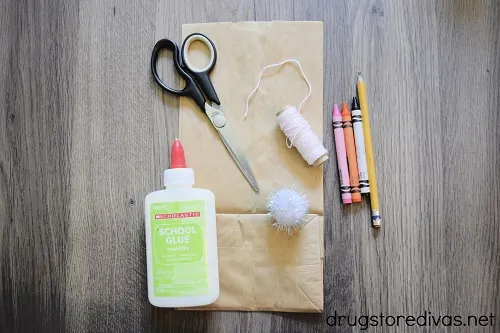
Paper Bag Bunny Craft Supplies:
You can get the full list of supplies in the how to card below.
How To Make Paper Bag Bunnies:
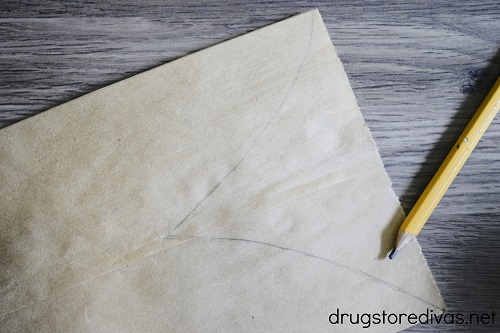

Gently fold the brown paper bag in half to find the middle.
In the center, about halfway down the bag, on the backside of the bag (the side with a crease), make a dot. Lightly draw a curve from the dot in the center to the edges of the top of the bag (the side that opens) to make a rounded triangle-ish shape.
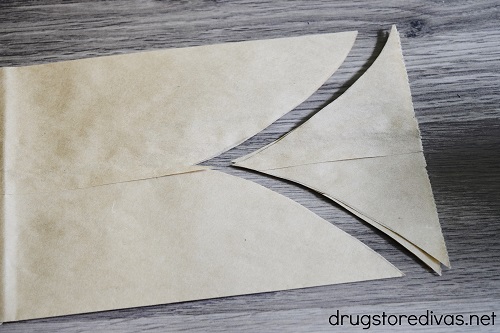
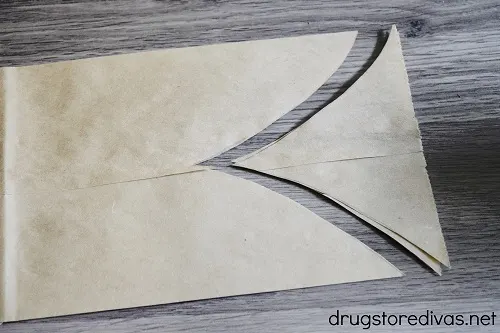
Cut out that triangle shape.
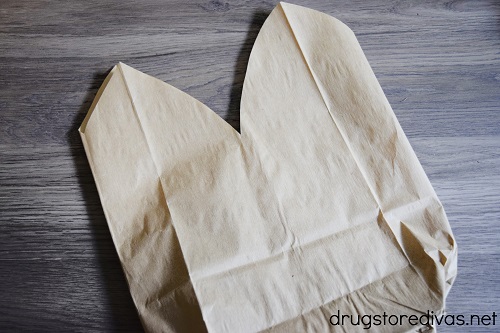
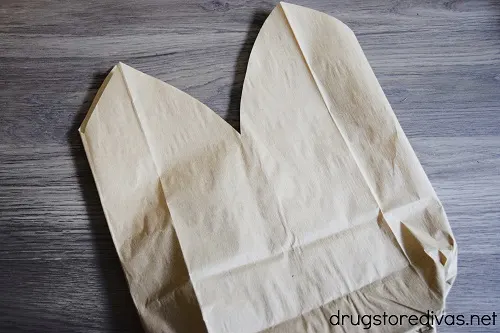
Open the bag so that you can puff out the sides of the bag and make the full bunny ears from each triangle shape at the top of the bag. Flatten the bottom of the bag.
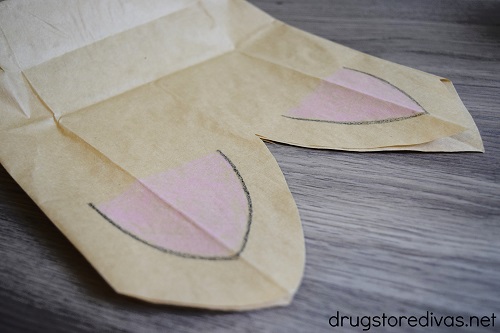
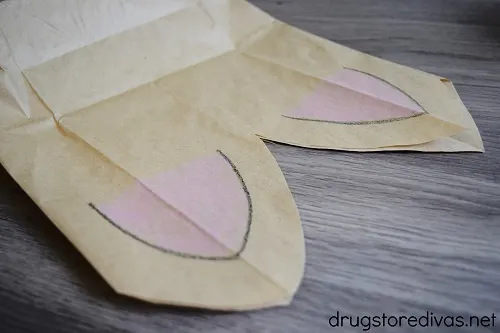
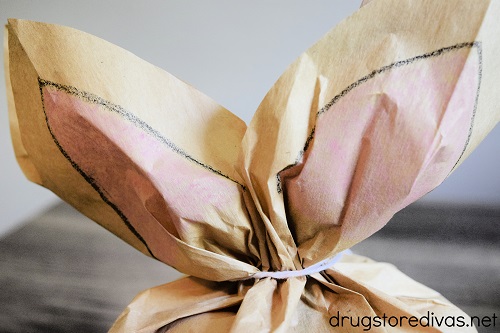
Flip the bag to the front (the side without a crease). Draw two curved lines with the black colored pencil to form the inner ears.
Color the inside of the ears with the pink crayon.


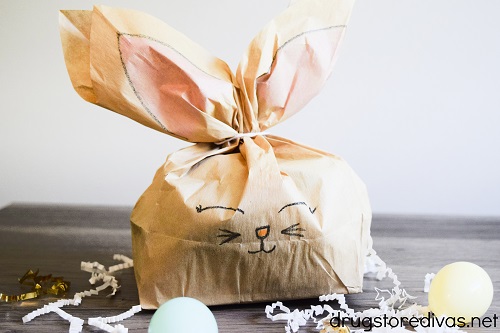
Draw the bunny’s face, with eyes, a nose, and whiskers.
When you’re drawing the face, make sure to place it near to the fold in the bag. I drew the nose on the line and then placed the rest of the face accordingly. If you draw the face too high, you won’t be able to see it well later.


Open the bag and fill it with Easter treats. We used paper shred and small plastic Easter eggs to fill ours. We love paper shred because it very often comes in packages and we save it, so we don’t actually have to spend money on this. If you don’t have any, you can use Easter grass instead.
Make sure to fill the bag above where the top of your bunny face lies.
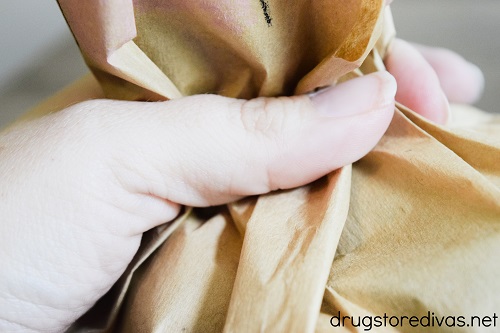
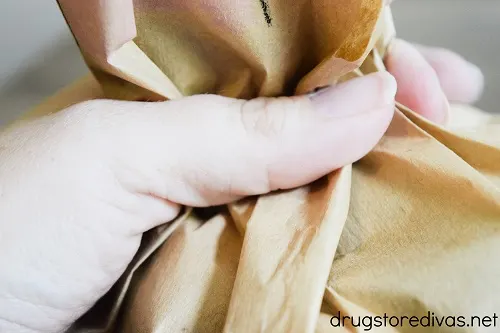
Gather your bag under the ears, making sure to keep the colored portion of the bunny’s ears facing as forward facing as possible.

Cut a piece of the twine. Wrap it around the gathered portion of the bag, tying it in the front, pulling tight, looping around to the bag, tying it in the back, and going around a couple times to make sure to the tie is secure. Go back to the front and puff up the ears.

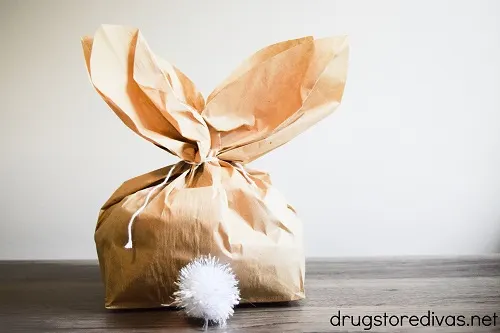
Turn to the back of the bag and glue a large, white pom pom to the back.
If, for whatever reason, your tail isn’t sticking, you can use a piece of tape to affix it instead.

Paper Bag Bunny Craft: Frequently Asked Questions
Drawing the face with crayons or with a black marker is definitely the easiest way to make this craft.
Personally, I love cutting faces our of card stock (check our out Reindeer Gift Bags for Christmas where I cut the reindeer’s face and antlers out of card stock). But on this craft, it just won’t work. The entire portion of the bag where the face is puffs out, so whatever you use for the face — card stock, googly eyes, etc. — won’t lay flush anymore and really, won’t stick very well.
The same would happen with the ears if you wanted to use pink felt or card stock instead of crayons to color the ear.
The bag would look cute flat, but it wouldn’t be great when you actually used it.
I have a huge bag of pom poms leftover from making our Hershey’s Kisses Mouse Craft for Valentine’s Day. So, I just reached into that bag to grab a pom pom for the bunny tail in this craft.
But, if you don’t have pom poms in your craft room, and you don’t want the additional cost of buying a bag of them, you can stick a cotton ball to the back of the paper bag for the bunny tail instead.
Thin, brown, paper lunch bags work best in this simple craft. They’re thin, so it’s easy to flex them around when you’re moving the ears to face forward. And bunnies can be brown, so the coloring works.
A thicker, white paper bag, like a gift bag, wouldn’t really work as well. Because those are thicker, the ears would be really stiff and wouldn’t be as floppy as our are in this craft. And they’d have more of a defined crease in them, so your craft would look a little off.
More DIY Bunny Treat Bags:
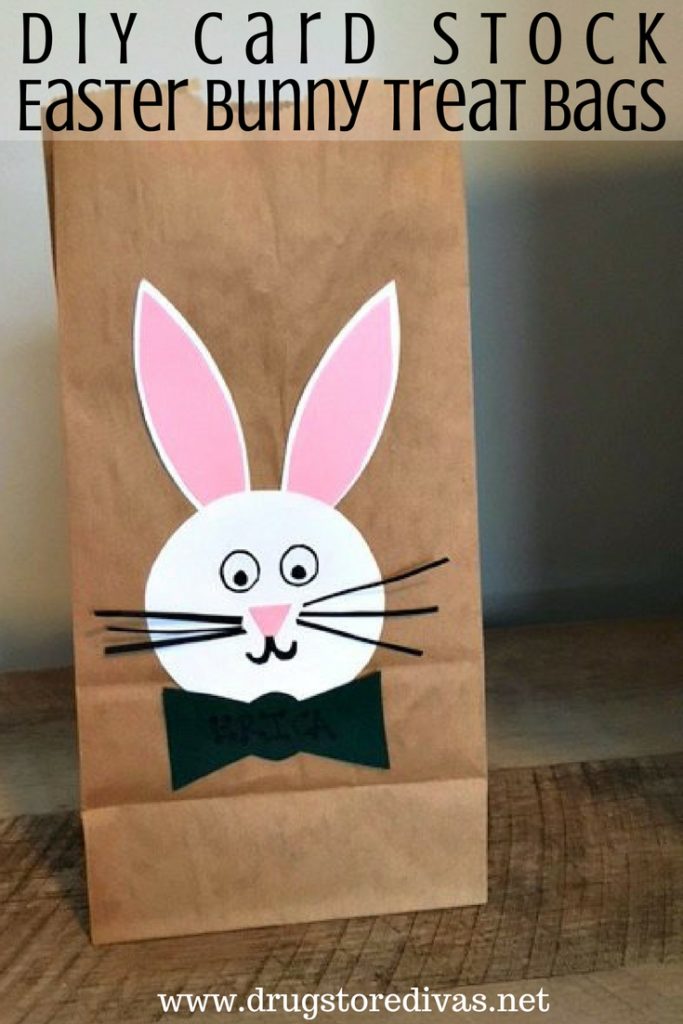
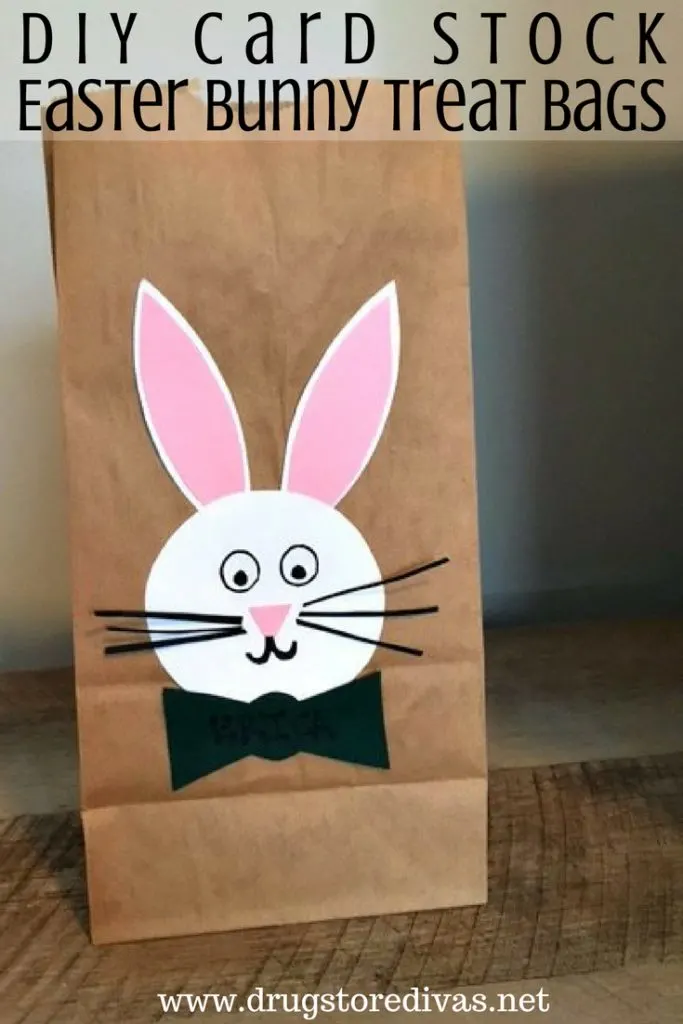
Believe it or not, this isn’t the only bunny treat bags project on Drugstore Divas. If you have a little more time and some card stock or construction paper, you can make our DIY Card Stock Easter Bunny Treat Bags instead. Those are a little more personalized because you write your recipient’s name on a card stock bow tie, but they’re also a little more involved than this easy craft.
More Bunny Craft Ideas:
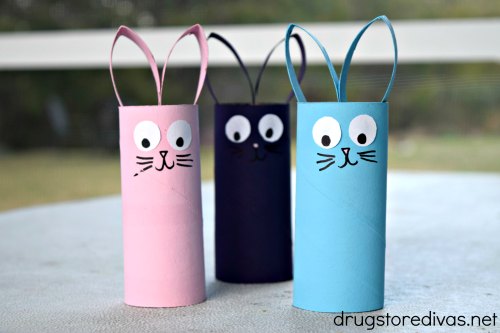
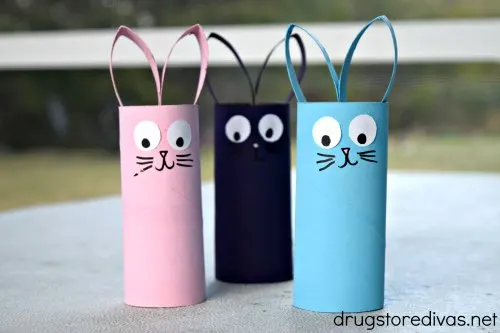
Easter is a really good time to make a ton of bunny crafts because of the Easter bunny, of course. If you’re looking for a few ideas, we’ve got you covered as far as adorable Easter bunny crafts go. We have our DIY Egg Carton Easter Bunny, DIY Toilet Paper Roll Bunnies, and DIY Rustic Scrap Wood Bunny Tutorial.
And, if you’re looking for a bunny Easter basket filler, our DIY Bunny Chocolate Bar Craft is a really cute way to dress up Easter chocolate.
Paper Bag Bunny Craft

A brown paper bag and basic craft supplies are all you need to make an adorable Easter basket gift bag. Just follow the simple steps in this Paper Bag Bunny Craft.
Materials
- Brown paper bag
- Twine
- Glue
- White pom pom
Tools
- Pencil
- Scissors
- Black crayon
- Pink crayon
- Orange crayon
Instructions
- Gently fold the brown paper bag in half to find the middle.
- In the center, about halfway down the bag, on the backside of the bag (the side with a crease), make a dot. Lightly draw a curve from the dot in the center to the edges of the top of the bag (the side that opens) to make a rounded triangle-ish shape.
- Cut out that triangle shape.
- Open the bag so that you can puff out the sides of the bag and make the full bunny ears from each triangle shape at the top of the bag. Flatten the bottom of the bag.
- Flip the bag to the front (the side without a crease). Draw two curved lines with the black colored pencil to form the inner ears.
- Color the inside of the ears with the pink crayon.
- Draw the bunny’s face, with eyes, a nose, and whiskers.
- When you’re drawing the face, make sure to place it near to the fold in the bag.
- Open the bag and fill it with Easter treats. Make sure to fill the bag above where the top of your bunny face lies.
- Gather your bag under the ears, making sure to keep the colored portion of the bunny’s ears facing as forward as possible.
- Cut a piece of the twine. Wrap it around the gathered portion of the bag, tying it.
- Turn to the back of the bag and glue a large, white pom pom to the back.
Notes
Have you made this Paper Bag Bunny Craft? Let us know how it went in the comments.
Jennifer Wise
Thursday 24th of April 2025
I love this idea! So cute. (And, really, I love how easy it is, too.) So darling.
Paula Short
Wednesday 23rd of April 2025
Oh my goodness Lisa, this is so cute! Love it.