How are you wrapping your Christmas gifts? If you need something cute, but frugal, check out this DIY Reindeer Gift Bag Tutorial.
For more ways to make this the best holiday, check out all of our Christmas posts.

Christmas is a really busy season. It doesn’t matter if you’re the type of person who starts second reading for Christmas on November 1 or the type of person who starts decorating after Thanksgiving. Either way, you’re never caught up.
I’m not going to help you with that. I’m going to sort of make your life a little harder. But cuter. Way cuter.
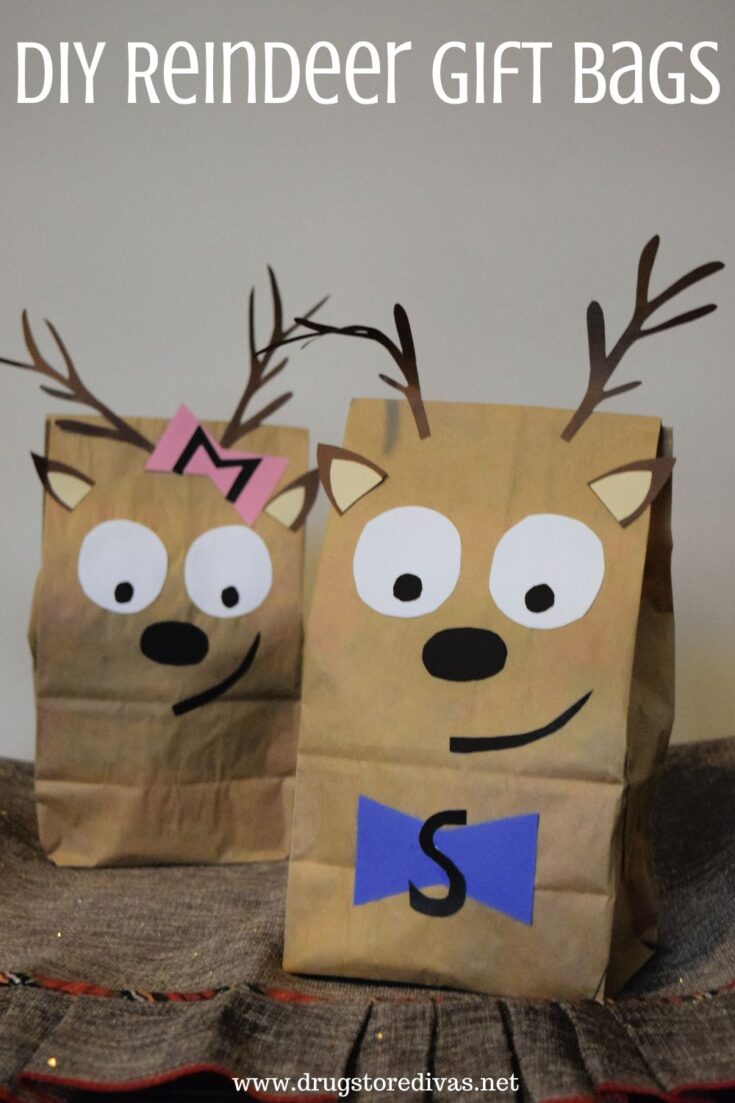
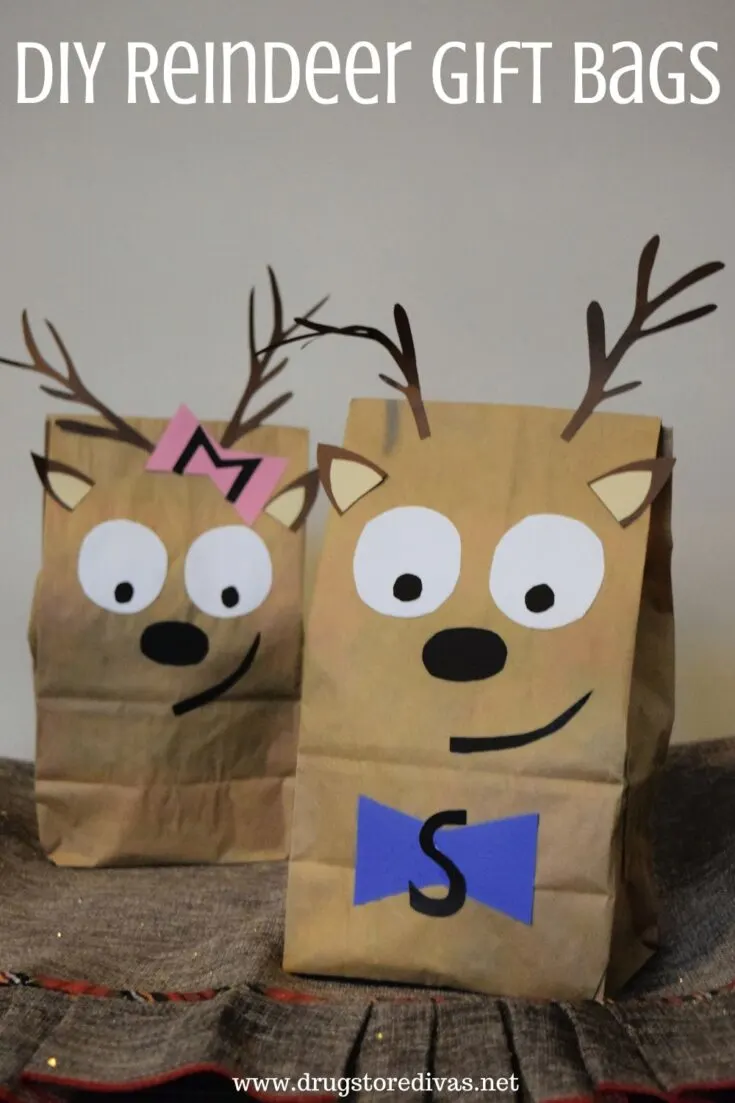
That’s because I’m going to show you how to make DIY Reindeer Gift Bags using paper lunch bags and card stock.
Could you just wrap gifts in a store-bought gift bag? Short. But where is the Christmas magic in that? I can’t find it.
DIY Reindeer Gift Bags
Affiliate links are included in this post and Drugstore Divas may make a small commission if you use them.
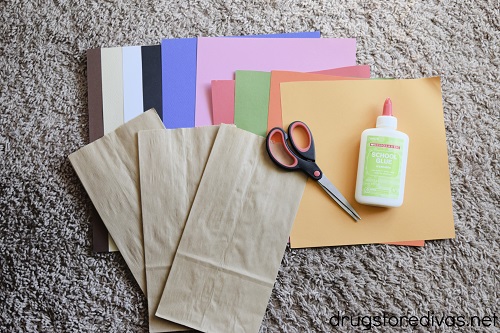

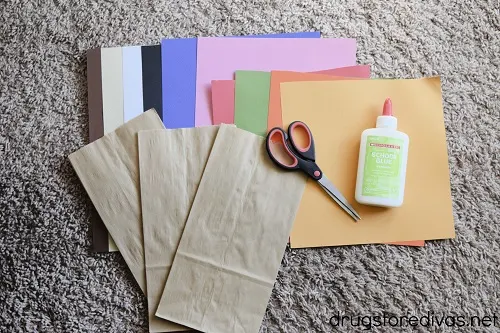

DIY Reindeer Gift Bags Supplies:
- Paper lunch bag
- White card stock
- Black card stock
- Dark brown card stock
- Light brown card stock
- Colored card stock
- Scissors
- Glue
How To Make DIY Reindeer Gift Bags:
Start with your lunch bag. Make sure that the part with the fold is in the back and the flat part is in the front.
When you’re filling the lunch bag with treats, do it so anything flat (like a small coloring book) will lie against the inside of the flat part of the lunch bag. This will help to ensure that your reindeer face stays flat against the bag and doesn’t wrinkle.
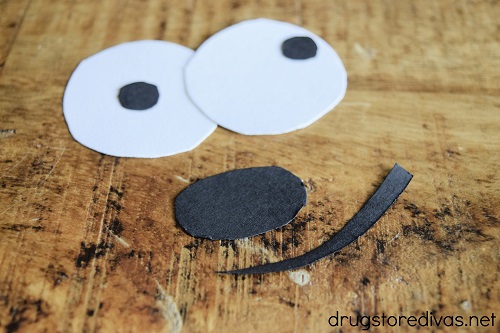

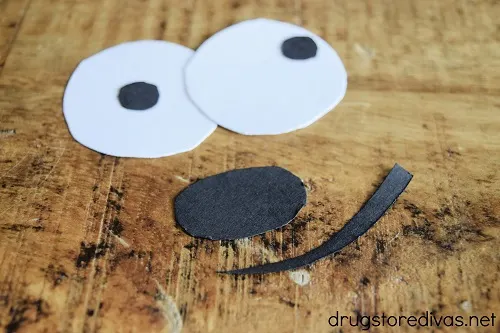

Now it’s time to cut your in reindeer face out of card stock. Be mindful of the size of your lunch bag because the reindeer face needs to fit on it when the top of the bag is closed and sealed.
From the white card stock, cut two large circles for eyes.
From the black card stock, cut two small circles for pupils. Glued those onto the white card stock circles.
Also, from the black card stock, cut an oval for the nose and a smirk for the smile. You can cut a regular smile if you want, but cutting a smirk gives your reindeer a fun expression.
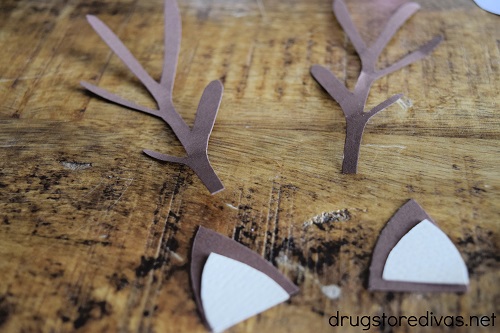

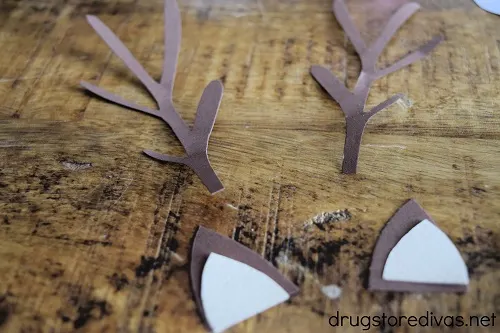

From the dark brown card stock, cut two rounded triangles for ears. Then, from the lighter brown card stock, cut two smaller, rounded triangles, and glue those onto the dark brown triangles. These are your ears.
Also, from the dark brown card stock, cut antlers. I found it easiest to fold a piece of brown card stock in half and cut both antlers for the reindeer at the same time. Then when I glue them down, I make sure they are placed in a mirror image from each other. You can do that however you feel is easiest.
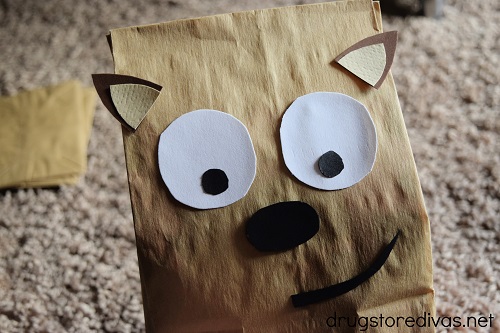

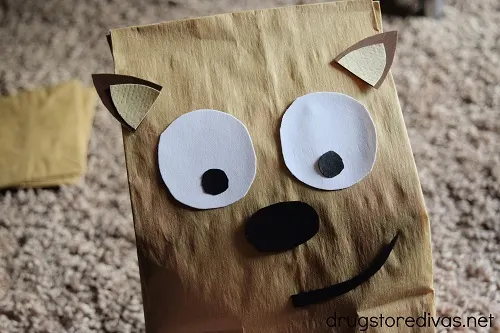

Once you have all the pieces cut out, glue the face of the reindeer onto the flat side of the paper lunch bag. Push down and let the face dry completely.
Add a little glue to the back of the triangle ear and affix that to the side of the lunch bag. If you let it hang off the edge a little bit, it looks pretty cute.
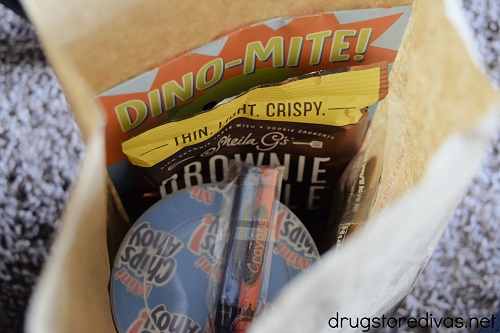

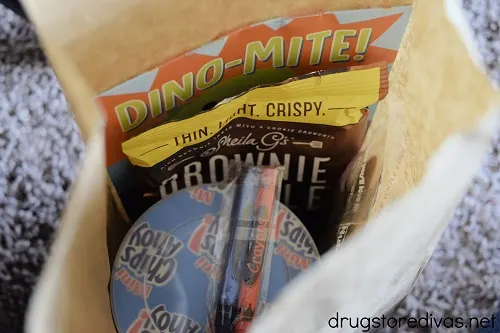

When it’s dry, fill the lunch bag with treats. Again, remember to be mindful of placing flat treats on the backside of the reindeer face to give it some support.
Fold the top of the paper lunch bag back and secure with tape.
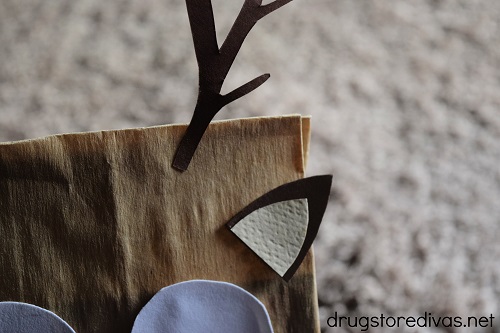

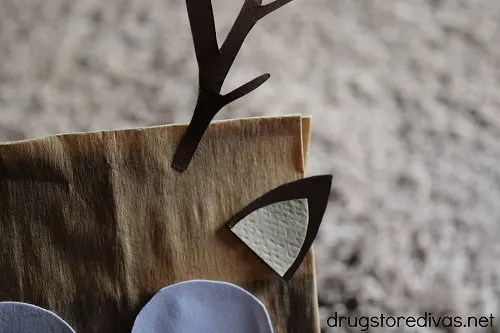

Put some glue on the long, straight part of the antler, then glue that to the top of the paper lunch bag, making sure that the majority of the antler is hang loosely.
You can definitely leave the reindeer gift bags this way and they’re cute. However, if you want to be extra, keep reading.
From colored card, stock, cut a small bowtie for a boy or a small hair bow for a girl. Honestly, these are both cut exactly the same way. The only difference is where you place it on the gift bag.
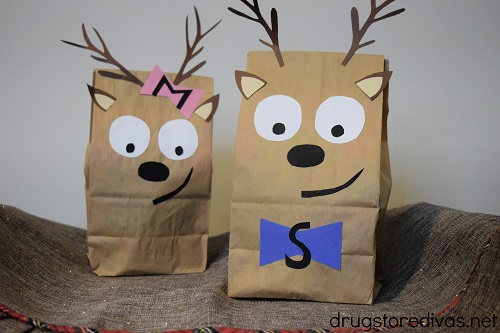

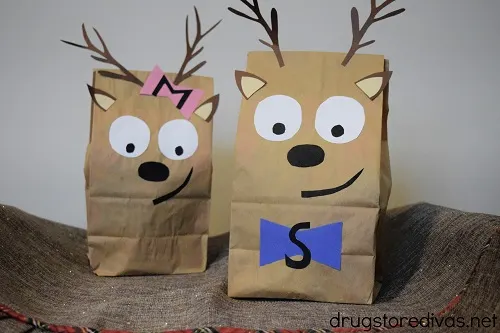

For a boy, glue the bowtie on the “neck” of the reindeer. For a girl, with a hair bow, right where the bottom of the antler got glued to the paper bag.
And, if you want to be completely extra like me, grab some more black card stock and cut the first letter of the recipient’s name out. Glue that to either the bowtie or the hair bow.
Honestly, that letter makes life so much easier for you because then you know whose gift bag is whose (if you don’t fill them 100% the same, like I don’t).
DIY Reindeer Gift Bag: Frequently Asked Questions
You absolutely can use brown gift bags instead of paper lunch bags to make these. They’re definitely studier.
However, paper lunch bags are a lot cheaper. And if you’re doing Christmas on a budget (which, let’s be honest, most people are this year), paper lunch bags are a frugal alternative.
If you have a Cricut, by all means use that to cut out faces for these reindeer bags. However, this is a good alternative for people who don’t have one of those.
Eyes:
Use googly eyes instead of cutting the eyes out of card stock.
Nose:
You can make a red nose for Rudolph. If you want, you could use pompoms to make the noses.
Antlers:
Instead of using card stock, use brown pipe cleaners to make the antlers. This really only works if you use a gift bag instead of a paper lunch bag.
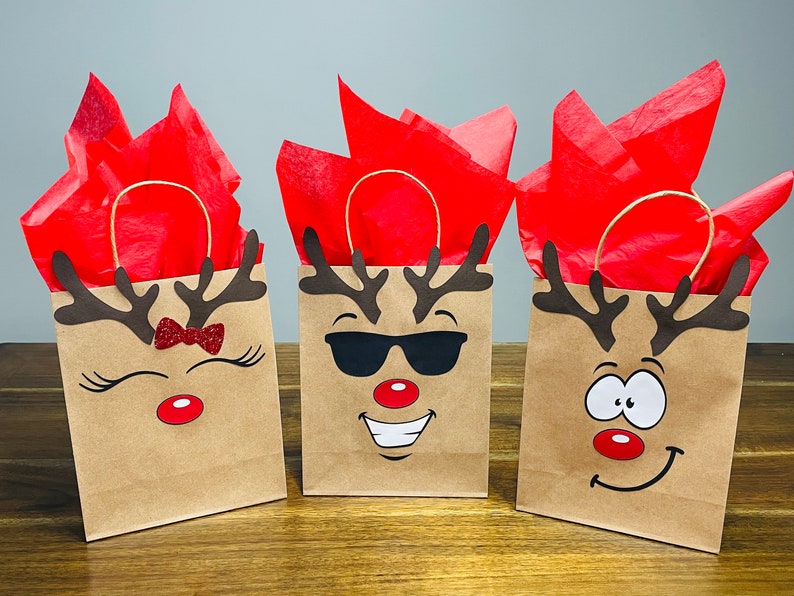


Purchase Reindeer Gift Bags Online:
If you like these reindeer gift bags, but you just don’t have the time to make them, I get it. Christmastime is busy. You might not have the time to sit and cut out reindeer faces.
So, instead, just purchase the Reindeer Gift Bags (pictured above). You can choose the expression you want. And, it’s funny, I didn’t see these until after I made ours and were looking for an online option. So what a coincidence that they’re pretty similar.

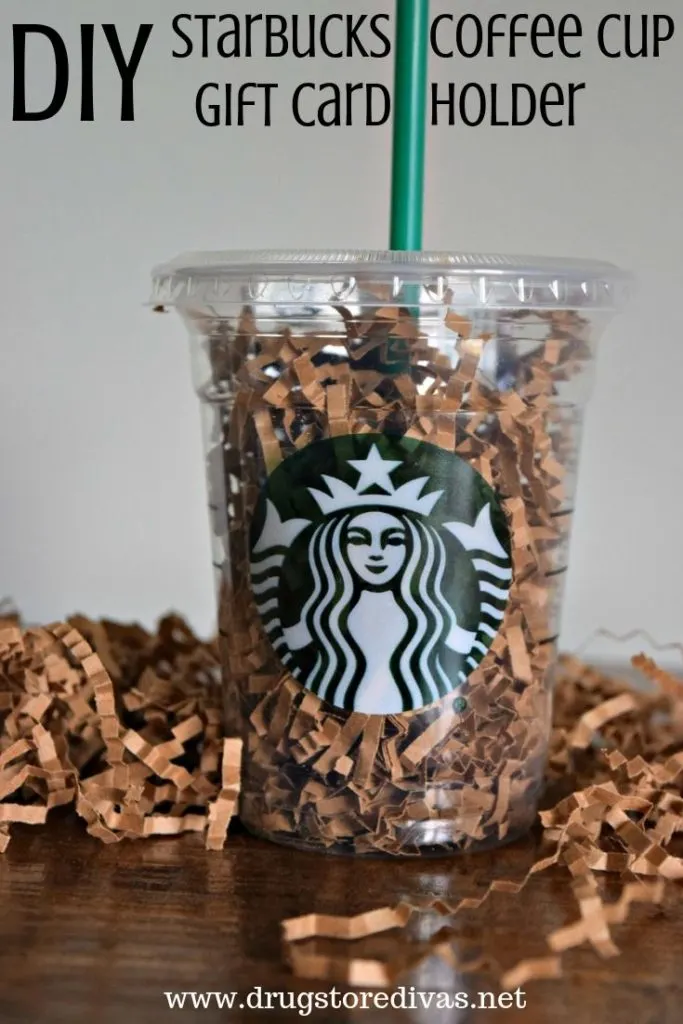

More creative wrapping ideas:
These Reindeer Gift Bags aren’t the only fun way we have to wrap gifts this season. For more creative wrapping ideas, check out our other posts:
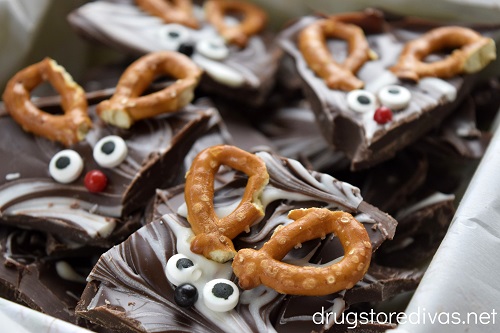


More Reindeer Ideas:
If you like reindeer, and now you want to make more reindeer things, try our Reindeer Chocolate Bark recipe or our Reindeer Pretzels recipe.
DIY Reindeer Gift Bag


How are you wrapping your Christmas gifts? If you need something cute, but frugal, check out this DIY Reindeer Gift Bag Tutorial.
Materials
- Paper lunch bag
- White card stock
- Black card stock
- Dark brown card stock
- Light brown card stock
- Colored card stock
- Glue
Tools
- Scissors
Instructions
- From the white card stock, cut two large circles for eyes.
- From the black card stock, cut two small circles for pupils. Glued those onto the white card stock circles.
- Also, from the black card stock, cut an oval for the nose and a smirk for the smile. You can cut a regular smile if you want, but cutting a smirk gives your reindeer a fun expression.
- From the dark brown card stock, cut two rounded triangles for ears. Then, from the lighter brown card stock, cut two smaller, rounded triangles, and glue those onto the dark brown triangles. These are your ears.
- Also, from the dark brown card stock, cut antlers. I found it easiest to fold a piece of brown card stock in half and cut both antlers for the reindeer at the same time.
- Once you have all the pieces cut out, glue the face of the reindeer onto the flat side of the paper lunch bag. Push down and let the face dry completely.
- When it’s dry, fill the lunch bag with treats. Place flat treats on the backside of the reindeer face to give it some support.
- Fold the top of the paper lunch bag back and secure with tape.
- Add a little glue to the back of the triangle ear and affix that to the side of the lunch bag. If you let it hang off the edge a little bit, it looks pretty cute.
- Put some glue on the long, straight part of the antler, then glue that to the top of the paper lunch bag, making sure that the majority of the antler is hang loosely.
- From colored card stock, cut a small bowtie for a boy or a small hair bow for a girl.
- For a boy, glue the bowtie on the “neck” of the reindeer. For a girl, with a hair bow, right where the bottom of the antler got glued to the paper bag.
- And, if you want, grab some more black card stock and cut the first letter of the recipient’s name out. Glue that to either the bow tie or the hair bow.
Have you made these Reindeer Gift Bag ? Let us know how it went in the comments.
