
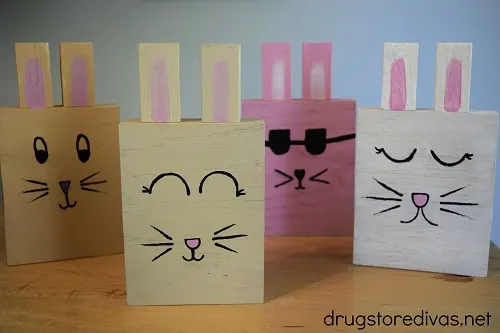
If you’re looking for a fun project to make for Easter, using the scrap wood that’s taking up room in your shed, our DIY Rustic Scrap Wood Bunny is the perfect craft.
More for Easter-themed ideas, check out all our Easter posts.
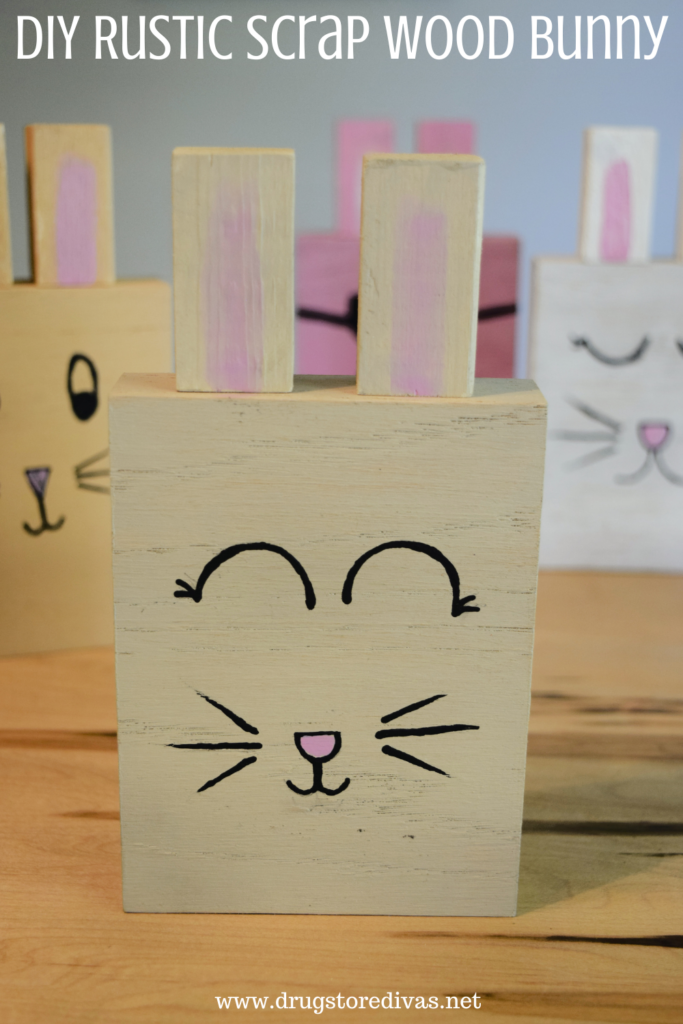

We like to spend our weekends being creative and doing hands on projects that allow us to collaborate. Like this DIY Rustic Scrap Wood Bunny. Pete cut me the pieces from scrap wood he had in the garage, and then I painted the wood to turn them into bunny rabbits.
It’s the perfect collaboration, and the perfect Easter basket gift for an adult.
You can make them and use them as décor for yourself or you could take them with you to use as a hostess gift for wherever you are going for Easter.
And if you’re staying home, well, just wrap it and gift it to yourself.

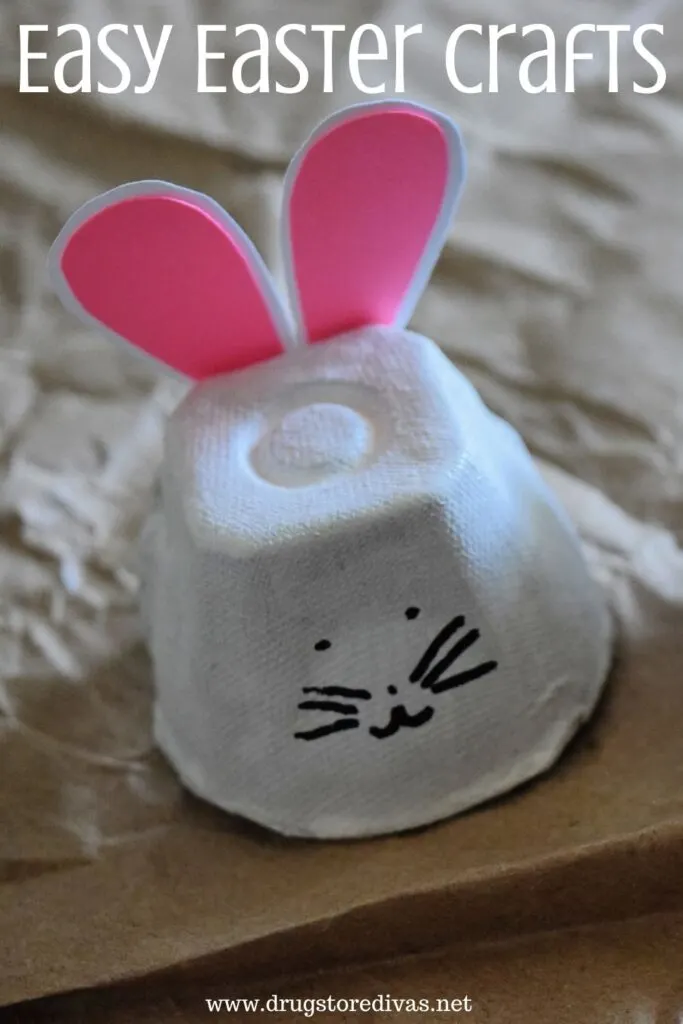
This isn’t the only Easter-themed craft on Drugstore Divas. For more, check out our full list of Easy Easter Crafts.
DIY Rustic Scrap Wood Bunny Tutorial
Affiliate links are included in this post and Drugstore Divas may make a small commission if you use them.
DIY Rustic Scrap Wood Bunny Supplies:
You can get the full list of supplies in the how to card below.
- Miter saw – If you don’t have one, you may be able to get the wood cut at a local hardware store.
- Scrap wood – Any leftover scrap wood works. I wouldn’t use an expensive wood, like ipe, because you’re painting over it., but a cheap wood is fine. Just make sure that whatever wood you’re using for the face is 1-inch thick. If it’s too small, the face won’t stand.
- Sand paper – Any grit is fine.
- Paint brush – A larger paint brush is good for the main painting, then a smaller one is needed for the ears.
- Acrylic paint – You want a color for the face, pink for inside the ears and then nose, then black for the eyes.
- Wood glue – This will hold the ears on. White glue won’t work.
- Pencil – This is to draw the face.
- Toothpick – This is to paint the face.
How To Make A Rustic Scrap Wood Bunny:
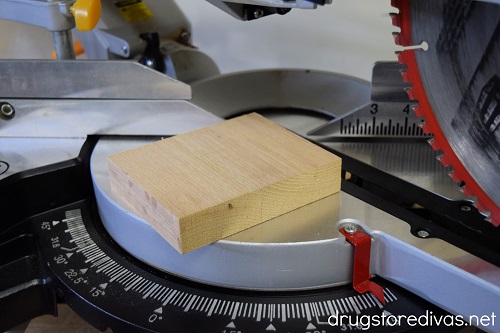
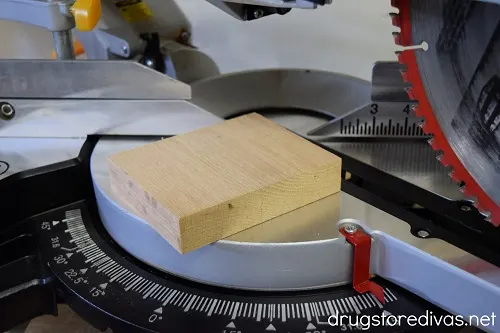
Use the miter saw to cut your scrap wood.
For each bunny, start with a 1-inch piece of scrap wood. We used 1-inch oak stair tread because that’s what we had lying around, but you can use any scrap wood as long as it’s 1-inch thick. It needs to be that width in order to stand up on its own.
Cut a 3.75- x 5-inch piece, for the face, from that piece.
From a smaller piece of wood (we used a 2- x 2-inch piece of wood) cut two 1- x 2-inch pieces for the ears, with a width of 1-inch.
Let’s chat for a second about the wood. It doesn’t matter what type of scrap wood you use. Oak stair tread is a nicer piece of wood, so we used that for the face and our 2×2 was unfinished wood that’s not as nice. But it all looks the same when it’s painted, so it doesn’t really matter.
And if your sizes are a little off, like if you cut the face 4×5, that’s fine too. Don’t make yourself crazy, or in danger, from trying to cut a quarter-inch off the wood. Just go with it.

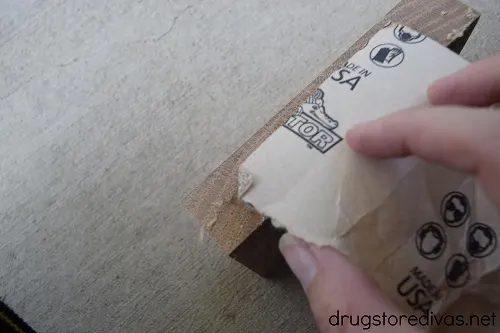
Use a fine grit sandpaper to sand the rough edges of all three blocks, making sure to sand away any splinters left behind by cutting the wood.
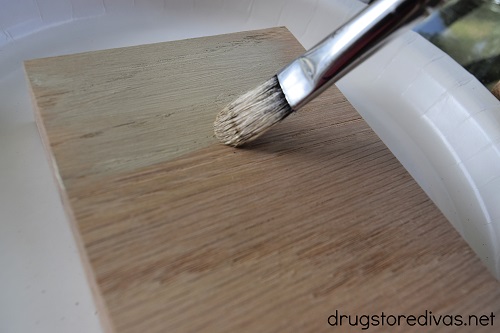
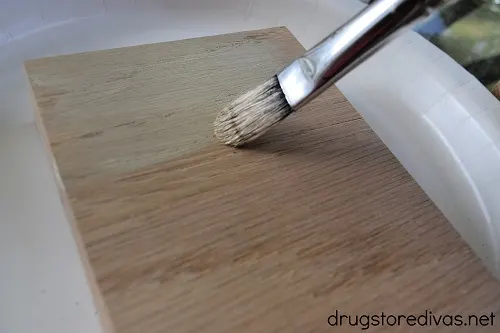
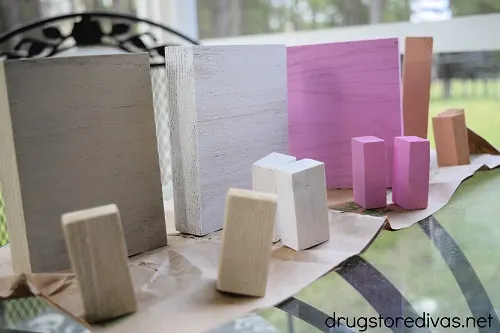
Paint a thin layer on all but one short side of the “face.” Set it to the side to dry. Paint all but one short side of each “ear” the same color and set them aside to dry as well.

You can paint these any colors you want, but I would argue against dark colors like black or gray. You’ll be painting a face on these and it’ll be hard to see on dark colors.
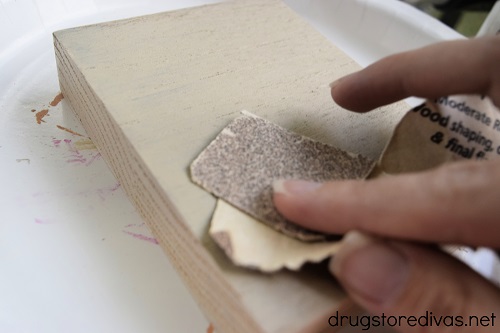

When the paint is dry, use the sand paper to sand each painted side of the face and ears. You want to give it a little bit of a weathered/rustic look.

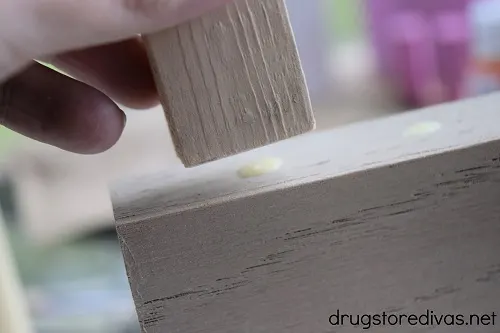
Use a dab of wood glue to glue the ears to the top of the face.


Using a pencil, lightly sketch a bunny face on the front of your wood.

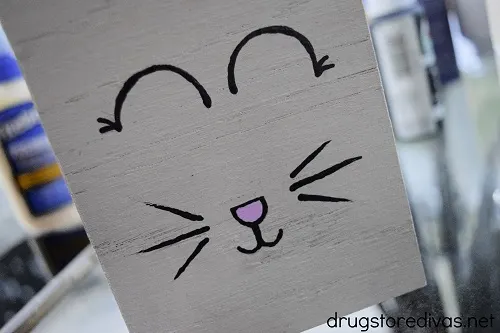
Paint it on using a toothpick.
You could use a paint brush to paint the face, if you wanted, but I always think it’s easier to get the fine details and thin lines when using a toothpick. But, you do what you feel comfortable with.
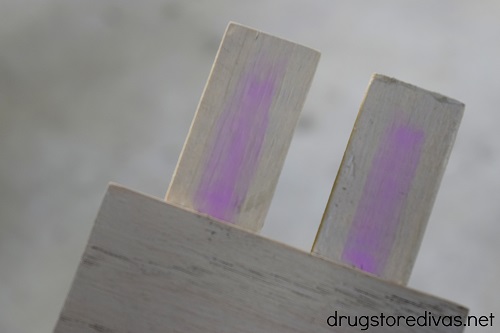
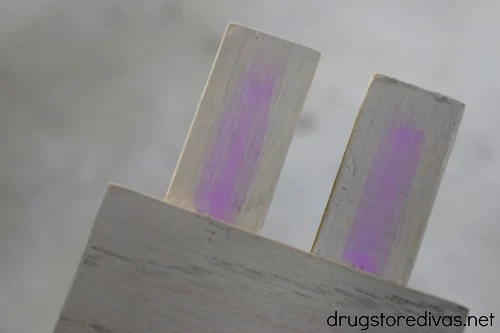
Dip a paint brush in pink paint and swipe up from the bottom of the ear towards the top (making sure to stop before you get to the top) to add a little pink in the center of the ear.
Let the paint dry completely and you can display your wood bunny anywhere you want. Indoors anyway. If you wanted to display it outside, you would just want to spray a layer of spur urethane over it to assure it’s weather proof.
If you wanted, you could add embellishments like a bow at the top near the ear (for a girl bunny) or a bow tie (for a bow bunny) and a pompom cotton tail on the back. But, personally, I wanted to keep this simple.

DIY Rustic Scrap Wood Bunny: Frequently Asked Questions
We like acrylic paint because it’s thick and bold. If some of the color gets absorbed into the wood, you still have a nice color when it dries.
You could use chalk paint, if you wanted. But, chalk paint is more expensive.
For a larger project, like a shabby chic dresser, chalk paint is worth the price because it looks more weathered. But, for a small project like this where you are distressing it to add a little texture, not for a farmhouse look, acrylic paint is the way to go.
If you have a Cricut, or a similar machine, you can definitely use it to cut a vinyl bunny face for this wooden rabbit instead of trying to hand paint the face.
You just want to make sure that your paint is completely dry before sticking the vinyl to it or you run the risk of the vinyl pulling up the paint.
DIY Rustic Scrap Wood Bunny Tutorial


If you’re looking for a fun project to make for Easter, using the scrap wood that’s taking up room in your shed, our DIY Rustic Scrap Wood Bunny is the perfect craft.
Materials
- Scrap wood
- Sand paper
- Acrylic paint
- Wood glue
Tools
- Miter saw
- Paint brush
- Pencil
- Toothpick
Instructions
- ]Use the miter saw to cut your scrap wood. For each bunny, start with a 1-inch piece of scrap wood. Cut a 3.75- x 5-inch piece, for the face, from that piece. From a smaller piece of wood, cut two 1- x 2-inch pieces for the ears, with a width of 1-inch.
- Use a fine grit sandpaper to sand the rough edges of all three blocks, making sure to sand away any splinters left behind by cutting the wood.
- Paint a thin layer on all but one short side of the “face.” Set it to the side to dry. Paint all but one short side of each “ear” the same color and set them aside to dry as well.
- When the paint is dry, use the sand paper to sand each painted side of the face and ears. You want to give it a little bit of a weathered/rustic look.
- Use a dab of wood glue to glue the ears to the top of the face.
- Using a pencil, lightly sketch a bunny face on the front of your wood.
- Paint it on using a toothpick.
- Dip a paint brush in pink paint and swipe up from the bottom of the ear towards the top (making sure to stop before you get to the top) to add a little pink in the center of the ear. Let the paint dry completely.
Notes
Did you use this Rustic Scrap Wood Bunny Tutorial to make a wooden bunny? Let us know in the comments.