

Easter is on Sunday, which basically leaves today as the last day to post this DIY Egg Crate Easter Bunny craft. Better late than never, right?
If you remember. last week I posted a DIY Egg Carton Chicken and promised you this tutorial before Easter. This one is actually pretty similar to that one, so if you get all the supplies together, you can actually make them simultaneously.
How’s that for maximizing your time?
This isn’t the only Easter-themed craft we have on Drugstore Divas. For more, check out all of our Easy Easter Craft Ideas.
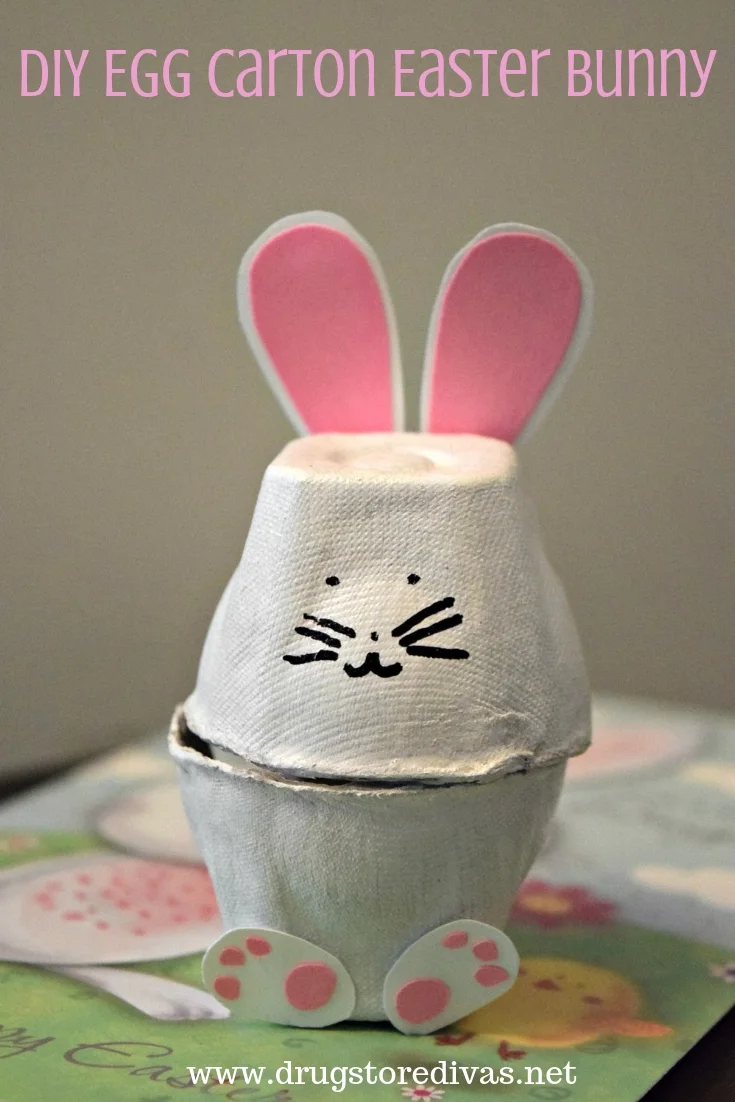
DIY Egg Carton Easter Bunny
Affiliate links are included in this post and Drugstore Divas may make a small commission if you use them.
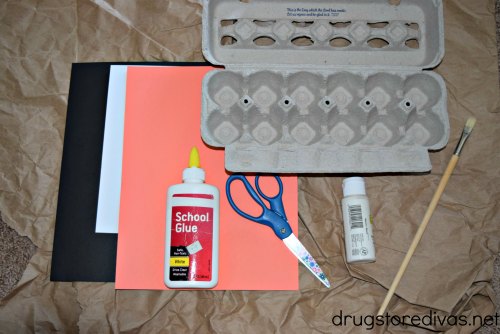

What You’ll Need:
- Egg carton
- White acrylic paint
- Paint brush
- White card stock
- Pink card stock
- Black marker
- Scissors
- Glue
What You’’ll Do:
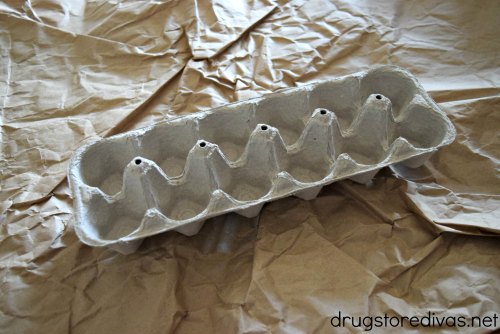

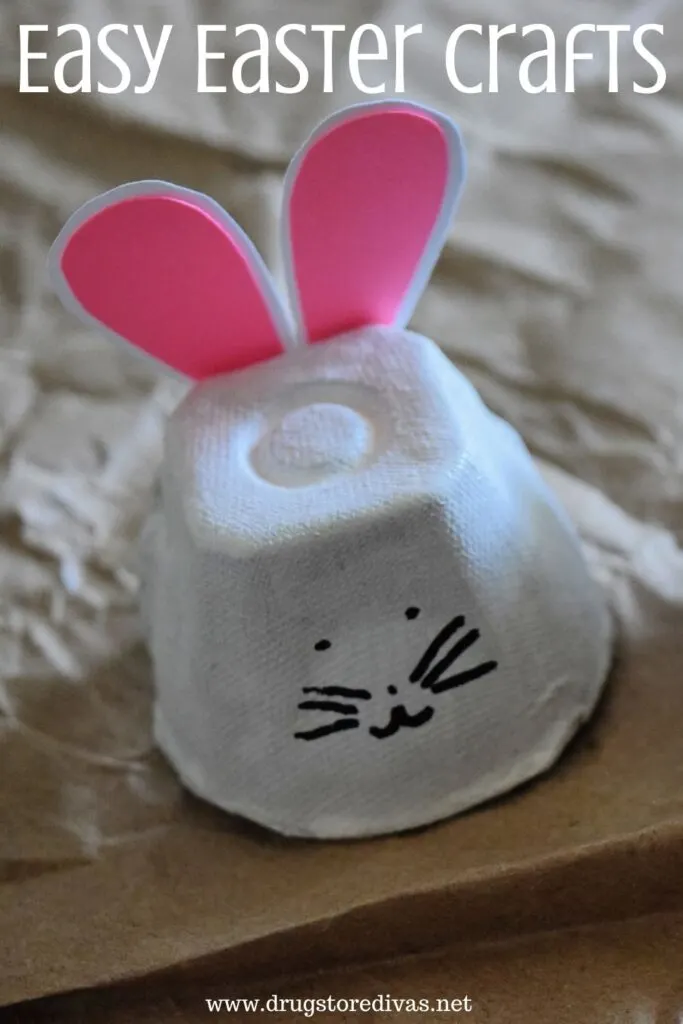
Cut the top half off the egg carton.
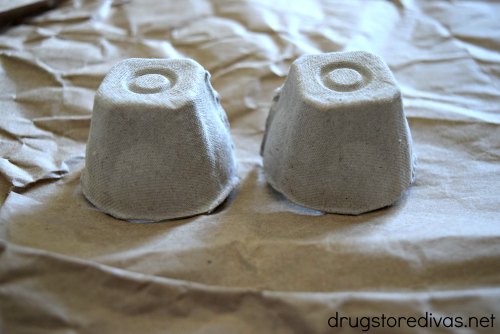

Cut out two pieces of the egg carton. Depending on the pieces you choose (I did the ends), you may have to trim the pieces a little.
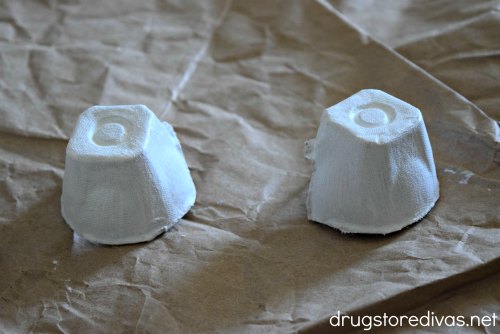
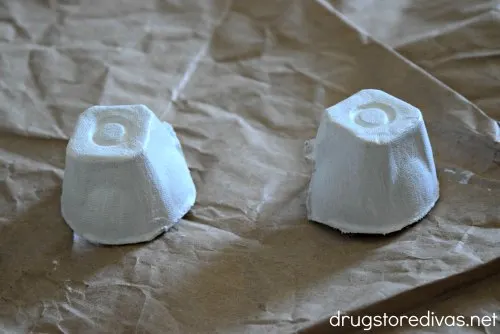
Paint both pieces white. Let it dry, then paint a second coat of white.

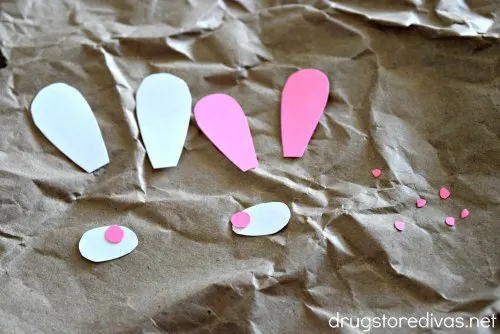
While that’s drying, cut out the pieces for the feet and ears. Cut two ear shapes from white paper, then two pink pieces that are just a bit smaller. Glue the pink to the white and those are your ears.
Cut two small white ovals. Then cut six small circles (three toes for each) and one larger circle (for the heel). Glue those down to make the feet.
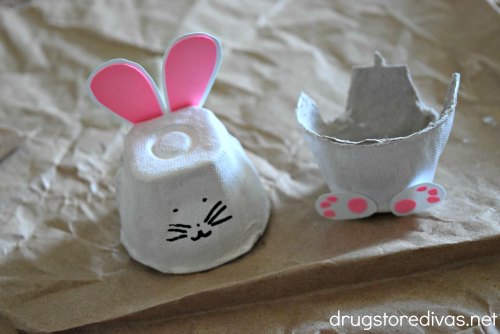

Glue the feet to the front of the bottom and glue the ears to the back of the top half. When that has dried, use the marker to draw on the face.
You can glue the top and bottom together. But, if you don’t, you can actually fill it with small Easter candy or jelly beans.
Have you made this DIY Egg Carton Easter Bunny? Let us know how it went in the comments.
David Elliott
Monday 22nd of April 2019
Those would have been a lot of fun to make for sure. I love the little chick. Such a lot of fun and very cute!
samantha
Sunday 21st of April 2019
These are so cute!! My brothers would love to make these!
Blairvillanueva
Sunday 21st of April 2019
This is a cool way to have fun, unleash creativity and reuse materials! Great for kids activities too.
Alexandra Cook
Saturday 20th of April 2019
Oh my goodness, these are absolutely adorable! I have no doubt my nieces would go bonkers over making these.