
Take some scrap wood and a little time and follow this DIY Rustic Scrap Wood Chicken Tutorial to make super cute DIY Easter décor and gifts.
Make this the best holiday yet with the rest of our Easter posts.
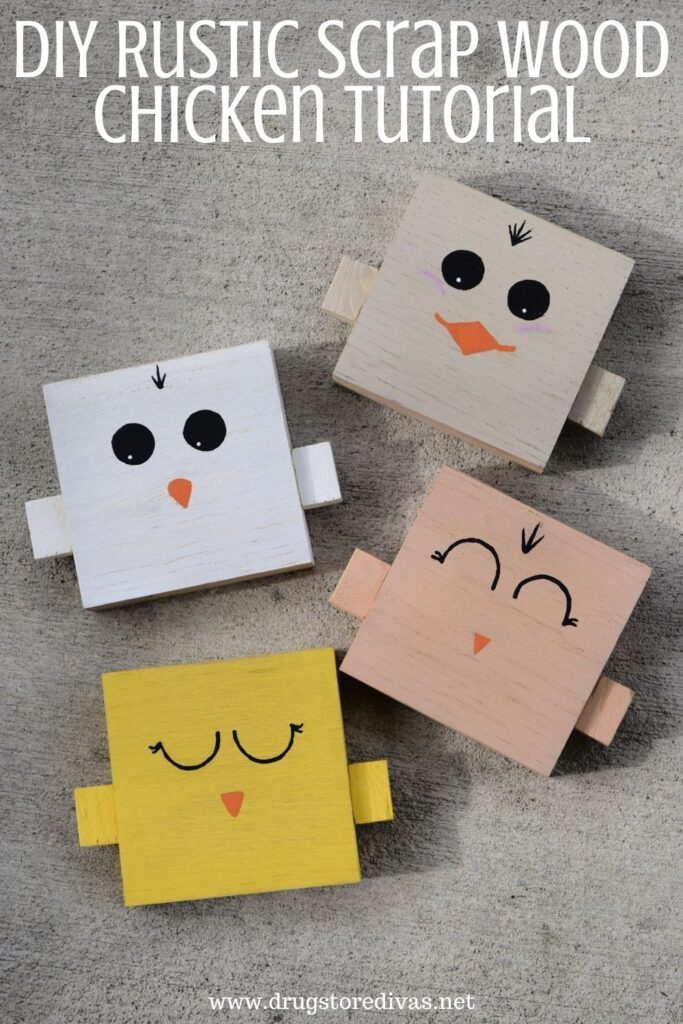

Easter is on Sunday, and we made these DIY Rustic Scrap Wood Chicken as Easter gifts. But, if you’re reading this after Easter, you can still make these cute wooden chickens.
If you’re having a farm-themed party, this could be a craft you make. If you’re having an at-home paint night with your friends, this would be a fun craft. And if you just have some scrap wood you want to use, even though it’s the middle of summer, chickens could still work into your farmhouse décor.

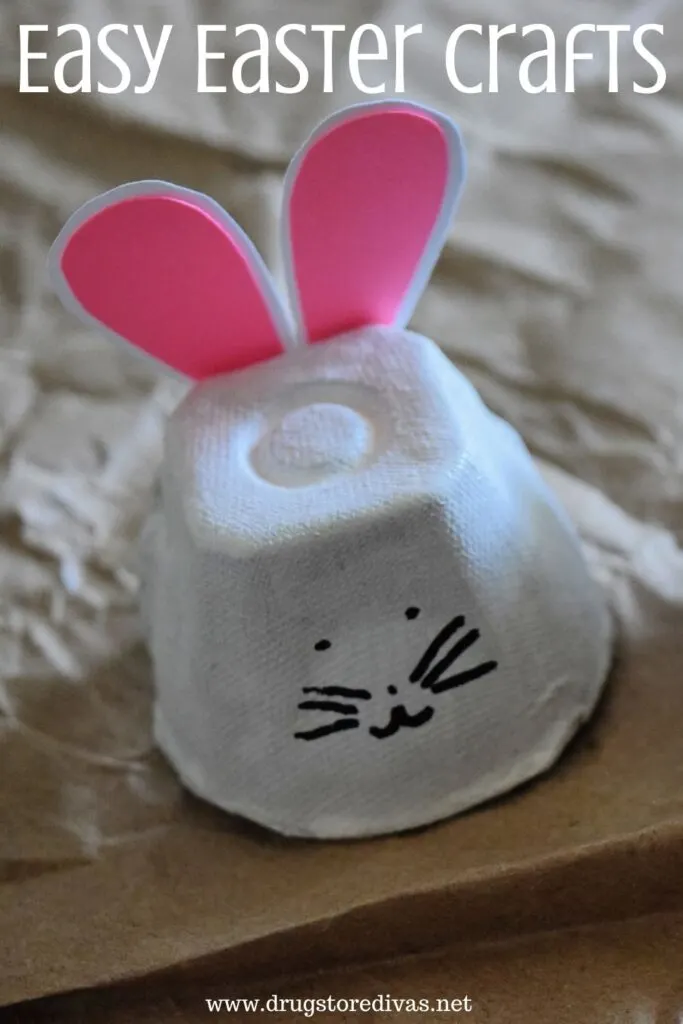
This isn’t our only Easter craft on Drugstore Divas. For more, check out our list of Easy Easter Crafts.
DIY Rustic Scrap Wood Chicken Tutorial
Affiliate links are included in this post and Drugstore Divas may make a small commission if you use them.
DIY Rustic Scrap Wood Chicken Supplies:
You can get the full list of supplies in the how to card below.
- Miter saw – If you don’t have one, you may be able to get the local hardware store to cut the wood for you.
- Scrap wood – Use whatever wood you have leftover from other projects. The type of wood doesn’t really matter. What matters is that it’s about 1-inch thick because you want these to be able to stand on their own. They won’t be able to if the wood’s not thick enough.
- Sand paper – Any grit is fine.
- Paint brush – A larger brush is better.
- Acrylic paint – You’ll need one color for the base, then black for the eyes, and orange for the beak.
- Wood glue – This is to attach the ears. White glue won’t hold as well.
- Pencil – This is to sketch the face.
- Toothpick – This is to paint the face. It’s easier than a small paintbrush.
How To Make A Rustic Scrap Wood Chicken:
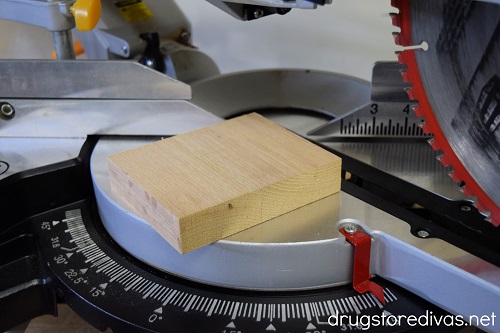
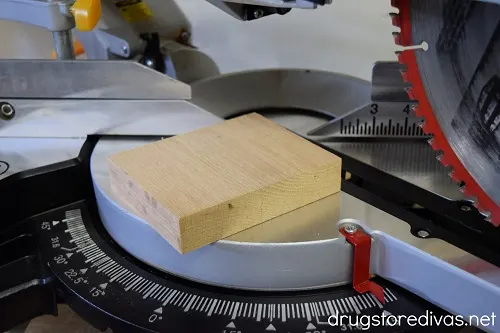
Use the miter saw to cut 1-inch thick scrap wood into 4- x 4-inch squares. You’ll need one for each chicken.
Then, cut two 1- x .5-inch pieces of wood per square. These will be the ears.

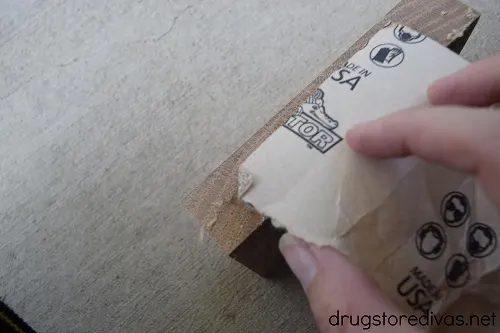
Sand all the edges and remove any splinters left behind by cutting the wood.

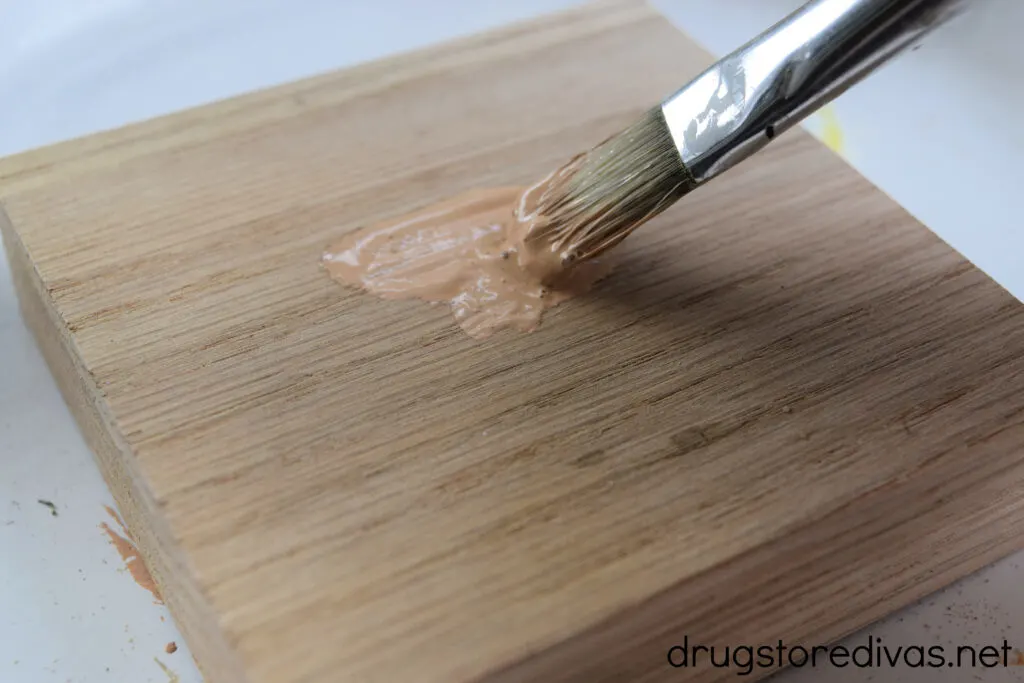
Paint a thin layer of paint on all the blocks of wood, leaving one edge (where the chicken will stand) blank.


Paint a thin layer of paint on all the blocks for the ears, leaving one edge (where the ear will glue against the face). Set them aside to dry.
You can paint these all the same color or different colors. Whatever appeals to you. I would just advice that you stick to lighter colors (yellow, tan, white, etc.) rather than darker colors because the faces won’t show up well on darker colors.
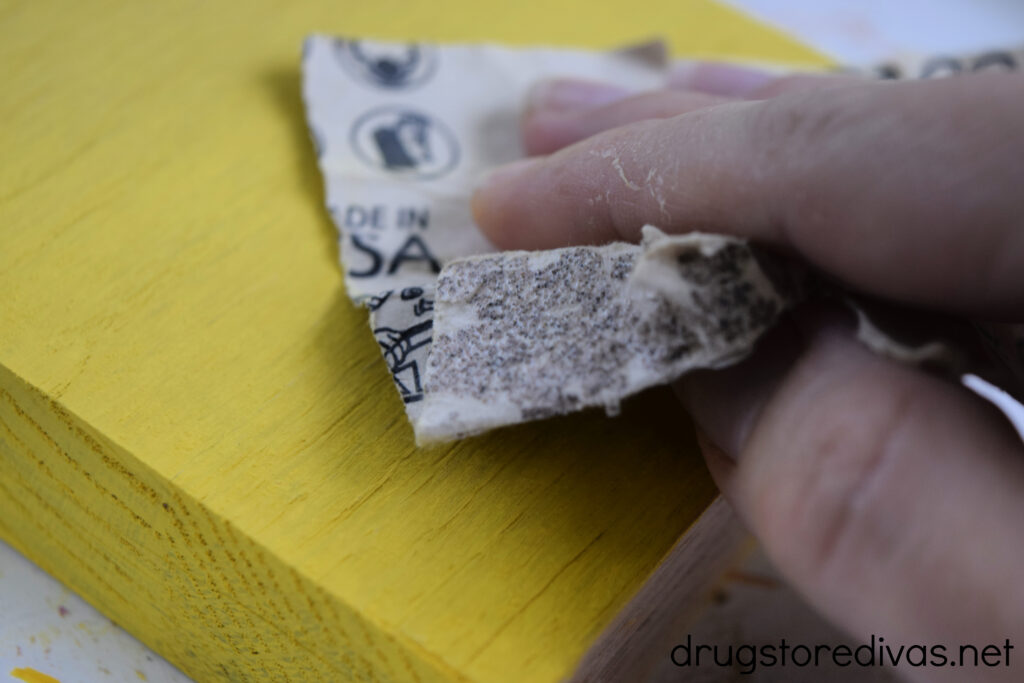

When the paint has dried, sand all the pieces to give them a shabby chic look.


Add a bit of wood glue to the non-painted side of the ear and glue it onto the face. You want to place it about 1/3 of the way up from the bottom. But, it’s your creation. Put it where you think is best. Glue the other ear on the other side of the face and make sure they align.
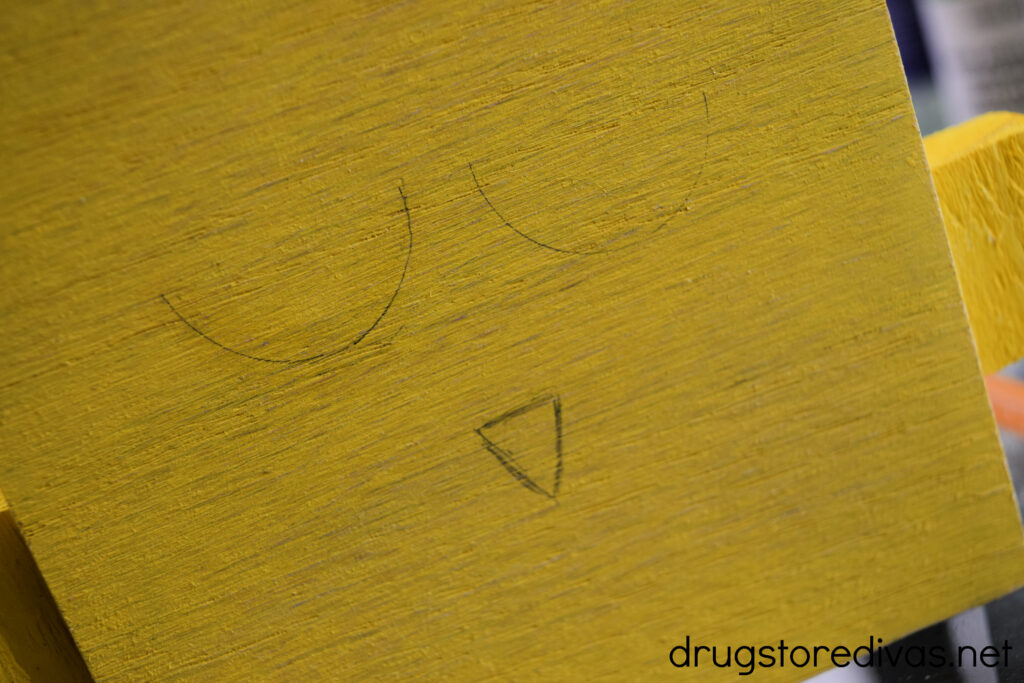
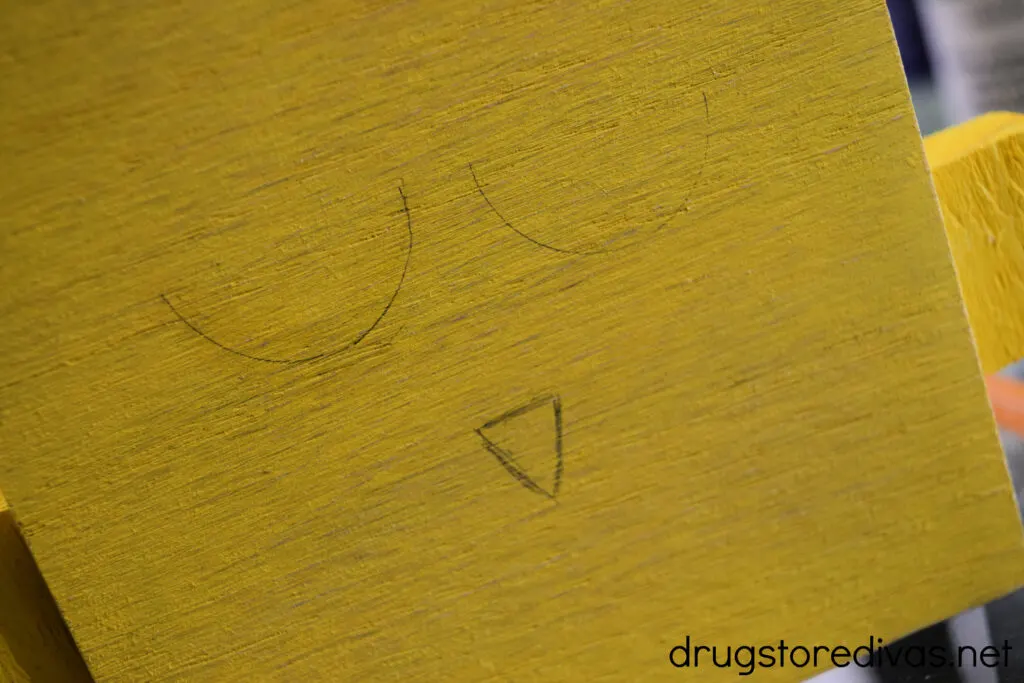
Use the pencil to draw a chicken face onto the wood. You can draw either the same face for all of them or you can change the expressions on them. Again, it’s up to you.
If you add a couple pieces of hair to the top, it helps the non-yellow chickens look more like chickens. Without it, the white one, for example, sort of looks like a ghost. Which would be great if you were making Halloween crafts … but you’re not.


Paint the face on using a toothpick.
You can use a paint brush to paint the face on, if you have a really thin paint brush, but I find that painting small, fine lines with a toothpick works best.
Let the chicken faces dry completely.
If you wanted, you could add some embellishments to these now that they’re dry. You can cut a ribbon bow for a female chicken or a bow tie for a male chicken.
If you’re going to use these indoors, you can display them as soon as they’re dry. If you’re going to use them outdoors, you’ll want to spray them with spur urethane (according to the package). This will protect them from the sun and rain.


DIY Rustic Scrap Wood Chicken: Frequently Asked Questions
If you have a Cricut, or any similar type of vinyl cutting machine, you can definitely use it to cut out the face. That might save you a bit of time, depending on how long it takes you to cut vinyl versus painting a face.
Here’s a trick I learned the hard way. If you mess up with the face, and the paint is still wet, you can actually dip your brush in clean water, brush it across the paint, and the paint will actually wash away. As long as you do this quickly after you laid the paint, this technique will work.
It’s best if you’re painting something like eyelashes and they don’t come out even the first time. It works less well on the large, round eyes, but it’s possible to erase it if try right away.
If not, you could always run a random orbit sander over the top to remove the layers of paint and start over.
DIY Rustic Scrap Wood Chicken


Take some scrap wood and a little time and follow this DIY Rustic Scrap Wood Chicken Tutorial to make super cute DIY Easter décor and gifts.
Materials
- Scrap wood
- Sand paper
- Acrylic paint
- Wood glue
Tools
- Miter saw
- Paint brush
- Pencil
- Toothpick
Instructions
 Use the miter saw to cut 1-inch thick scrap wood into 4- x 4-inch squares. You’ll need one for each chicken. Then, cut two 1- x .5-inch pieces of wood per square. These will be the ears.
- Sand all the edges and remove any splinters left behind by cutting the wood.
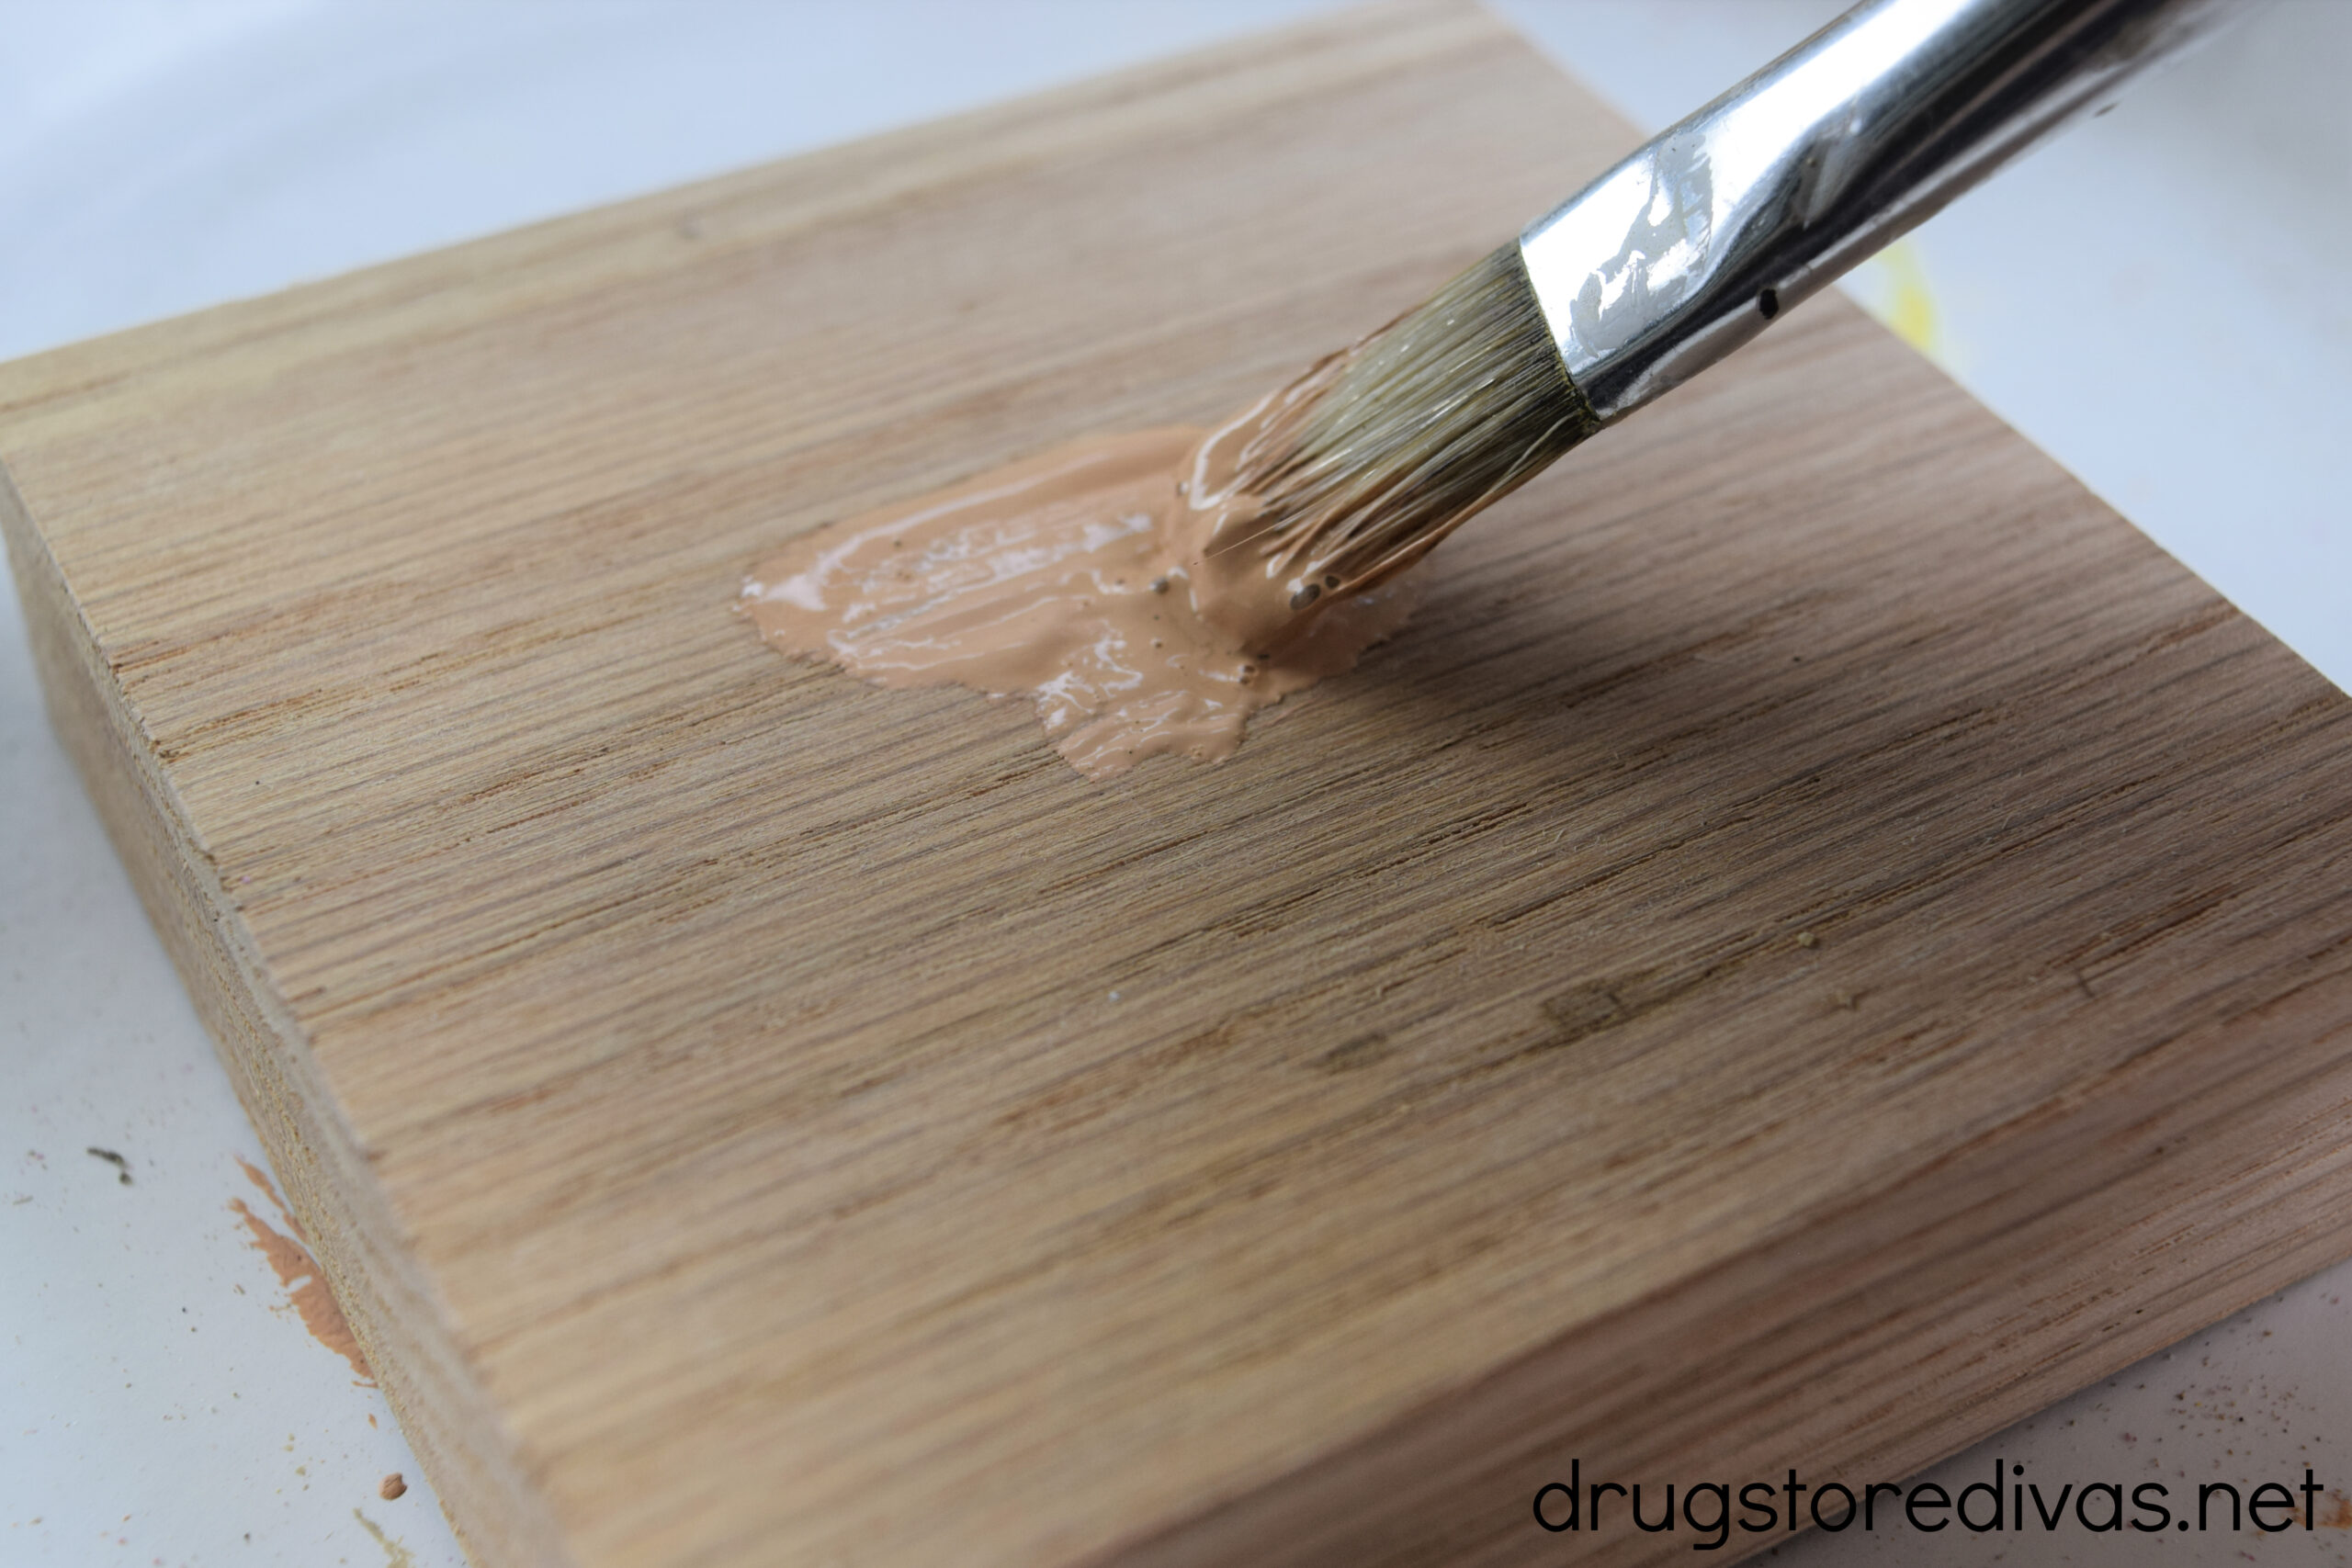 Paint a thin layer of paint on all the blocks of wood, leaving one edge (where the chicken will stand) blank.
 Paint a thin layer of paint on all the blocks for the ears, leaving one edge (where the ear will glue against the face). Set them aside to dry.
 When the paint has dried, sand all the pieces to give them a shabby chic look.
 Add a bit of wood glue to the non-painted side of the ear and glue it onto the face. You want to place it about 1/3 of the way up from the bottom.
  Use the pencil to draw a chicken face onto the wood. You can draw either the same face for all of them or you can change the expressions on them. Again, it’s up to you.
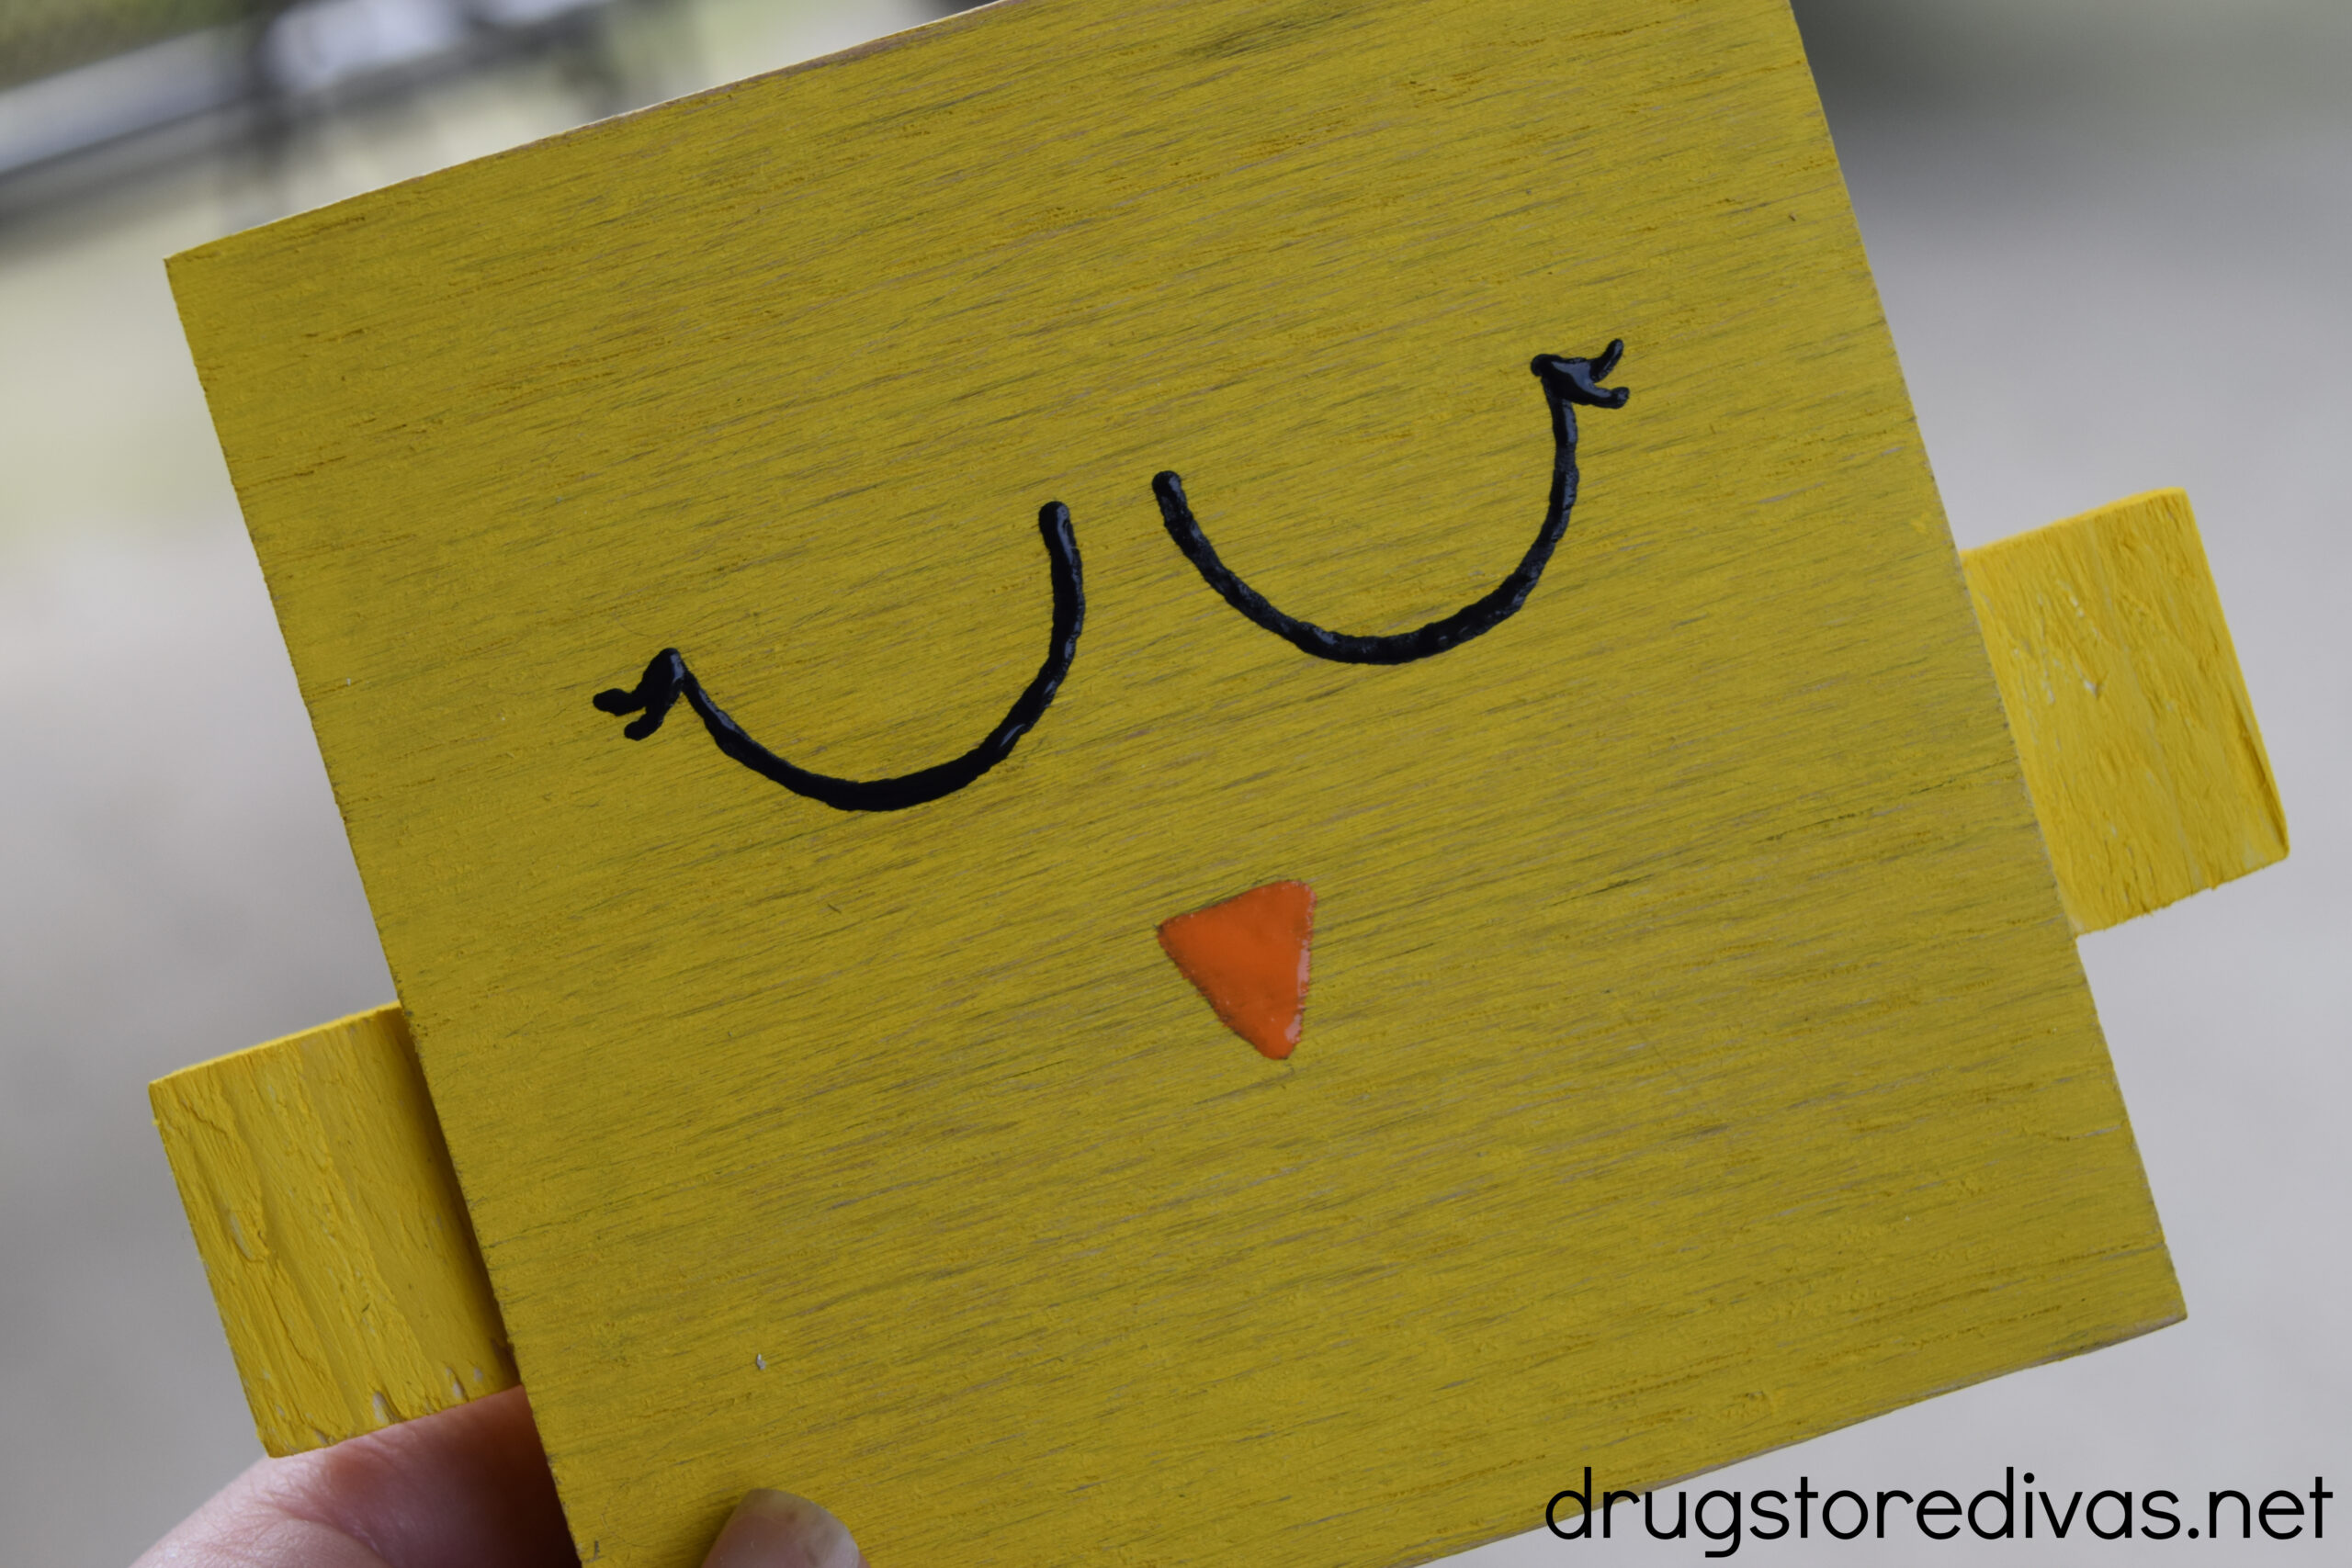 Paint the face on using a toothpick. Let the chicken faces dry completely.
 Paint a thin layer of paint on all the blocks of wood, leaving one edge (where the chicken will stand) blank.
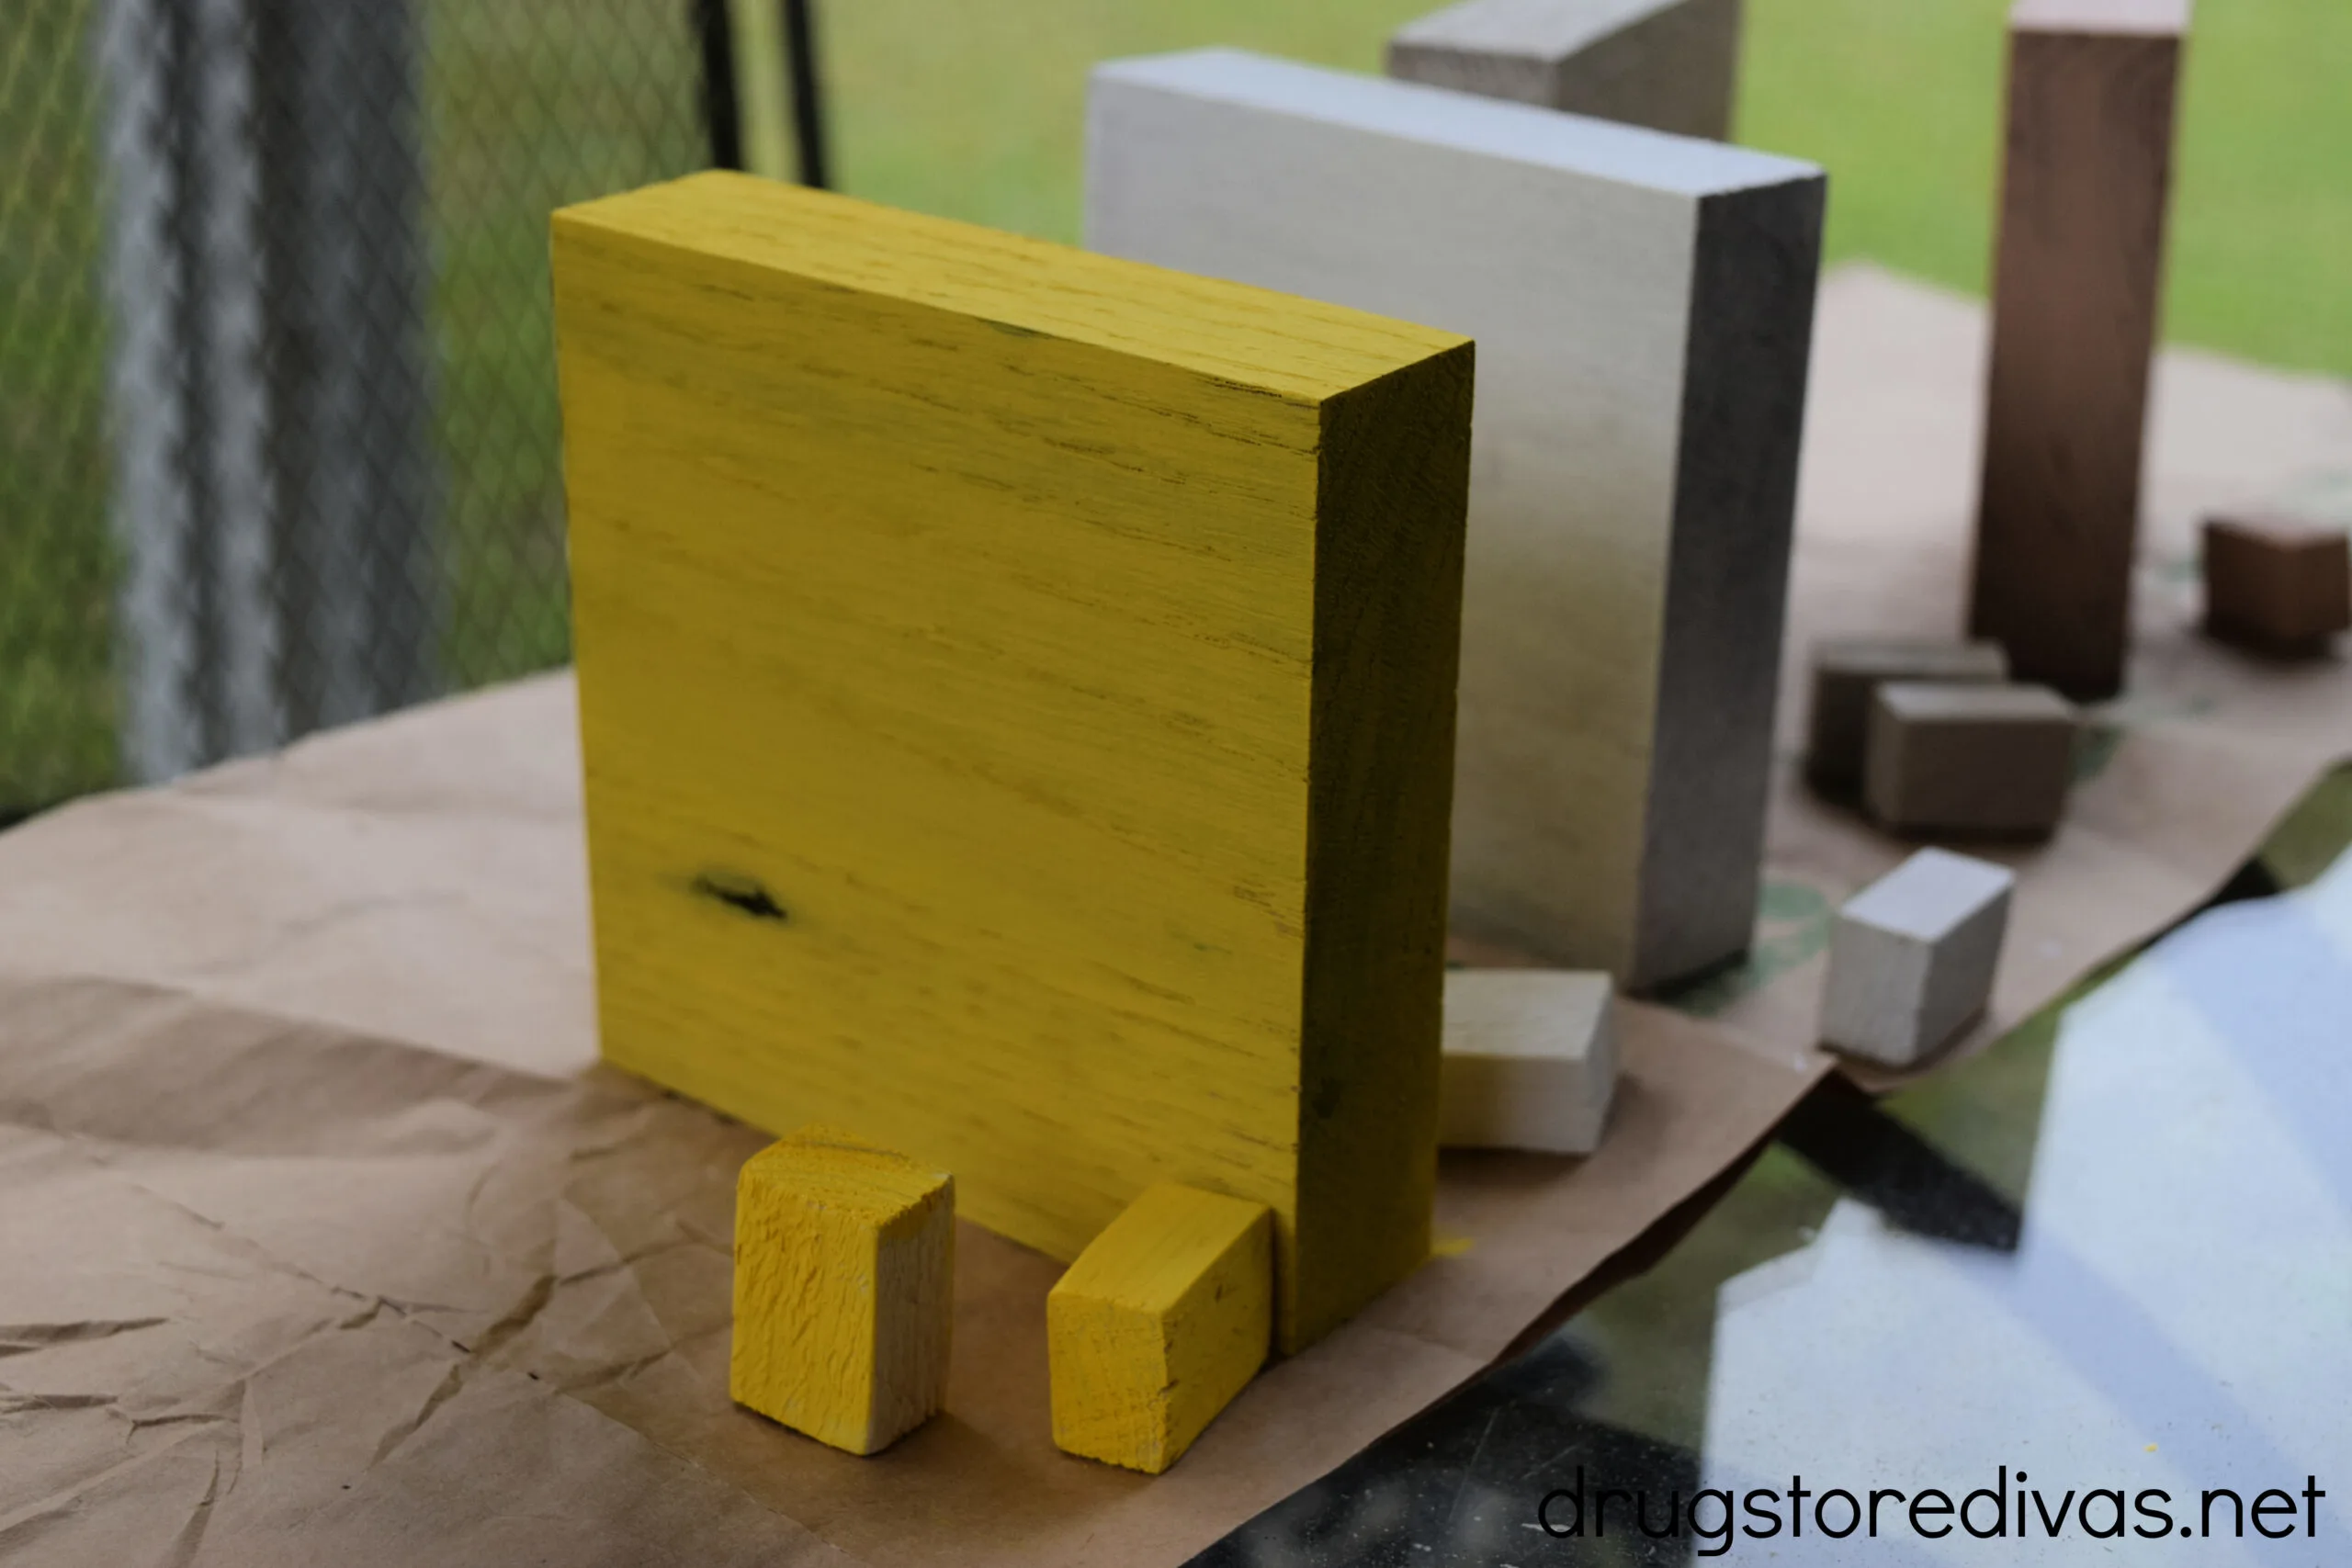 Paint a thin layer of paint on all the blocks for the ears, leaving one edge (where the ear will glue against the face). Set them aside to dry.
 When the paint has dried, sand all the pieces to give them a shabby chic look.
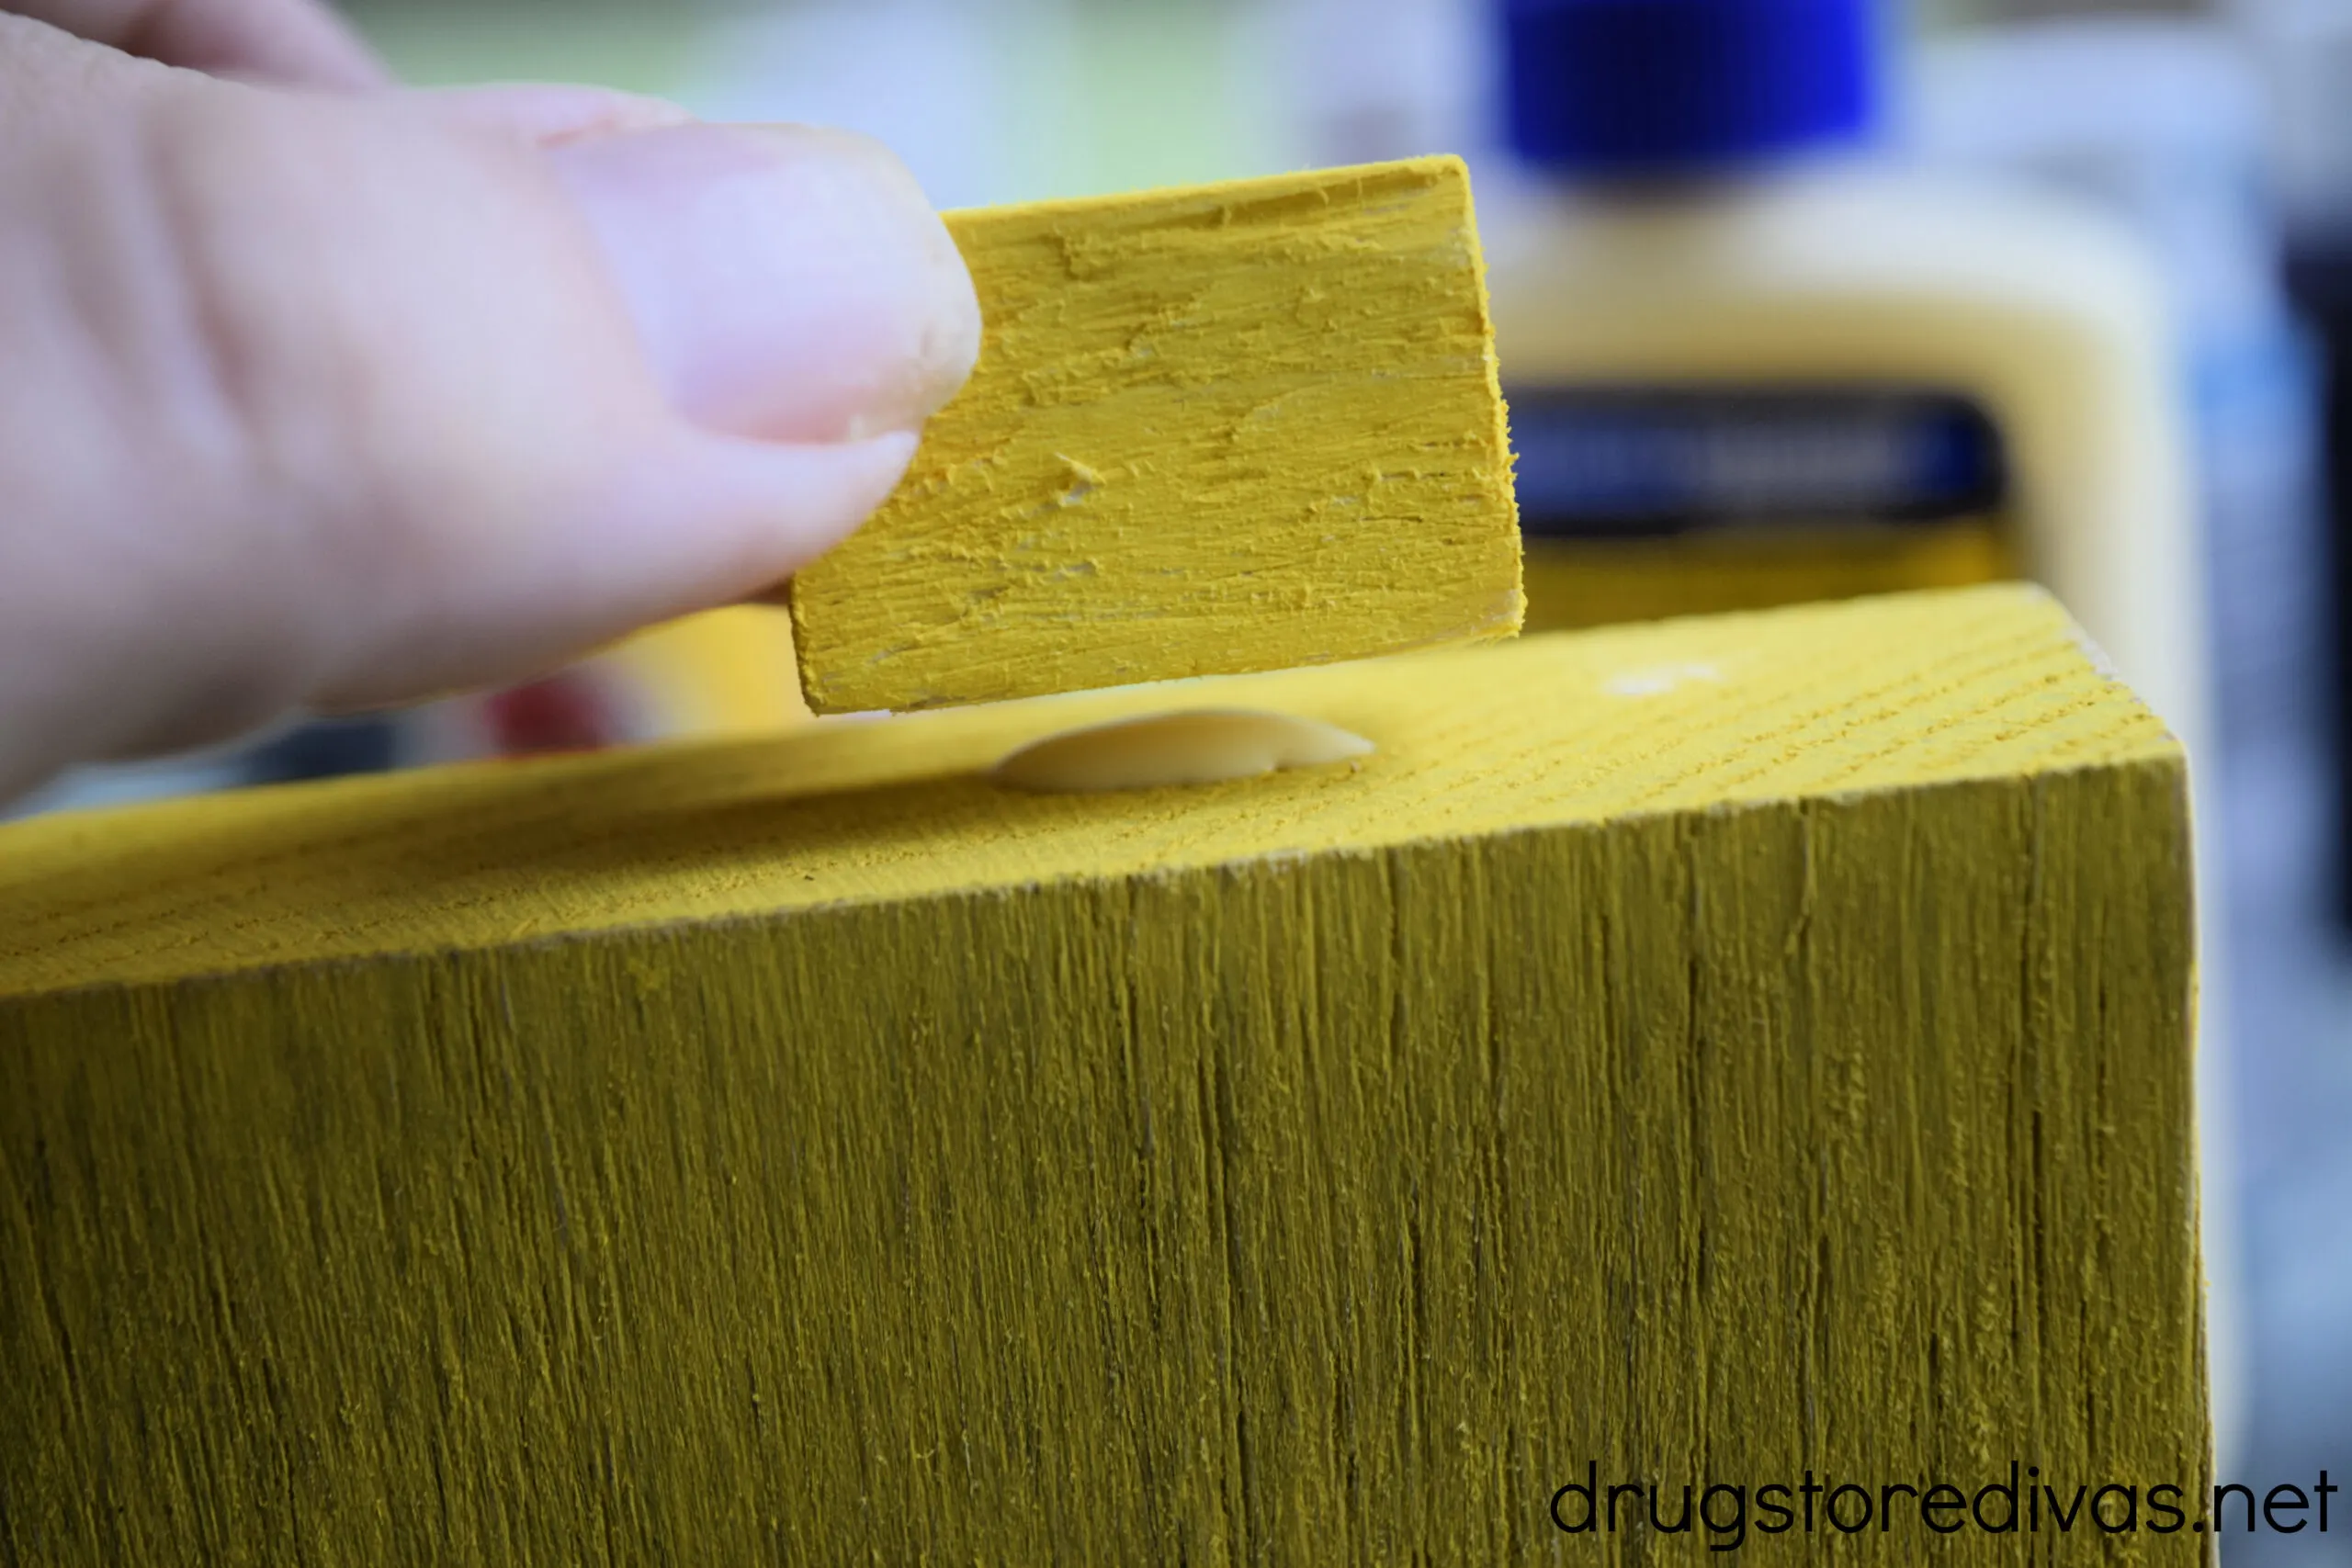 Add a bit of wood glue to the non-painted side of the ear and glue it onto the face. You want to place it about 1/3 of the way up from the bottom.
  Use the pencil to draw a chicken face onto the wood. You can draw either the same face for all of them or you can change the expressions on them. Again, it’s up to you.
 Paint the face on using a toothpick. Let the chicken faces dry completely.
Notes
You can use a paint brush to paint the face on, if you have a really thin paint brush, but I find that painting small, fine lines with a toothpick works best.
Did you make these DIY Rustic Scrap Wood Chickens? Let us know how it went in the comments.
Stephanie 139a
Thursday 5th of May 2022
They look fab - good use of a toothpick too!
Maureen
Monday 2nd of May 2022
These look so cute! My son would love this. I can’t wait to make some for Halloween - our favorite holiday!
Maureen | www.littlemisscasual.com
Donna @ Modern on Monticello
Monday 2nd of May 2022
These are all so cute. I have a pile of leftover scrap wood to use up so thanks for sharing some inspiration!
Linda @ Linda's Lunacy
Tuesday 26th of April 2022
These little chicks are so cute!