
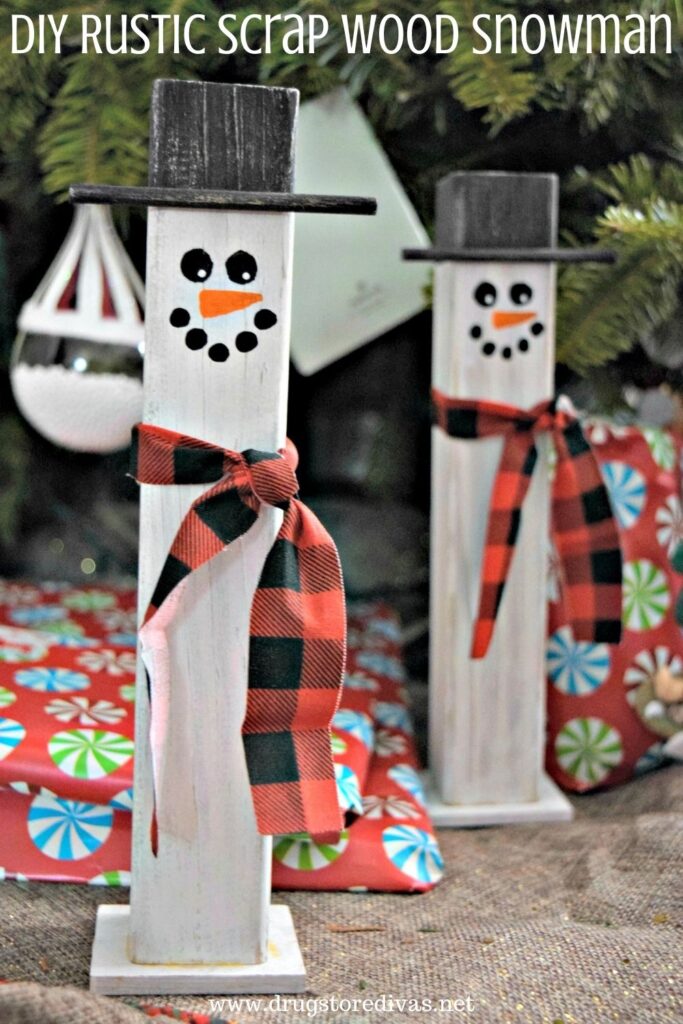

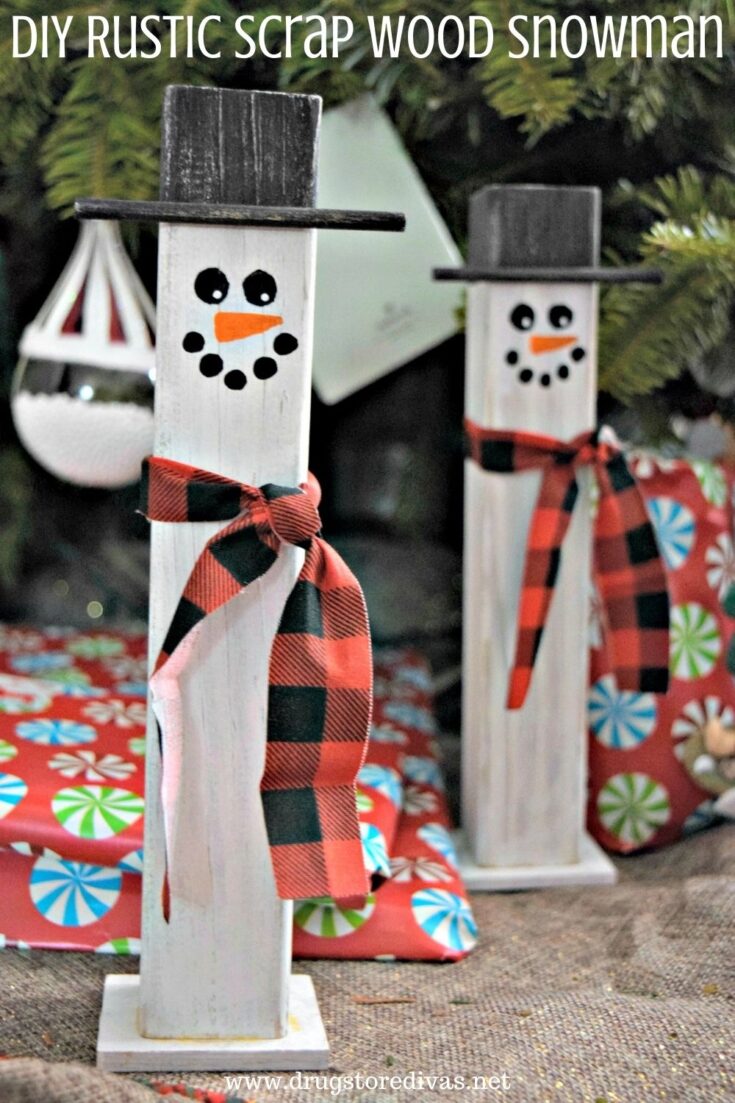
I was in a store around Thanksgiving and saw the cutest wooden snowman. But of course, me being me, it was more than I wanted to pay for it. And it just looked like something that Pete and I could make together. Hence, this DIY Rustic Scrap Wood Snowman was born.
We actually have a ton of scrap wood in our garage from other projects we’ve made around the house. For the most part, I always just look at Pete’s scrap wood pile and come up with projects we can make by using it.
If you don’t have an abundance of scrap wood like we do, you can purchase the wood at your local hardware store.

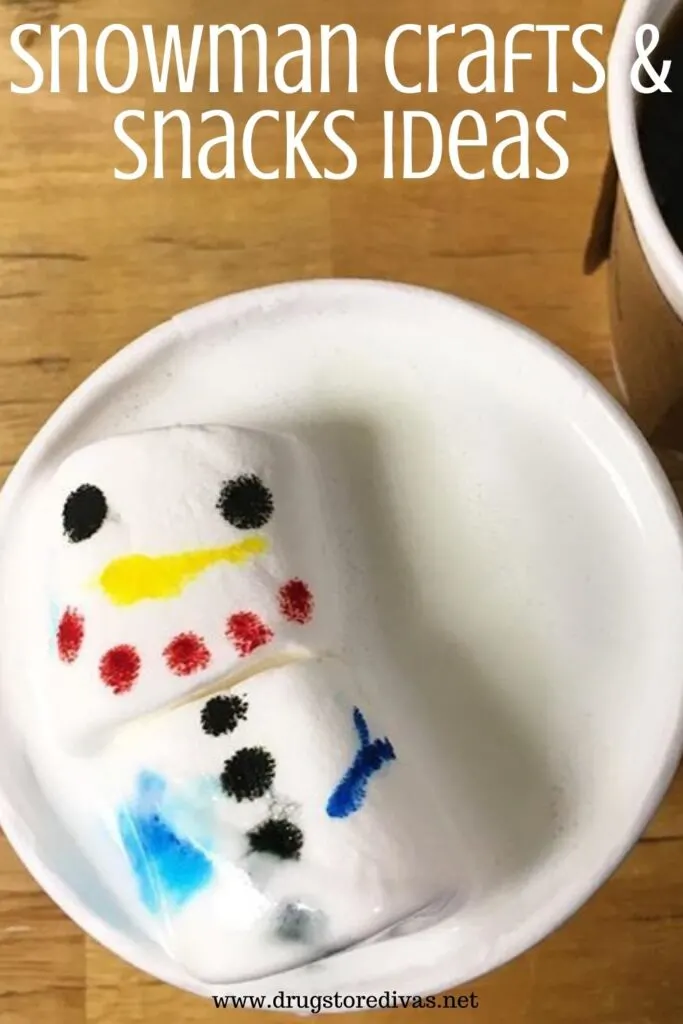
This DIY Rustic Scrap Wood Snowman is just one of the snowman crafts that we have one Drugstore Divas.
If you want more, check out all of our Snowman Crafts And Snacks Ideas.
DIY Rustic Scrap Wood Snowman
This wooden snowman is made from scrap wood, but you could purchase the wood from a local hardware store if you don’t have scrap wood at home.
DIY Rustic Scrap Wood Snowman Supplies:
- Piece of 2×2 wood
- Piece of 3/16- x 2-inch wood
- 3/16 inch dowel
- Miter saw
- Sandpaper
- Pencil
- Ruler
- Wood glue
- White acrylic paint
- Black acrylic paint
- Orange acrylic paint
- Paint brush
- Black and red plaid fat quarter
- Scissors
How To Make A DIY Rustic Scrap Wood Snowman:
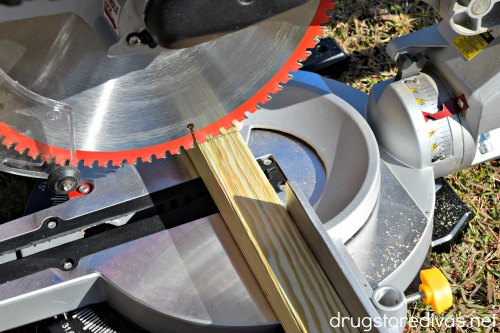

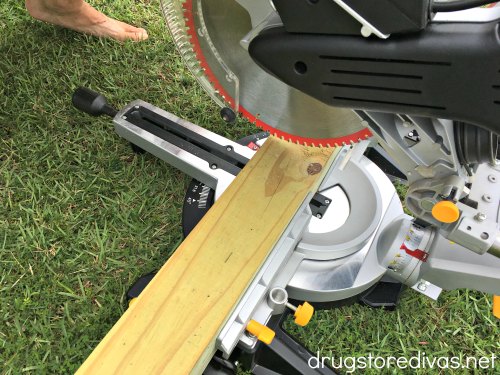
Use a miter saw to cut your pieces.
Cut a 9-inch piece from the 2×2 for the body of the snowman. You’ll need one per snowman.
Cut a 2.25-inch piece from the thin 2-inch wood piece. Again, you’ll need one per snowman.
Cut a 3-inch piece of the dowel. And yes, you’ll need one per snowman.
Sand the edges of each piece.
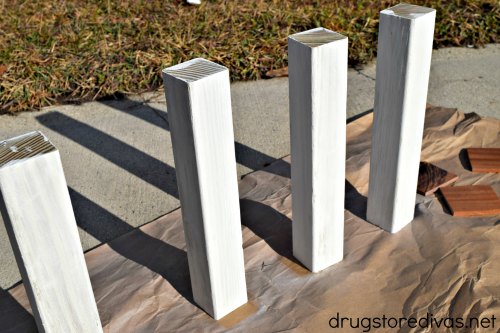

Paint all four sides and the top of the 9-inch piece with the white acrylic paint. Let it dry completely.

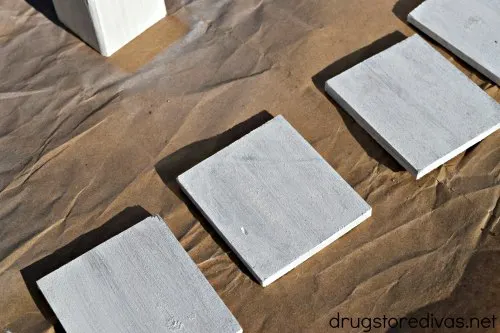
Paint the top and four sides of the small 2-inch wood pieces white. Let the paint dry completely.
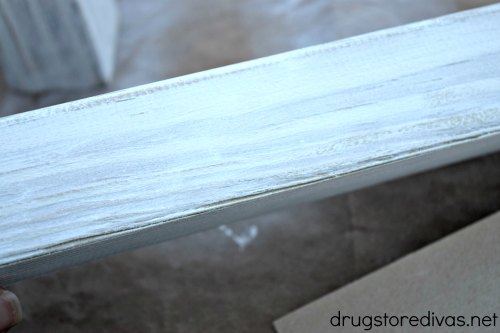

Use the sandpaper to distress the longer white piece. Pay close attention to the edges, and make sure to go against the grit to add more character to the wood.
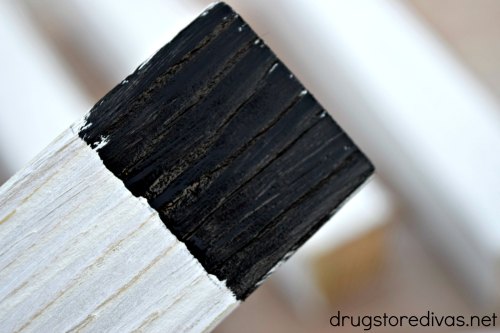
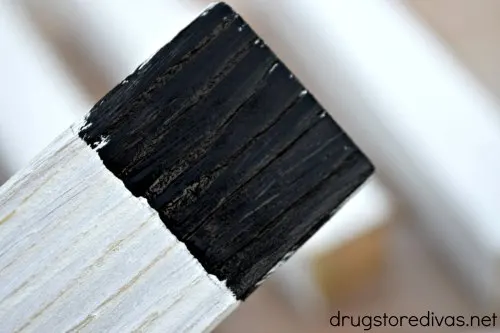
On each of the four sides, draw a line about 1.25-inch from the top. Paint that section black. Let it dry completely.
While you’re waiting for it to dry, paint the entire dowel (including the round edges) black.
Once those are completely dry, sand each piece to distress it.

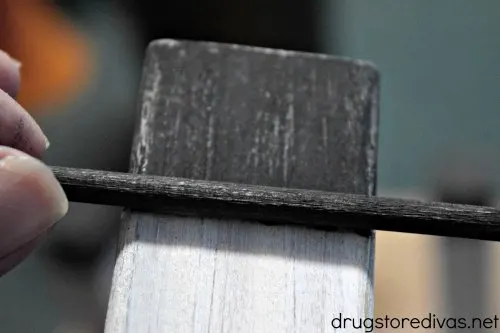
Put a tiny bit of wood glue on the line where the black and white paint meet. Center the dowel rod and affix it to that line so it’s the brim of the snowman’s hat.
Now it’s time to paint the face.
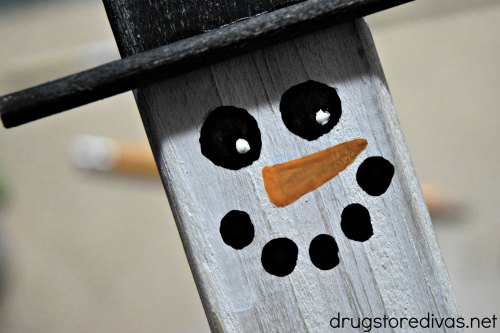

Paint two black circles for the eyes.
Paint five black circles below for the mouth.
Small aside: I actually cut an extra piece of dowel for the mouth. I dipped it in the black paint, then stamped on the mouth to assure the mouth was even.
Use the orange paint to paint a nose between the eyes and the mouth.
Once the black for the eyes has dried, paint two white dots in the eyes. Have them pointing towards whichever way the nose is pointing. If you don’t have the pupils and the nose going in the same direction, your face looks a little off.

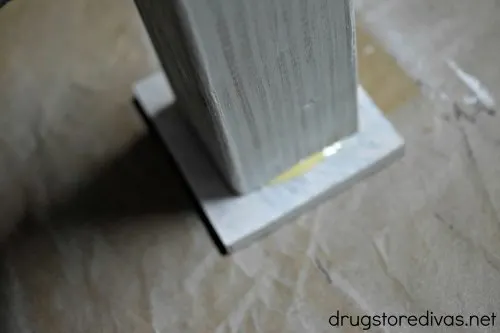
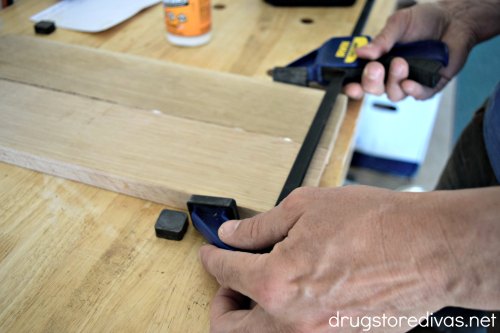
When everything has dried completely, put some wood glue on the bottom of the snowman and attach it to the skinny wood piece.
If there’s any excess wood glue that comes out of the crease, use a wet rag to wipe that off. If not, it will dry yellow and won’t look great.

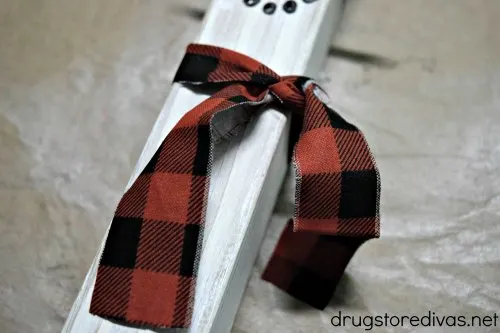
Cut a long strip from your fat quarter. Tie it around your snowman’s neck as a scarf. Cut off any excess.
Can you display this DIY Rustic Scrap Wood Snowman outside?
As it is, the DIY Rustic Scrap Wood Snowman is made for indoor use only.
If you wanted this to be an indoor/outdoor Christmas decoration, you would want to spray it with spar urethane before tying on the snowman’s scarf.
Spar urethane protects against the UV rays of the sun, which could cause the paint to fade, and against rain and moisture.
Polyurethane, which most people are familiar with, is only for indoor use because it doesn’t protect against the UV rays. That’s why you need spar urethane instead.
Spray two coats of spar urethane on your snowman, let it dry completely, and then tie the snowman’s scarf on. Then, you can display the scrap wood snowman indoors or outdoors.

What if you don’t have a miter saw?
I’m lucky that Pete has a ton of tools in the garage, so I have a miter saw at my disposal (for him to use to help me with projects; I don’t actually use it myself).
If you don’t have a miter saw, you can use a circular saw instead.
And, if you don’t have any tools at home, that’s okay too. The largest two big box hardware stores will actually cut the wood to size for you.
They have the ability to cut this smaller wood. Just tell them the sizes you want cut and they’ll be able to do that for you.
I tried to ask them to cut a 4×4 for me once when I was making DIY Wooden Pumpkins, but that piece was too thick for them to cut in store. But the 2×2 should be no problem for them to cut in house.

What can I build out of scrap wood?
We make a lot crafts using scrap wood. If you’re looking for some ideas of what you can build out of scrap wood, check out the things we’ve made using scraps from our wood pile.
– Wooden Serving Tray
– Mix and Match Wooden Pumpkin Face Decoration
– DIY Lawn Dice
How do I build a 2×4 snowman?
I love the absolute adorable cuteness of this 2×2 snowman. It’s dainty enough to fit on our mantle.
But, if you wanted something bigger, you could absolutely turn this into a 2×4 snowman. Use the same techniques, just choose a larger dowel rod because the 3/16 rod would be too thin to be the brim of the hat.
Everything else would be the same, you would just have to cut a larger base and a longer piece of dowel and then paint the black of the hat to go further down.

Want more snowman crafts?
We have a lot of snowman crafts that you might be interested in making this winter. Check them out below.
– DIY Snowman Candy Holder
– DIY K-Cup Snowman
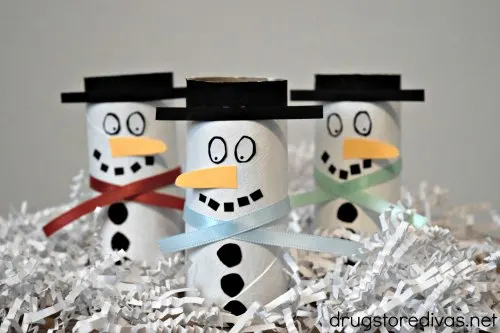
– Toilet Paper Roll Snowman
– Wine Cork Stamp Snowman
DIY Rustic Scrap Wood Snowman

Materials
- Piece of 2×2 wood
- Piece of 3/16- x 2-inch wood
- 3/16 inch dowel
- Wood glue
- White acrylic paint
- Black acrylic paint
- Orange acrylic paint
- Paint brush
- Black and red plaid fat quarter
Tools
- Miter saw
- Sandpaper
- Pencil
- Ruler
- Scissors
Instructions
 Use a miter saw to cut your pieces. Cut a 9-inch piece from the 2×2 for the body of the snowman. Cut a 2.25-inch piece from the thin 2-inch wood piece. Cut a 3-inch piece of the dowel. Sand the edges of each piece.
- Paint all four sides and the top of the 9-inch piece with the white acrylic paint. Let it dry completely. Paint the top and four sides of the small 2-inch wood pieces white. Let the paint dry completely. Use the sandpaper to distress the longer white piece.
- On each of the four sides, draw a line about 1.25-inch from the top. Paint that section black. Let it dry completely.
- Paint the entire dowel (including the round edges) black. Once those are completely dry, sand each piece to distress it. Put a tiny bit of wood glue on the line where the black and white paint meet. Center the dowel rod and affix it to that line so it’s the brim of the snowman’s hat.
- Paint two black circles for the eyes. Paint five black circles below for the mouth. Use the orange paint to paint a nose between the eyes and the mouth. Once the black for the eyes has dried, paint two white dots in the eyes.
- When everything has dried completely, put some wood glue on the bottom of the snowman and attach it to the skinny wood piece.
- Cut a long strip from your fat quarter. Tie it around your snowman’s neck as a scarf. Cut off any excess.
Notes
Laura Kelly Walters
Wednesday 30th of December 2020
I love these snowmen.
Joanne
Saturday 26th of December 2020
Those are so cute!