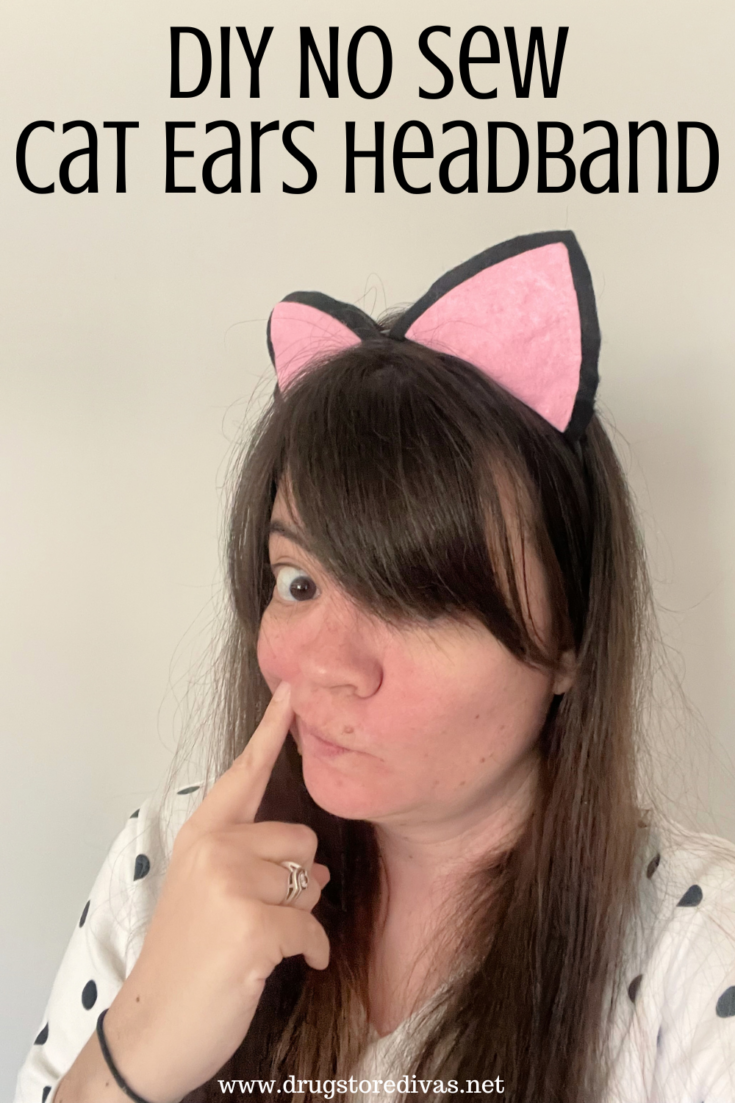
If you’re looking for a really easy last-minute Halloween costume, make our DIY No Sew Cat Ears Headband. They only take a couple minutes to make — and there’s no sewing machine required.
For more ways to make this the best holiday, check out all of our Halloween posts.

I’ve said this before, but I am not a fan of adult Halloween.
When you’re a kid, Halloween is great. You get to hang out with your friends at night (on a school night usually!) and get free candy. But when you’re an adult, you have to buy the candy. And you only get leftovers.
But, that’s not even my problem, really, with adult Halloween. It’s the dressing up. I don’t feel like, as an adult, I need to dress up.
But, I’m not the thief of joy. So if you want to dress up for Halloween, you absolutely should. Do what makes you happy. If what makes you happy is not spending a ton of money on a Halloween costume, you’re in luck. I put together this super easy No Sew Cat Ears Headband For Halloween tutorial.
It’s really easy to make and takes just minutes to throw together.
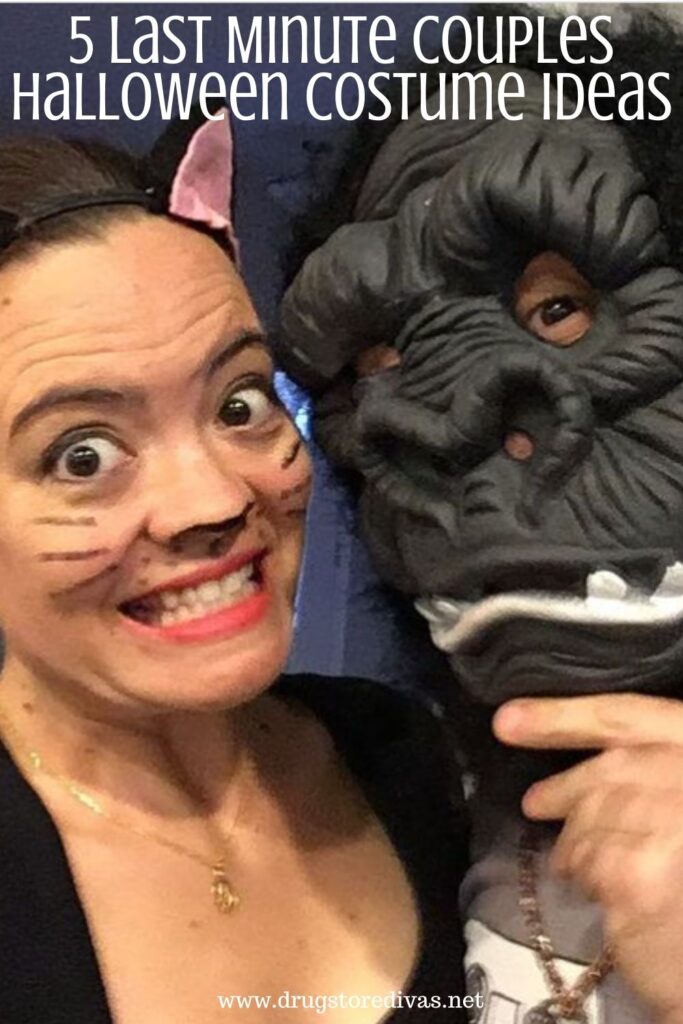

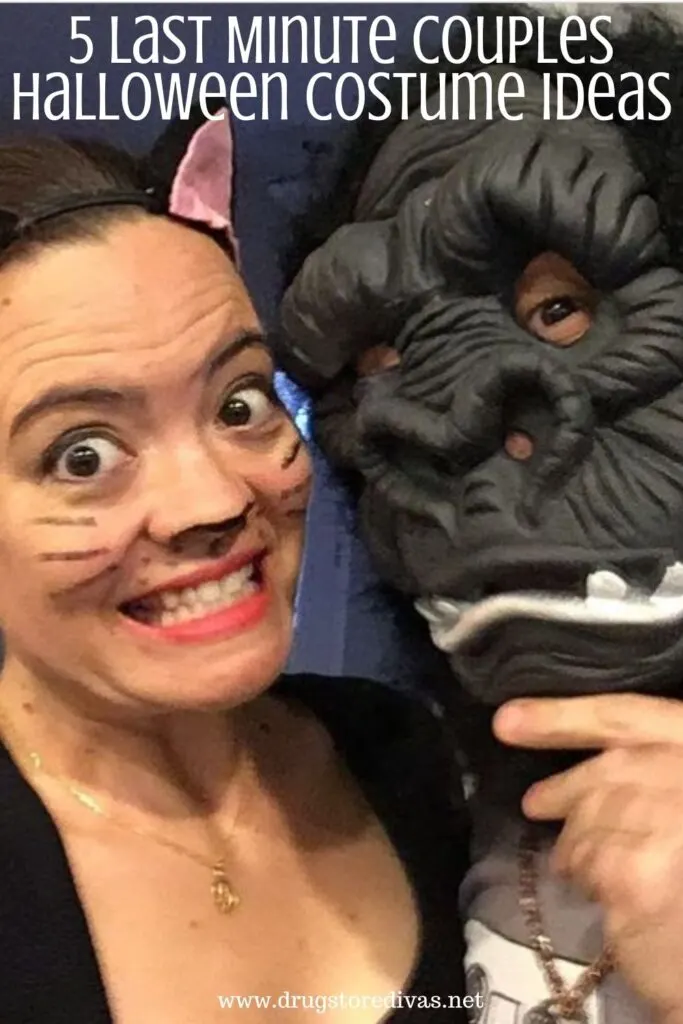

Making these cat eats to go with your cat costume makes for one of the easiest costumes, so it’s perfect for a last-minute costume. If you’re looking for more last-minute ideas, our list of Last Minute Couples Halloween Costume Ideas can help.
Be sure to check out all of our Halloween costumes ideas for more inspiration.
DIY No Sew Cat Ears Headband
Affiliate links are included in this post and Drugstore Divas may make a small commission if you use them.
Quick note: This DIY Cat Ears tutorial uses black felt, which would (obviously) make you a black cat. Of course, you can use different colors of felt and not make black ears.
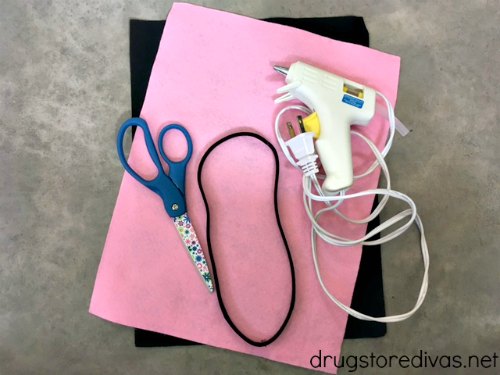

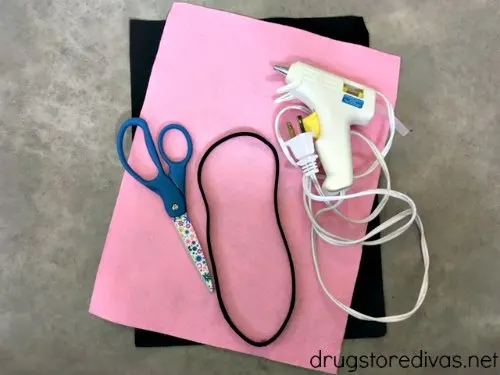

DIY No Sew Cat Ears Headband Supplies:
- Scissors
- 1 sheet of black felt
- 1 sheet of pink felt
- Hot glue gun
- Hot glue sticks
- Plastic headband
How To Make A No Sew Cat Ears Headband:
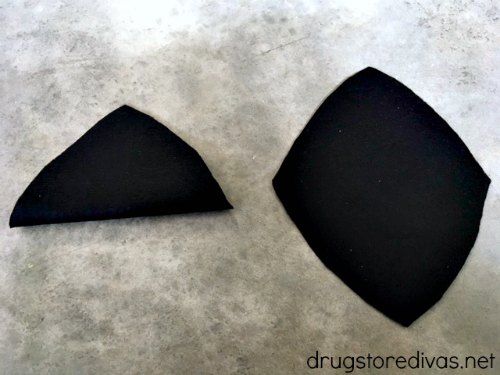

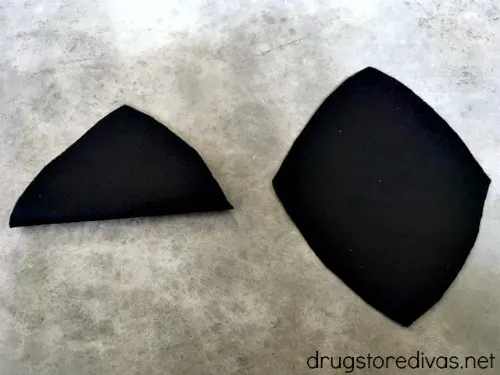

Fold the black sheet of felt in half, then cut a large triangle with a three-inch base.
I just freehanded it, but you could draw it onto a piece of paper first and use that as a template if you were a little worried.
Also, if you do draw it the cat ear pattern out first, you can actually design more of a cat ear shape, but I think a simple triangle is fine.
And, one more quick side note before we move on. If you’re making these for a small child rather than an adult, you’re going to want to adjust the size of the ears. You’ll need to cut smaller pieces because you’ll be fitting them on a headband for a child’s head, which is smaller than an adult headband.
Unfold the black felt into a diamond and use it to measure and cut a second black diamond. These will be your outer ears.
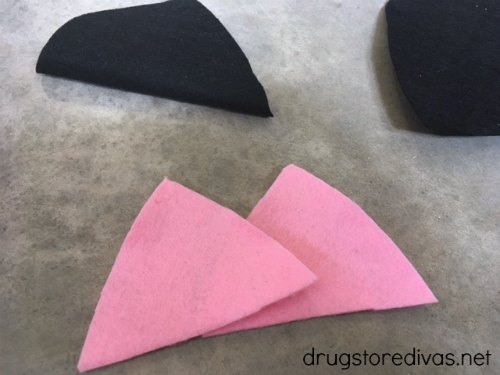

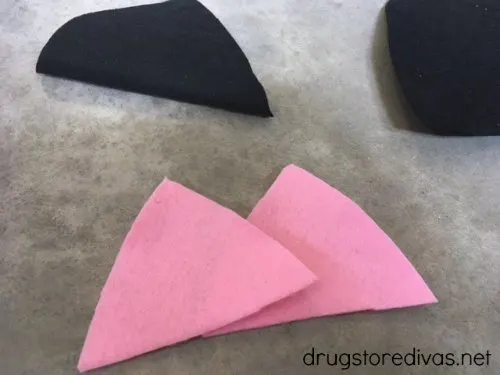

Fold the pink sheet of felt in half, then cut out a large triangle, just slightly smaller than the black triangle. Cut it into two.
These will be the inner ears.
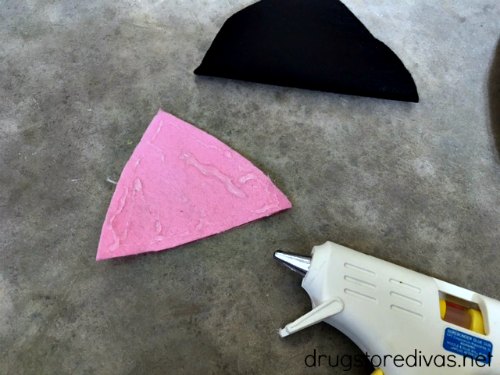

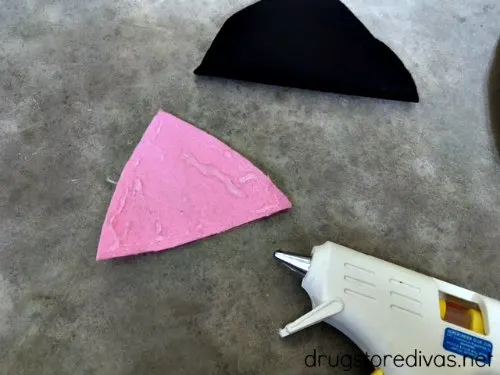

Use the glue gun to add glue onto one of the inner ear pieces (one of the a pink triangles). The easiest way I find to do this is to glue a line of glue around the entire triangle, then zigzag along the middle.
Stick it onto the outer ear (a black diamond). You want to try to align the bottom of the pink triangle to the bottom of the ear.
Repeat with the other inner and outer ear pieces. Let them dry completely.
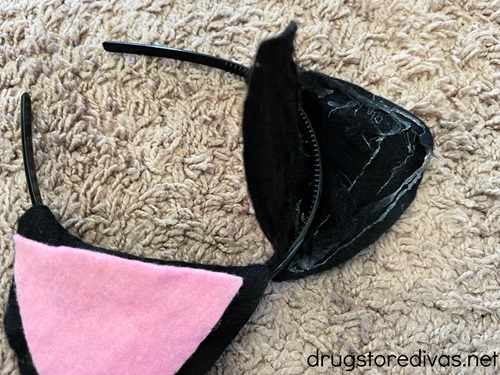

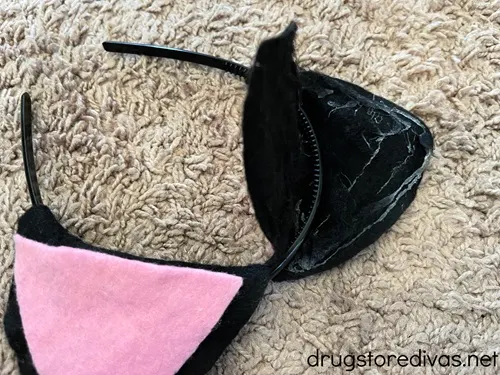

Open the black diamond, making sure the pink square is face down. Add glue to one half of the black felt.
Place the plastic headband in the middle of the black diamond, then close the ear so it glues around the headband. Do this with the second ear as well. Let the entire headband dry completely.
Complete the costume by putting on a black long-sleeved t-shirt, black pants, black shoes, and black gloves.
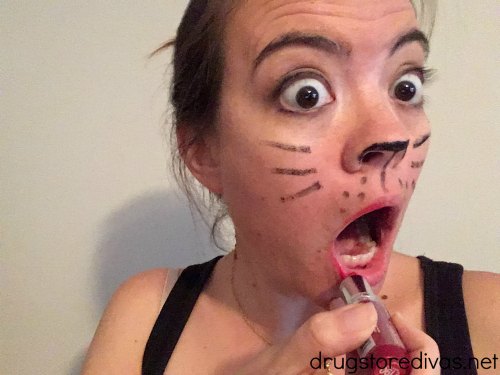

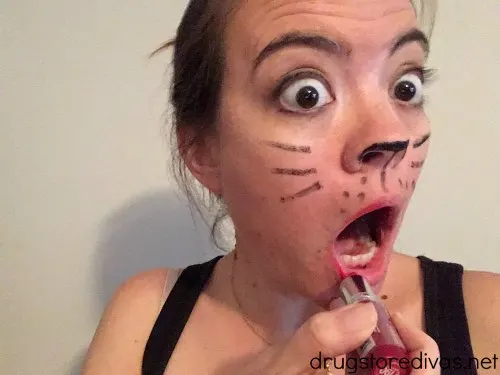

Then, you do really simple cat face makeup. Paint whiskers on your cheeks with a crayon eyeliner. Use it to paint your nose black. Add red lipstick. And, of course, if you have liquid eyeliner, use it to do the very popular cat eyeliner (aka winged eyeliner).
DIY No Sew Cat Ears Headband: Frequently Asked Questions
When I made these originally, I used a no slip grip headband. You can actually see it in the supplies photo up top. That doesn’t work well.
When you put that type of headband around your head, it stretches the cute little ears to the point where they’re not very cute anymore. And, instead of sticking straight up, they basically lay flat on your head. Which isn’t a good look.
This tutorial uses a headband as a base. But, what if you don’t have a headband? Or if yours breaks on Halloween night.
You can just follow the tutorial, up until the step where you glue the ears onto the headband. Instead, just glue it together, making sure to leave a gap at the base of the ear.
Then, position the ears on your head and use hair clips (or lots of bobby pins) to hold the ears in place.
The hot glue dries stiff, which really props the ears up.
I’ve seen tutorials hide pipe cleaners or floral wire inside the ears to make them stick up, but it’s not necessary.
If you only have fabric glue, you can use that. However, the ears will be more flexible and may not stick up as well.


Purchase Cat Ears Online:
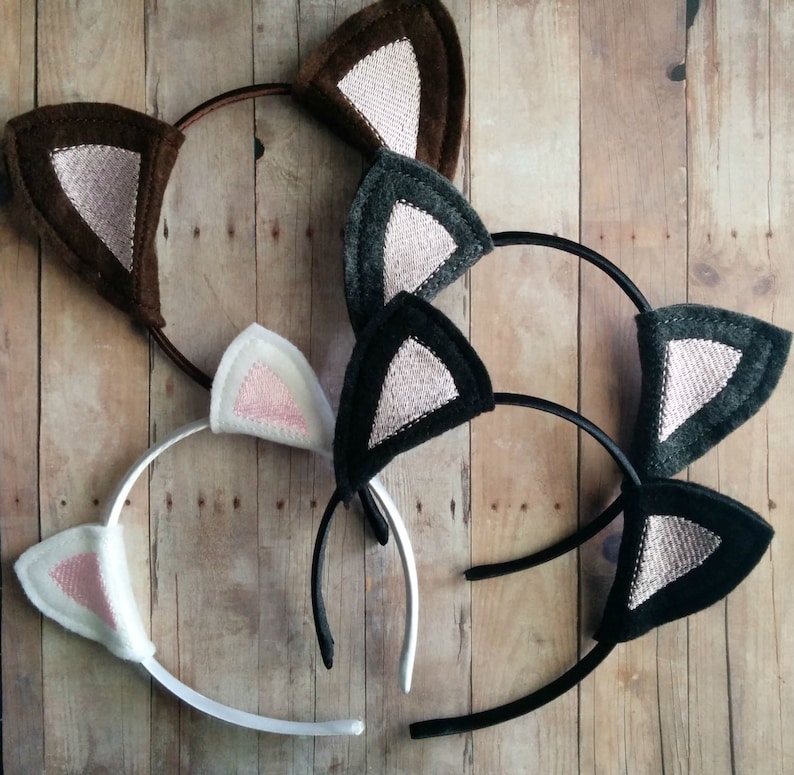
If you want to be a cat for Halloween, but you don’t feel like making your own ears, you can purchase some online. There are ones, like the Embroidered Cat Ears Headband above, that you can purchase online at the following stores:
If you are ordering online, just make sure to check the arrival date, if instore pickup isn’t an option. You want to make sure that the cat ears will arrive before Halloween.


More Halloween Costume Ideas:
If you’re looking for more Halloween costume inspiration, we’ve got you covered.
For babies, there’s our Top Halloween Costumes For Babies list. For kids, we have our Top Kids Halloween Costumes list. And for everyone, there’s our list of Pokémon Halloween Costume Ideas.
Don’t forget about your pets, We have a list of Fun Pet Halloween Costumes (For dogs and cats) too.
DIY No Sew Cat Ears Headband

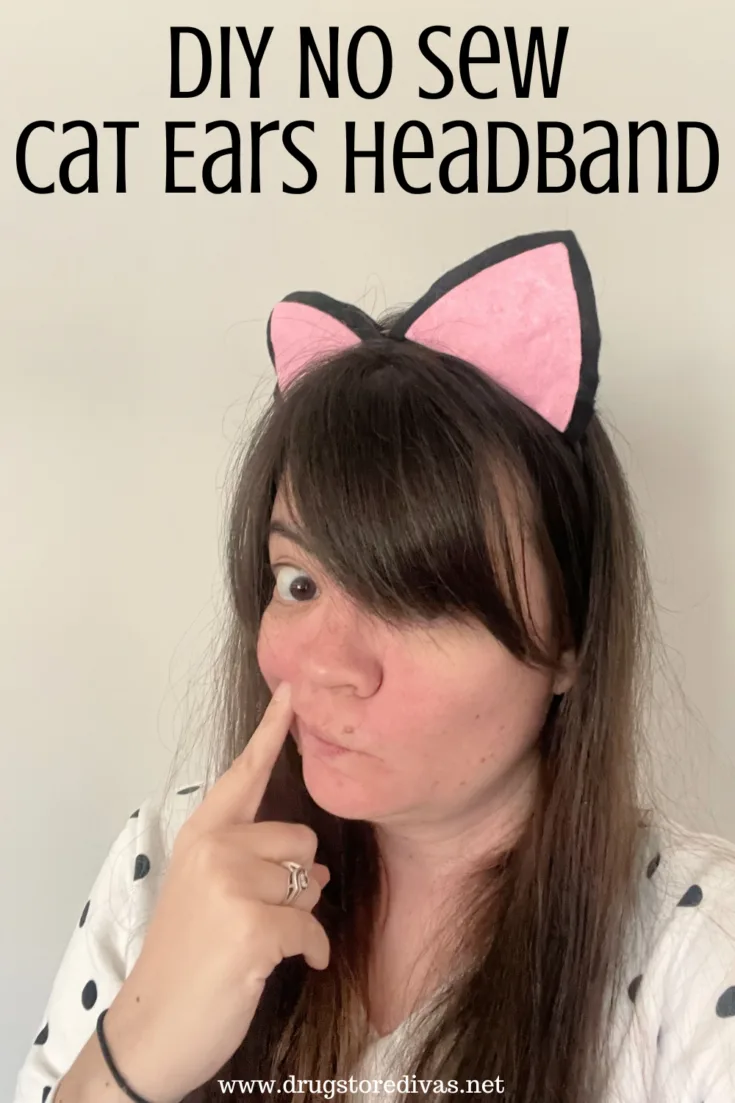

If you’re looking for a really easy last-minute Halloween costume, make our DIY No Sew Cat Ears Headband. They only take a couple minutes to make — and there’s no sewing machine required.
Materials
- 1 sheet of black felt
- 1 sheet of pink felt
- Hot glue sticks
- Plastic headband
Tools
- Scissors
- Hot glue gun
Instructions
- Fold the black sheet of felt in half, then cut a large triangle with a three-inch base.
- Unfold the black felt into a diamond and use it to measure and cut a second black diamond. These will be your outer ears.
- Fold the pink sheet of felt in half, then cut out a large triangle, just slightly smaller than the black triangle. Cut it into two. These will be the inner ears.
- Use the glue gun to add glue onto one of the inner ear pieces (one of the a pink triangles).
- Stick it onto the outer ear (a black diamond). You want to try to align the bottom of the pink triangle to the bottom of the ear. Repeat with the other inner and outer ear pieces. Let them dry completely.
- Open the black diamond, making sure the pink square is face down. Add glue to one half of the black felt.
- Place the plastic headband in the middle of the black diamond, then close the ear so it glues around the headband. Do this with the second ear as well. Let the entire headband dry completely.
Have you made this DIY No Sew Cat Ears Headband? Let us know how it went in the comments.

Hannah Medul
Sunday 26th of September 2021
So easy.