
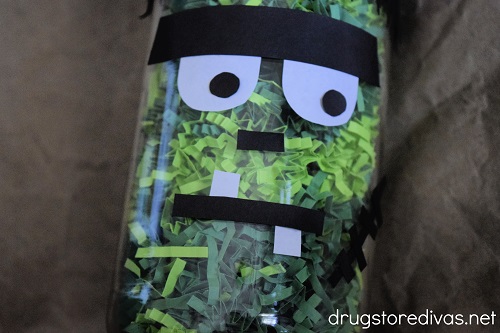
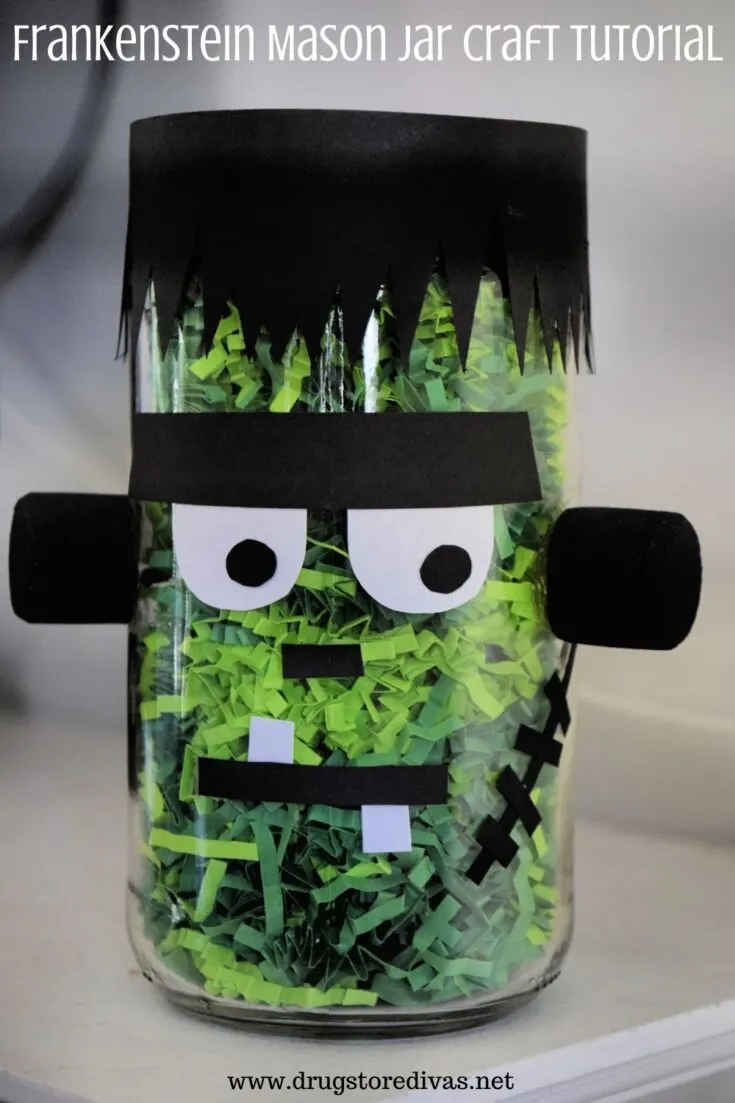
Upcycle an old mason jar, wine cork, and leftover paper shred to make the cutest Frankenstein Mason Jar craft for your fireplace mantle.
Make this the best holiday with help from all of our Halloween posts.

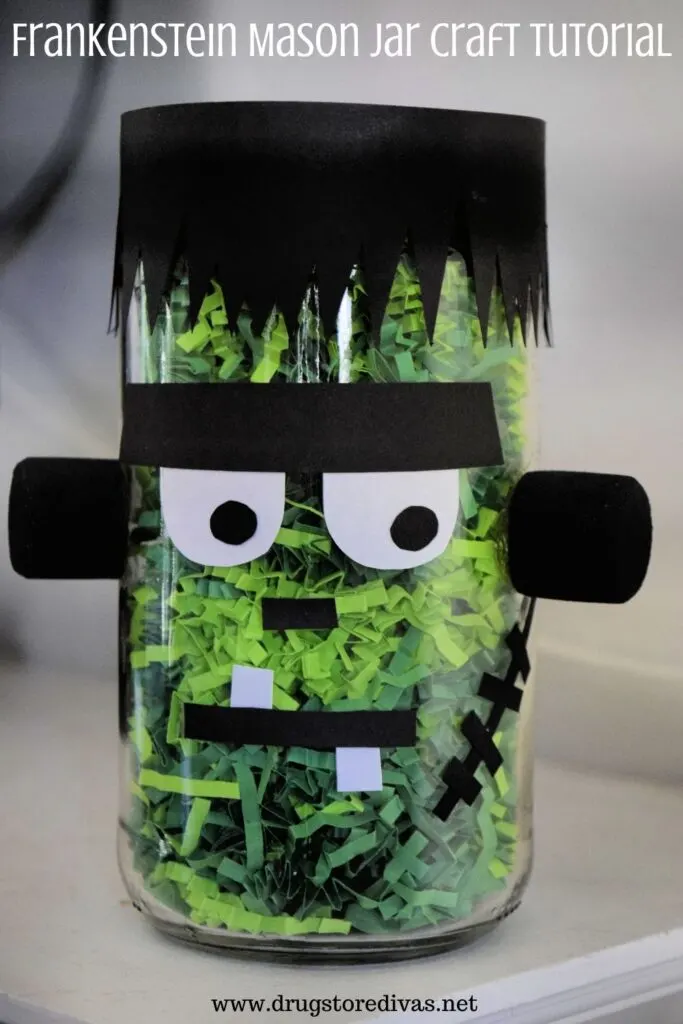
If you know me, you know I love super cute craft ideas that can be done in an afternoon. Those are sort of my forte. This Frankenstein Mason Jar Craft tutorial fits right in with that.
I had all the supplies at home, which you might also.
If not, start saving things like empty glass jars and any paper shred that comes in packaging. It’s not garbage. It’s future crafts.
And, if you can make something this cute from garbage, you won’t feel bad if you end up throwing it away at the end of the season. Although I wouldn’t throw this Frankenstein craft away. I would just safely pack it up and bring it out next year.
Frankenstein Mason Jar Craft Tutorial
Affiliate links are included in this post and Drugstore Divas may make a small commission if you use them.
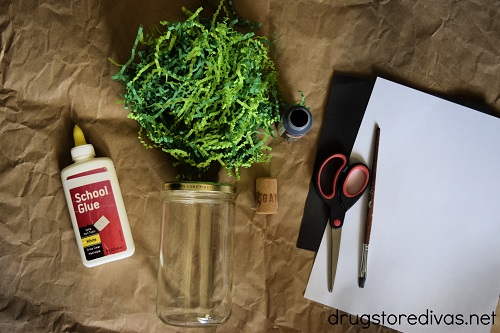

Frankenstein Mason Jar Craft Supplies:
- Smooth sided Mason jar (or upcycled glass jar)
- Green paper shred
- Black card stock
- Scissors
- School glue
- White card stock
- Wine cork
- Black acrylic paint
- Paint brush
- E6000 glue
How To Make A Frankenstein Mason Jar Craft:
If you’re using an upcycled glass jar, wash the jar completely. Peel off the label. If you have trouble peeling it off, Goo Gone and a clean cloth will get off the entire label and any sticky residue left behind.
If you’re using a brand new mason jar, you can skip that first step.

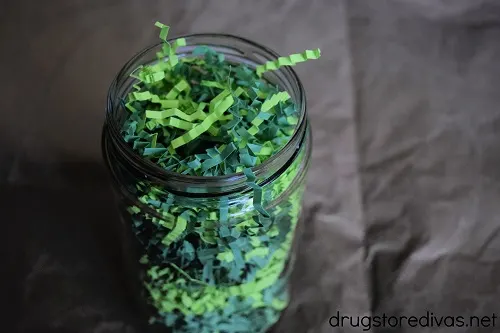
Fill the mason jar with green paper shred and close the lid on the mason jar.
I mixed together a light green paper shred and a dark green paper shred, just to make Frankenstein a little more interesting to look at. You could do a mix of two colors or just one solid color. It’s up to you.
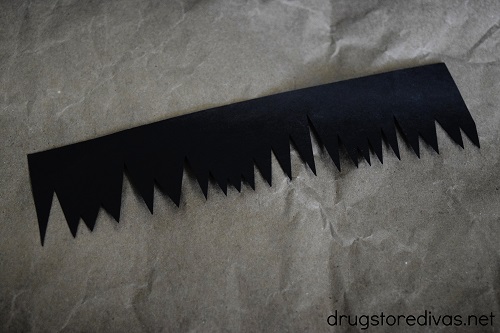
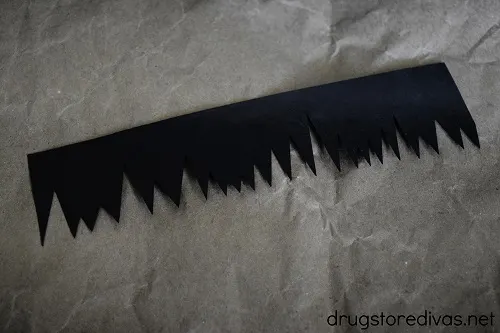
Cut a 1-inch strip of black card stock. Haphazardly cut triangles out of the bottom two-third of it, making bangs.

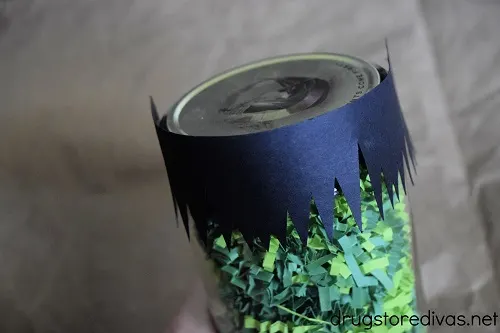
Glue those bangs to the mason jar lid. If your hair won’t stay down, you can use a piece of tape to secure it.
When you glue the bangs down, leave a little room between the top of the bangs and the top of the Mason jar’s lid. You want the bangs to stick up a little bit so that it hides the entire lid when you’re looking from afar.
If you glue the top of the bangs to the very top of the lid, you’ll see the top of the lid. Plus, gluing it up a little higher also gives you more room to fit Frankenstein’s face.
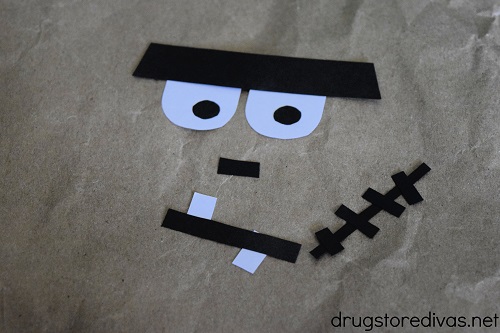
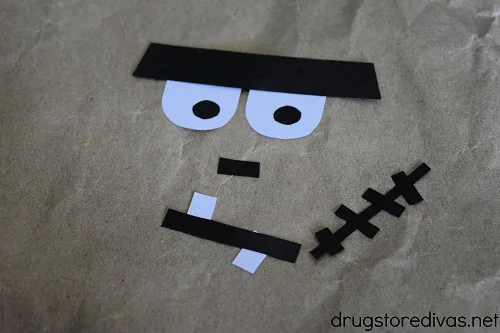
Cut the rest of Frankenstein’s face from the white and black card stock.
Cut a unibrow from the black card stock. Then, cut white half circles for the eyes and black circles for the pupils. Glue the pupils down, then glue the eyes to the back of the unibrow.
Cut a thin black strip for the mouth, then tooth teeth from the white. Glue one tooth above the mouth and one below it.
Cut a small black rectangle for the nose. And finally, cut a long black strip and a few smaller black strips. Glue them together to form Frankenstein’s famous stitches.

Use the glue to glue the face on the jar. Let the glue dry.
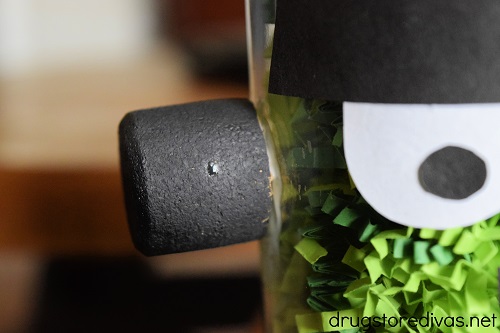

While that’s drying, use the scissors to cut the wine cork in half. Paint it with the black paint. Let the paint dry.
When the paint has dried, use E6000 glue to stick the wine cork halves to the side of the head. Let them dry.
That’s it.
Frankenstein Mason Jar Craft Tutorial: Frequently Asked Questions
Paper shred makes this so much easier. And quicker because you don’t have to wait for paint to dry.
But, if you wanted to, you could lightly spray green spray paint to the outside of the Mason jar. Big stress on the word “lightly.” If you try to spray thick coats of paint on smooth surfaces, it gets very streaky very quickly.
Let that dry completely. Then, you can paint your Frankenstein face directly into the green paint.
When you make your craft this way, you can add a battery-operated tea light into the Mason jar to turn this into a Halloween Luminary.
If you haven’t used it before, E6000 glue is phenomenal. It’s such a strong glue, which is why you should use it in projects where school glue isn’t enough. Like this one. School glue will not adhere the heavy wine cork halves to the glass and the wine cork halves with slide down Frankenstein’s face. A couple dots of E6000 glue will hold them in place.
What’s great about E6000 glue is that when you close it and re-open it, the cap doesn’t get stuck, unlike Krazy Glue and other similar glues. Although those are multiple use packages, it always seems like the first use of that glue is great and the rest are less than great. Plus, sometimes that glue wears off.
And hot glue sometimes falls off, even if it’s hot enough. Plus, hot glue is so thick that you’ll end up with a gap between the wine cork half and the glass, and that doesn’t really look that great.
I’ve never had any of those problems with E6000 glue and use it quite a bit.
Purchase Frankenstein Mason Jars:
Do you like this Frankenstein Mason Jar Craft, but you don’t feel like actually making it? I get it. Sometimes we just don’t have the time to sit down and craft.
Luckily, I found some similar (and also differen) Frankenstein Mason jar crafts online that are available to purchase.
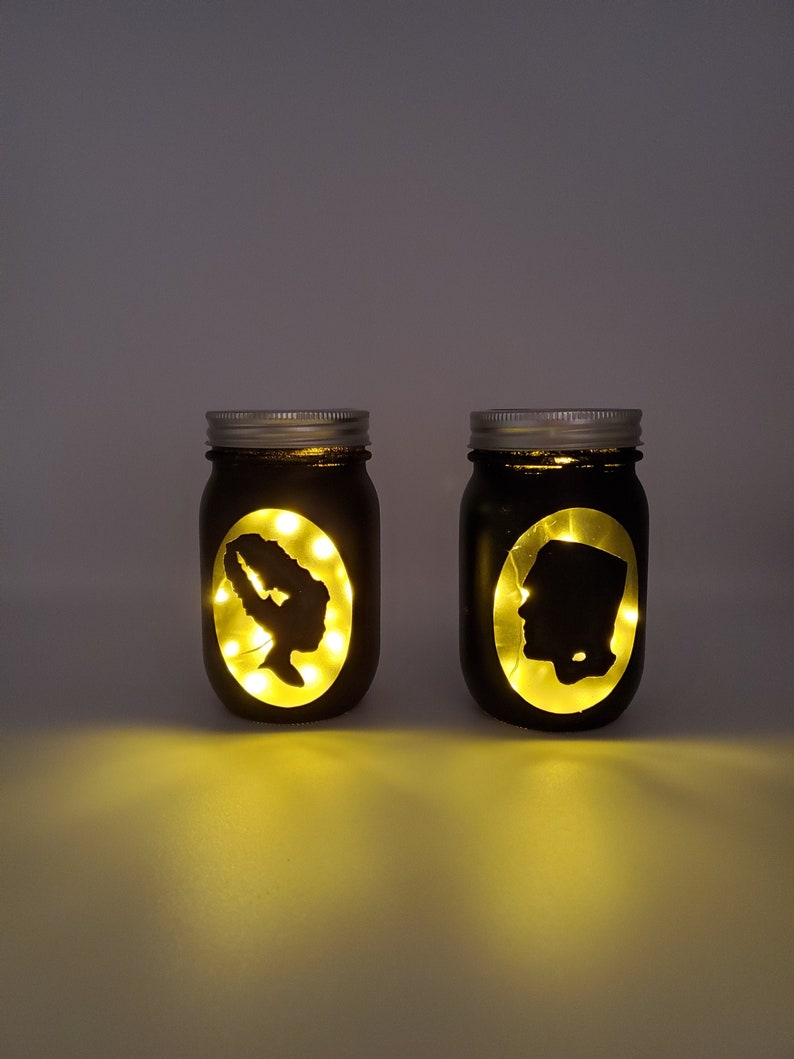
- Frankenstein & Bride Mason Jar Lanterns
- Halloween Monster Mason Jars
- Frankenstein Glitter Light Mason Jar
- Vinyl Decal Frankenstein
More Halloween Crafts:
If you love Halloween crafts, you’re in luck. We have a few others on the blog that you’ll love. Check them out below.
More Mason Jar Crafts:
If you buy a case of mason jars to make this craft, and you have some left over, you can use them to make some of our other mason jar crafts.
- DIY Mason Jar Ghost
- Graduation Cap Mason Jar Craft
- DIY No. 2 Pencil Mason Jar Pencil Holder
- DIY St. Patrick’s Day Rainbow Jar Craft
Frankenstein Mason Jar Craft

Upcycle an old mason jar, wine cork, and leftover paper shred to make the cutest Frankenstein Mason Jar craft for your fireplace mantle.
Materials
- Smooth sided Mason jar (or upcycled glass jar)
- Green paper shred
- Black card stock
- School glue
- White card stock
- Wine cork
- Black acrylic paint
- E6000 glue
Tools
- Scissors
- Paint brush
Instructions
 Fill the mason jar with green paper shred and close the lid on the mason jar.
- Cut a 1-inch strip of black card stock. Haphazardly cut triangles out of the bottom two-third of it, making bangs.
- Glue those bangs to the mason jar lid.
- Cut the rest of Frankenstein’s face from the white and black card stock. Cut a unibrow from the black card stock. Then, cut white half circles for the eyes and black circles for the pupils. Glue the pupils down, then glue the eyes to the back of the unibrow. Cut a thin black strip for the mouth, then tooth teeth from the white. Glue one tooth above the mouth and one below it. Cut a small black rectangle for the nose. And finally, cut a long black strip and a few smaller black strips. Glue them together to form Frankenstein’s famous stitches.
- Use the glue to glue the face on the jar. Let the glue dry.
- While that’s drying, use the scissors to cut the wine cork in half. Paint it with the black paint. Let the paint dry. When the paint has dried, use E6000 glue to stick the wine cork halves to the side of the head. Let them dry.
Notes
Have you used this Frankenstein Mason Jar Craft Tutorial to make your own homemade Halloween décor? Let us know in the comments.
Niki - Life as a LEO Wife
Friday 8th of October 2021
Adorable!
Donna @ Modern on Monticello
Tuesday 5th of October 2021
This is so cute and I love how easy it is to make.
Joanne
Saturday 2nd of October 2021
He turned out great! Thanks for sharing with us. Pinned.