
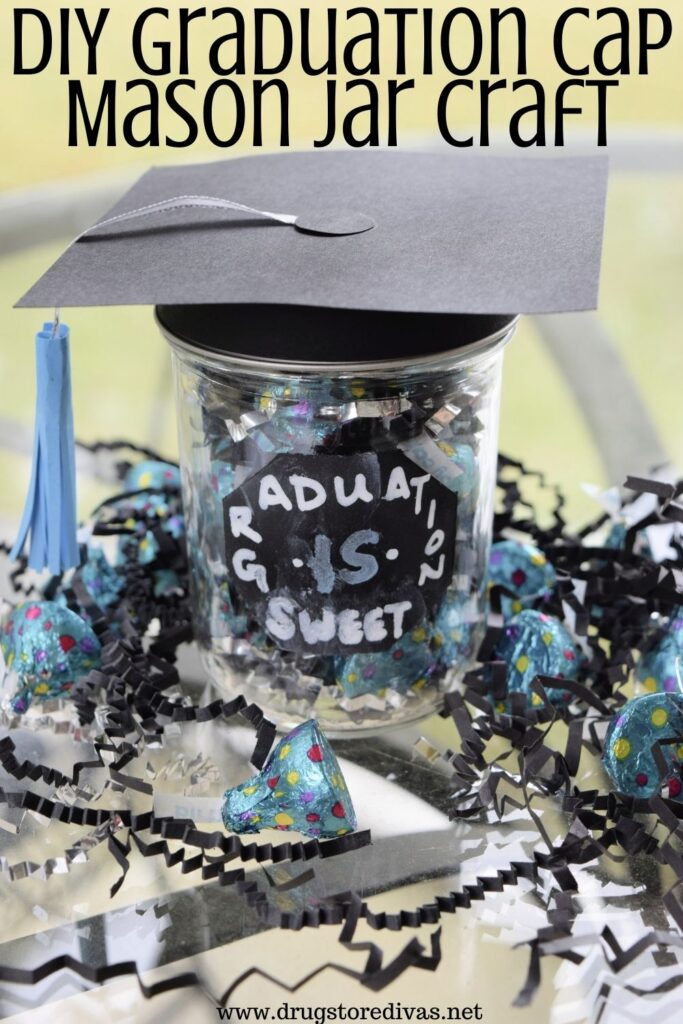
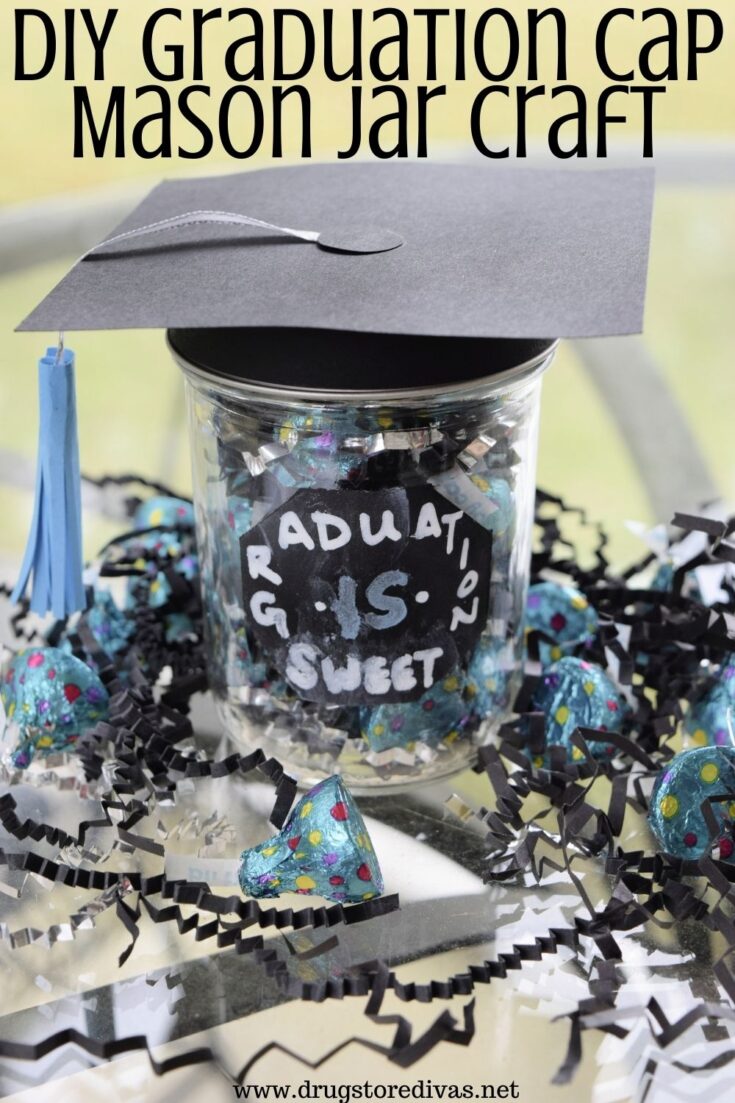
Graduation season is upon us. If you’re looking for a gift for a grad, or a favor for a graduation party, check out our DIY Graduation Cap Mason Jar Craft.
For more DIY ideas, check out all of our other craft posts.

Cash is king, as far as graduation gifts go, for high school students. Money for books, money for non-dining hall food, money for stamps to send cards to mom.
But for college graduations, money is a little funny. The graduate has a degree now and (potentially) a full time job. So yes, the graduate has to start paying back student loans, but your money won’t go as far.
So a token gift, like our DIY Graduation Cap Mason Jar, makes a little more sense.
We filled ours with candy, which makes it a really great graduation party favor. You could make it and fill it with dollar bills, if you’re set on giving cash as a gift. You could also fill it with a coffee gift card because college graduates will really need some coffee.
DIY Graduation Cap Mason Jar Craft
Affiliate links are included in this post and Drugstore Divas may make a small commission if you use them.
DIY Graduation Cap Mason Jar Craft Supplies:
You can get the full list of supplies in the how to card below.
- Mason jar – We use an 8 oz. jar here, but you could use a 16 oz. jar.
- Tape – You need painter’s tape to create a shape for the spray paint and regular tape for the card stock.
- Chalkboard spray paint – You need this paint if you’re planning on writing on the jar.
- Card stock – You want black for the graduation cap then a second color for the tassel.
- Paper trimmer – This makes cutting the paper for the graduation cap easier, but you could just use scissors.
- Scissors
- Ribbon – You want to match the tassel color.
- Glue
- Erasable chalk markers
- Paper shred – You want to match the tassel color.
- Candy – Any type of wrapped candy works.
How To Make A DIY Graduation Cap Mason Jar:

Start with a smooth sided mason jar.
You can use a pint or half pint sized mason jar. Keep in mind, small mason jars will take less candy to fill it than a large mason jar will. Either size will work to make graduation mason jars. What really matters is that the sides are smooth. It’ll be easier for the rest of the craft that way.
Remove the top of the jar (both the top of the lid and the outer band).
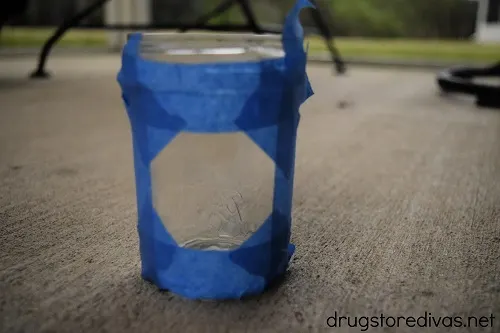
Use the painter’s tape to tape off a section of the mason jar that will be spray painted. You can make any shape you want, but one with sharp edges (like a rectangle, trapezoid, etc.) will be easier to tape off than a shape with rounded edges.
Make sure the painter’s tape is completely pushed down.

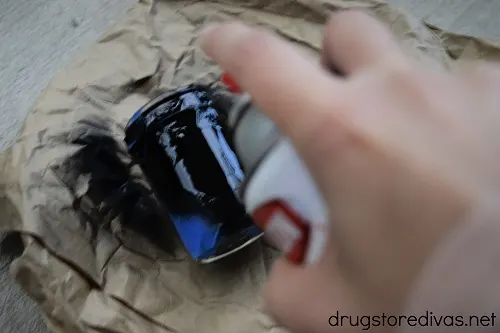
Spray the taped off section with the chalkboard spray paint. Set it aside and let it dry overnight.

When it’s dry, make the graduation cap.
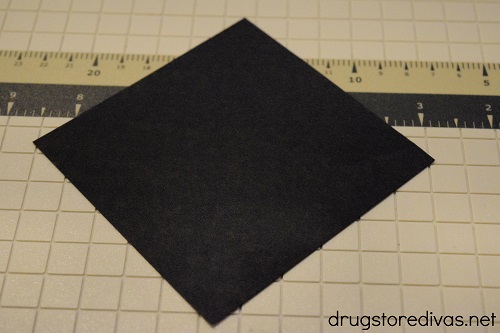
Using the paper trimmer, cut a 4- x 4-inch square from the black card stock.


Cut a strip of black card stock to be a little wider than the outer band of the mason jar lid. Wrap the card stock around the outer band and secure it with a little bit of tape. Make cuts, perpendicular to the outer band, to create sections.
Push those cut sections down.

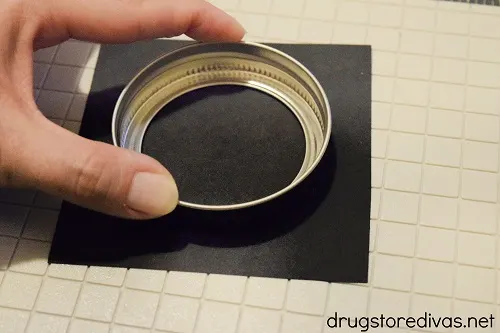
Add a few dollops of glue to those sections and stick the card stock square to it, making sure to push down to secure the card stock.
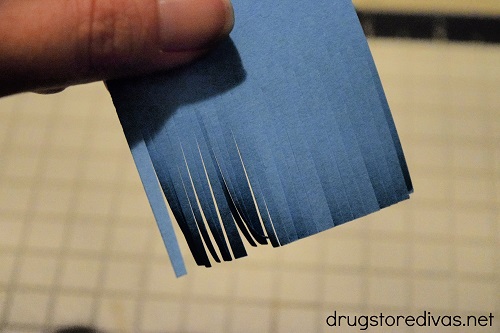
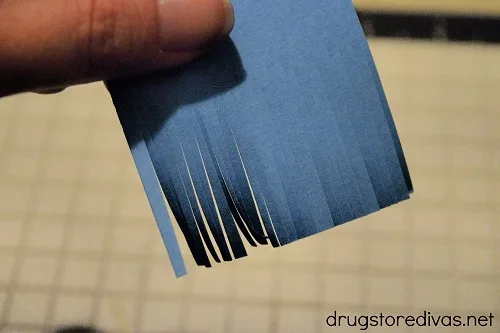
Cut a 2- x 2-inch square from the blue card stock. Use the scissors to cut thin slits about 3/4 of the way up.
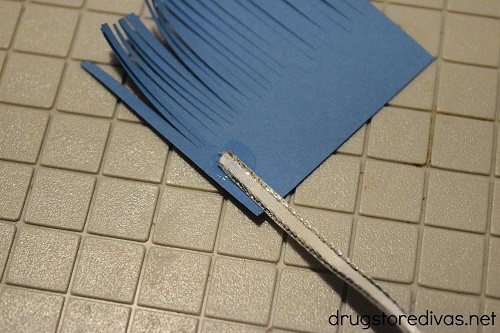

Cut a piece of ribbon about three inches long. Glue one end of the ribbon to the uncut side of the blue card stock square. Roll the card stock around the ribbon and glue it at the end to close it to create the tassel.
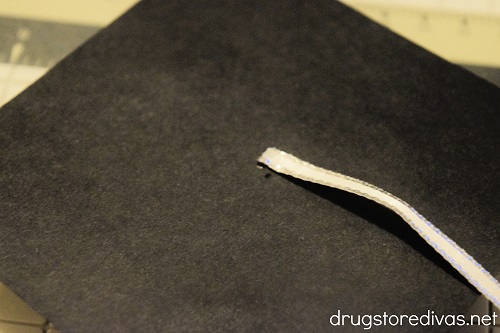
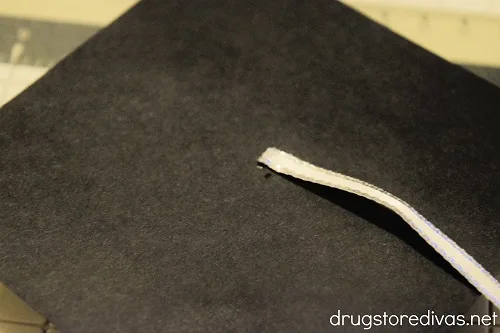
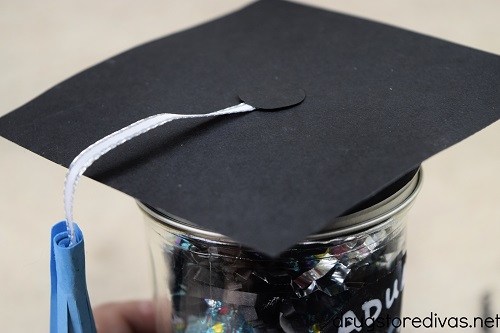
Add a tiny bit of glue to the center of the black card stock square. Use it to stick down the other side of the ribbon.
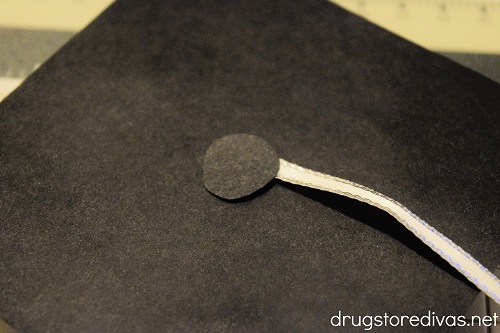
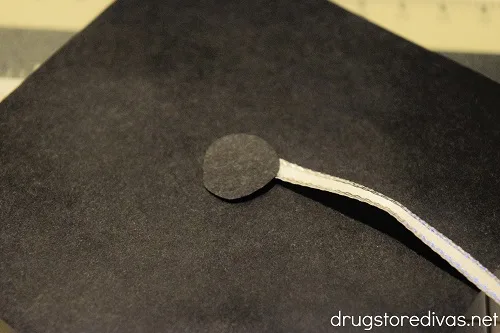
Cut a small circle from the black paper. Glue it on top of the ribbon.
Set the graduation cap lid aside to dry.

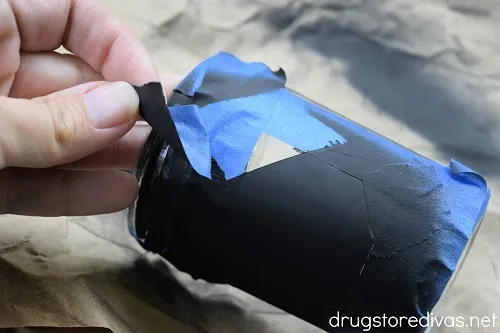
Now that the spray paint has dried, remove the painter’s tape from the mason jar.
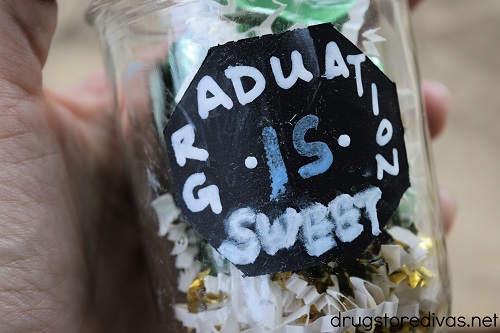
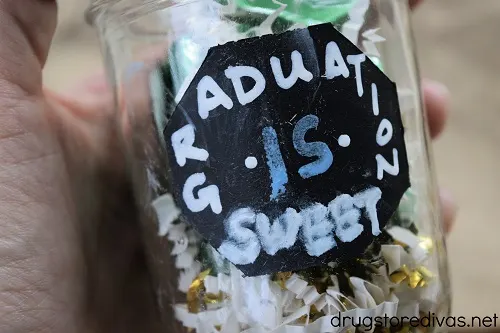
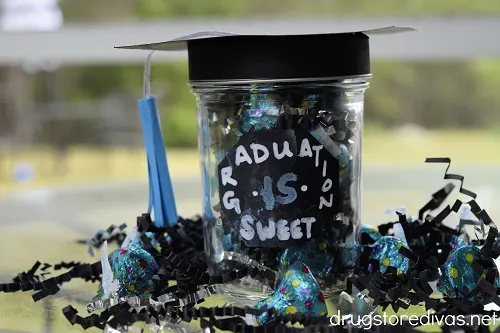
Use a chalk marker to write “Graduation Is Sweet” on the chalkboard shape.
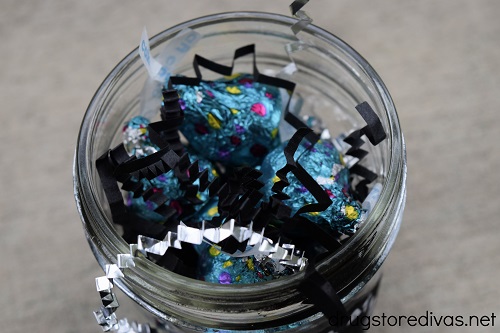

Fill the mason jar with alternating layers of paper shred and the grad’s favorite candy.

When your mason jar is filled, close the jar with the graduation cap lid.

Variations:
As A Graduation Party Favor:
Change the tassel color
You don’t have to use blue card stock for the tassel. You can use different colors. To make the gift feel more personalized, a fun idea is to the graduate’s school colors. You can also coordinate the type of candy you add to match the color of the tassel.
If you’re making these as a graduation party favor and want to fill them with color-coordinated candy, purchase bulk candy online, just like you would do for a wedding candy buffet. That’s so much easier and more cost effective than buying bags of it in the store.
And, if you have leftover candy, you can set it up in bowls for a dessert table.
As A Graduation Gift:
Add cash diplomas
If you want to give cash instead of candy, roll the cash and tie a piece of ribbon or yarn around it to look like a diploma. Stick the diploma dollars and paper shred into the mason jar.
If you do this, writing “Graduation Is Sweet” on the chalkboard portion doesn’t make sense, so instead you can just write, “Happy Graduation” or “Class Of 20XX” changing the XX for the correct year.
Add gift cards
If you want to give a gift card, you can fill the mason jar with paper shred or tissue paper, then stick the gift card in the center, similar to what we did in our coffee gift.
DIY Graduation Cap Mason Jar Craft: Frequently Asked Questions
If you want to make these craft a little easier, you don’t have to make the chalkboard shape in the center. Instead, you can purchase chalkboard stickers online. I’ve also found them at Dollar Tree. I used those on our Kisses For You Jar Craft.
If you don’t want to make the tassel out of card stock, you can make it out of embroidery floss. Make a 3-inch loop of string. Cut it on one side. Tie a small piece of string around the other side. That will form a loop. Put a long piece of string in that loop, then glue that piece to the top of the card stock graduation cap.
Alternatively, you could use crepe paper. Roll it up, cut it, glue it to ribbon, and then tape that to the top of the cap.
This is your DIY graduation gift, so you can use whatever supplies you want.

Purchase Graduation Cap Mason Jars Online:
If you like these graduation cap mason jars, but you’re not in the mood to make them, you can purchase them online. We found a few options for you on Etsy, like the graduation cap mason jar cap above.

More Mason Jar Crafts:
If you buy a case of mason jars to make this craft, and you have some left over, you can use them to make some of our other mason jar crafts.
- DIY Mason Jar Ghost
- Frankenstein Mason Jar Craft Tutorial
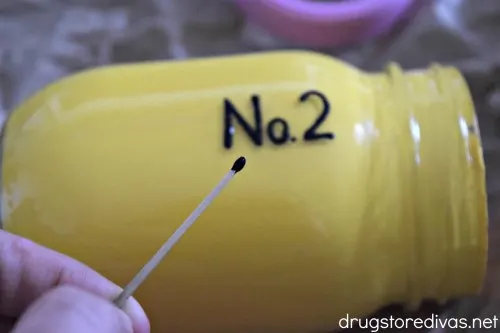
- DIY No. 2 Pencil Mason Jar Pencil Holder
- DIY St. Patrick’s Day Rainbow Jar Craft
And, if you’re making this for a December graduate so you also have Christmas gifts on your brain, you can make our DIY Snow Globe Mason Jar Toppers For Candy Holders too.
DIY Graduation Cap Mason Jar Craft

Graduation season is upon us. If you’re looking for a gift for a grad, or a favor for a graduation party, check out our DIY Graduation Cap Mason Jar Craft.
Materials
- Mason jar
- Painter’s tape
- Chalkboard spray paint
- Black card stock
- Tape
- Blue card stock
- Ribbon
- Glue
- Paper shred
- Candy
Tools
- Paper trimmer
- Scissors
- Erasable chalk markers
Instructions
- Start with a smooth sided mason jar. Remove the top (both the lid and the outer band). Use the painter’s tape to tape off a section of the mason jar that will be spray painted. Make sure the painter’s tape is completely pushed down.
- Spray the taped off section with the chalkboard spray paint. Set it aside and let it dry overnight.
- Using the paper trimmer, cut a 4- x 4-inch square from the black card stock.
- Cut a strip of black card stock to be a little wider than the outer ring. Wrap it around the mason jar outer ring and secure it with a little bit of tape. It will be larger than the outer ring. Make a perpendicular cuts, perpendicular to the outer ring, to create sections. Push those down.
- Add a few dollops of glue to those sections and stick the card stock square to it, making sure to push down.
- Cut a 2- x 2-inch square from the blue card stock. Use the scissors to cut thin slits about 3/4 of the way up.
- Cut a piece of ribbon about three inches long. Glue one end of the ribbon to the uncut side of the blue card stock square. Roll the card stock around the ribbon and glue it at the end to close it to create the tassel.
- Add a tiny bit of glue to the center of the black card stock square. Use it to stick down the other side of the ribbon.
- Cut a small circle from the black card stock. Glue it on top of the ribbon. Set the cap aside to dry.
- When the spray paint has dried, remove the painter’s tape from the mason jar.
- Use a chalk marker to write “Graduation Is Sweet” on the chalkboard shape.
- Fill the mason jar with alternating layers of paper shred and candy.
- When your mason jar is filled, close the jar with the graduation cap/outer ring.
Notes
You can use a pint or half pint size mason jar, depending on how much you want to spend to fill it.
Did you make this DIY Graduation Cap Mason Jar Craft? Let us know how it went in the comments.
Jennifer Wise
Thursday 22nd of May 2025
This is SO cute and clever, Lisa!