
If you’re looking for a homemade gift idea for a kid, this DIY Photo Memory Match Game is a great idea. Make it with photos of family members for a special touch.
For more craft ideas, check out all of our DIY posts.


If you follow Drugstore Divas a lot, you know that there are free photo deals all the time. I always print photos for our kitchen’s gallery wall (which will also sound familiar, if you’ve been around the blog for a while). But, at this point, how many random photos does one person really need?
So, for the most recent deal, I decided to make one of those memory match games for my nephew, using photos of all the people in his family. I used him, his brother, their parents, his aunts and uncles, their kids, and both sets of grandparents as the pieces.
It came out so much cuter than I could have expected.
If you’re looking for a great way to use a free photo deal, or just want to make a gift, this personalized memory game is definitely it.


If you’re like me and you love giving gifts with family photos for presents, check out our list of the 10 Best Photo Gift Ideas for more inspiration.
DIY Photo Memory Match Game
Affiliate links are included in this post and Drugstore Divas may make a small commission if you use them.
DIY Photo Memory Match Game Supplies:
You can get the full list of supplies in the how to card below.
- Photo print – You can print these at your local drugstore or wherever you get photos printed.
- Circle punch – A circle punch makes this so easy, but if you don’t have one, scissors are fine.
- Wooden discs – We use one inch discs.
- Can of spray paint – You can use any color you want.
- Mod Podge – The gloss sealer variant works best.
- Paint brush
- Mesh bag – This is optional, but you do need somewhere to hold all the wooden discs.
How To Make A Photo Memory Match Game:

Quick note: Our game uses 1-inch wooden circles with .75-inch photos of them. We found this to be the perfect size for little hands. Of course, you can use different sizes, if you prefer.
Since you want to use your own photos, and not just random stock images, you first need to make sure you have digital photos of every person in your family, looking straight at the camera. This game is a fun way to work on facial recognition for young children who have relatives that live far away, so you want to make sure the faces are clear and easily distinguishable.
Open a new project on Canva.com. (Honestly, you don’t have to use Canva, but I think it’s the most user-friendly option, plus it’s free to use.) Set the custom dimensions to be whatever sized photo you’re printing, times four, to assure the photos aren’t grainy and are high quality when they print. So, if you’re printing a free 4×6, set the custom size in Canva to be 1600×2400.
From “elements”, choose a photo circle. You want this to print the circles .75-inches. So, when you’re resizing it, you want to make it four times 75, which is 300.
Copy that circle onto the image as many times as necessary. You’ll want one per person in your memory game.
Upload photos of your family members and then drop them into those photo circles. You can resize the images within the circle as needed.
Print two copies of the photo (because you need two identical photos).
Side note: We always get our photos printed at the photo lab in drugstores, even though I always have photo paper at home, because it ends up being cheaper. But, you could save a little time and print these at home if you have a photo printer and are making this on a time crunch.
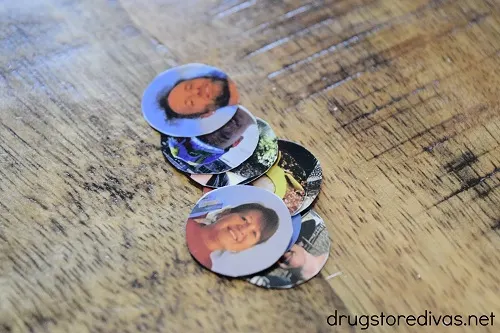
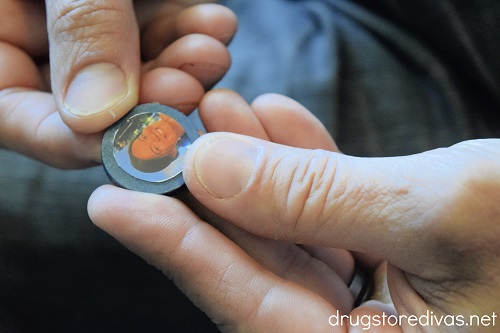
Use scissors to cut out the individual circle.
This is a little bit of a tedious task and really requires steady hands. If you want to make your life easier, or if your eyesight isn’t great for cutting perfect circles, the best way to cut perfect circles is to use a .75-inch circle punch. You just align the photo under the punch’s circle, push down, and the circle is punched out. Much, much easier.
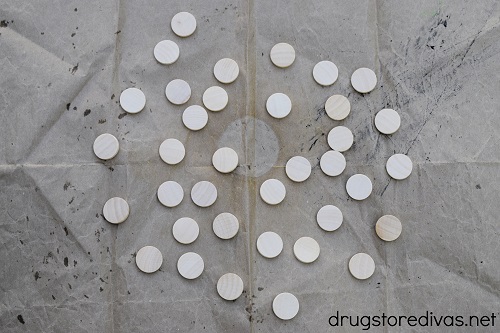
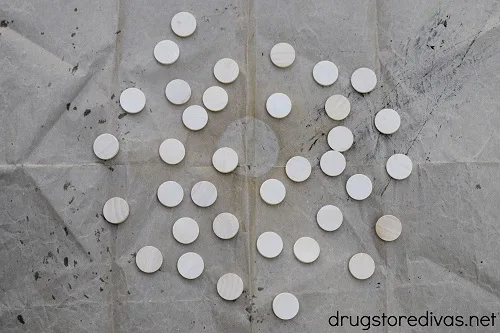
Set the wooden discs on scrap paper and spray paint them. We always suggest spray painting outside, on scrap paper, so you don’t ruin any of your surfaces inside.

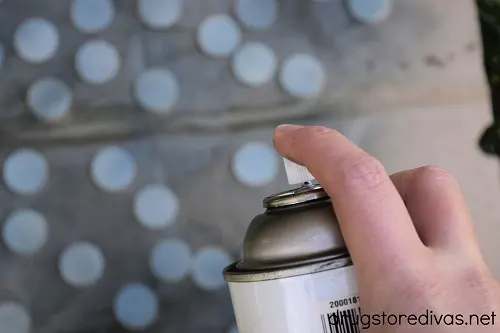
Let the paint dry. Then, flip the wooden discs over and spray paint the other side.
You don’t want to spray too thick of a layer of paint, but you can spray one thick enough that you won’t need any additional coats of spray paint.
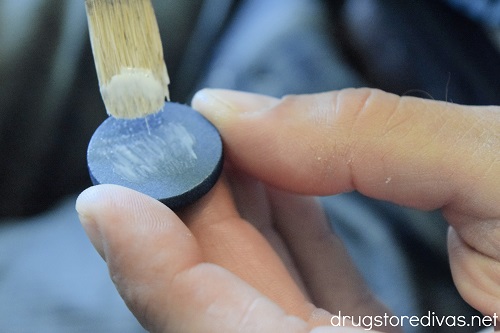

When those are dry, paint a thin layer of Mod Podge in the center of the painted disc.

Gently press one of the photo circles into the center, making sure the edges are stuck down. Continue until you’ve finished all the photos.
Let the Mod Podge dry overnight before playing.

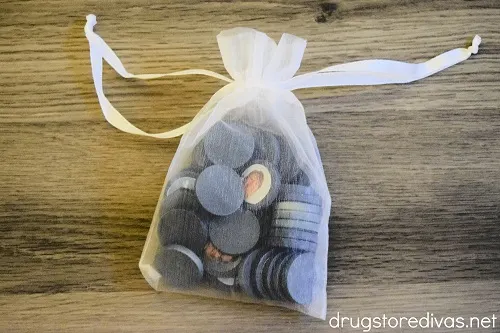
Store the pieces in a small, mesh bag when you’re not playing. That makes it super portable too, so you can easily take this game with you on any family vacations you have planned.

Memory Matching Game Rules:
In case you haven’t played memory in a long time, here are a quick run down of the rules.
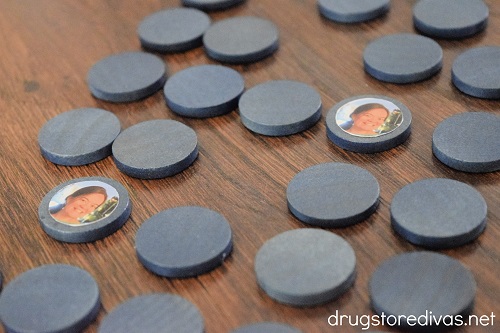
All the tiles are placed, photo side down, then shuffled around. Line them up in rows or some other similar shape.
The first player flips over two tiles, looking for a match. If he succeeds, he gets to keep the tiles and go ahead. If he doesn’t match, he flips the tiles back, photo side down, and his turn is over.
The next player flips over two tiles, looking for a match. As with Player 1, if Player 2 succeeds in matching two like photos, he gets to keep the tiles and go again. If he doesn’t match, play goes back to Player 1.
Continue until all the tiles are done. The player with the most matching pairs wins.
If you’re playing with a young child, only use some of the tiles. Start with four sets, so eight tiles total. As the child gets a better understanding of the game, or if you’re playing with older children, you can introduce more tiles into play.
DIY Photo Memory Match Game: Frequently Asked Questions
I like the feel and look of the wooden disc. But, if you prefer, you can make a set of cards using card stock.
This would definitely be a different craft because you would need to print the photos larger, and rectangular, instead. Use a paper cutter to cut the photos and colored card stock to be the same size. Glue them together (you can use a glue stick for this). I would suggest using a corner rounder to cut the corners into rounded edges instead of sharp edges.
If you had a nice printer, you could print directly onto card stock, but you need to use a thick paper to make sure the images aren’t visible through the back. If it is, you’ll want to stick solid colored card stock on the back. Don’t use scrapbook paper, which is filled with patterns. You won’t be able to get every one exactly the same and people could start memorizing the cards, making the game too easy.
If you make these and have leftover wood slices to use, we use the same ones in our DIY Christmas Card Magnets.
Since the photos are small, you don’t need a lot of Mod Podge to stick them down. And, unless you’re digging your nails under the photos, they won’t pop off.
We use a similar technique when we’re making Homemade Photo Coasters. The photos don’t stick as well to the ceramic tile as they do to the wood, so I always add a layer of Mod Podge, followed by a layer of triple clear glaze, on top of the photos.
I don’t recommend that with this project. The photos were affixed pretty well, so I originally skipped a top layer of Mod Podge and sprayed clear glaze on top. It instantly started eating away at the photos (which you can imagine was a horrific scene of melting faces that even Dali would turn away from). So, I popped those off, redid the set, and just left the photos alone. The set is fine.

More DIY Games
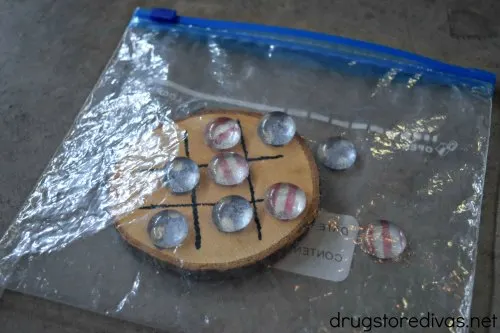
This Photo Memory Match game isn’t the only game tutorial we have on Drugstore Divas. If you want something else, you can also make our DIY Travel Tic Tac Toe Game.
DIY Photo Memory Match Game
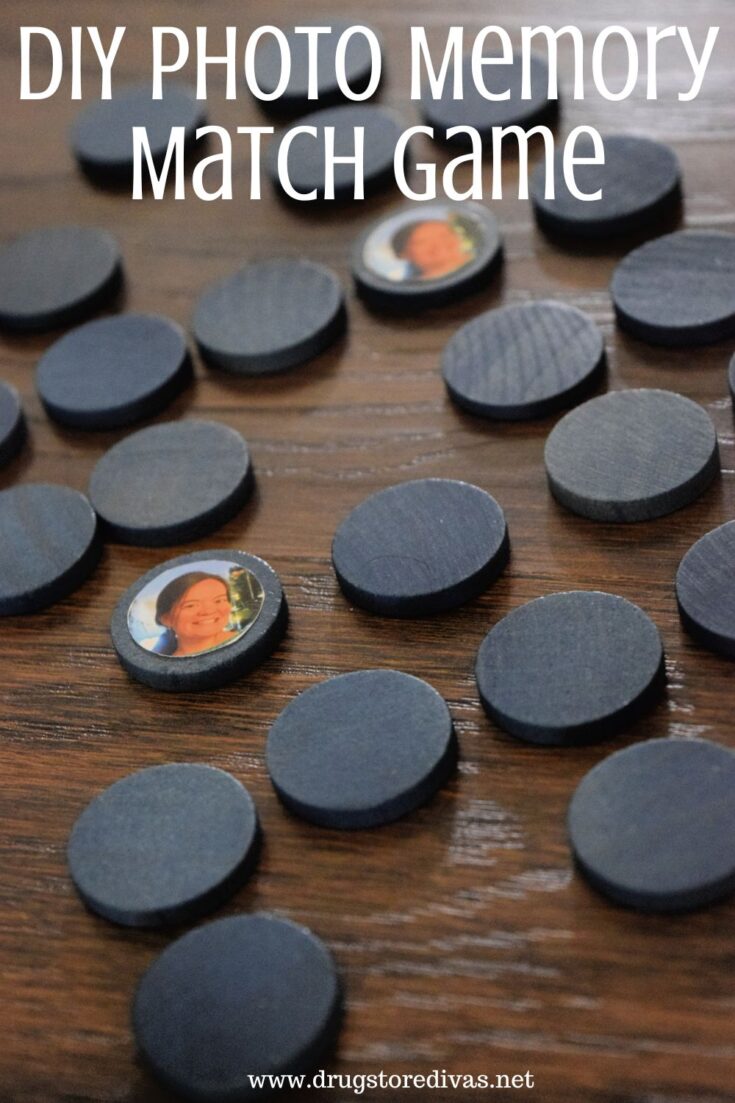

If you’re looking for a homemade gift idea for a kid, this DIY Photo Memory Match Game is a great idea. Make it with photos of family members for a special touch.
Materials
- Photo print *details below
- 1-inch wooden discs
- Can of spray paint
- Mod Podge
- Mesh bag (optional)
Tools
- Scissors or .75-inch circle punch
- Paint brush
Instructions
- Create a photo on Canva (see the post for full instructions on how to do this). Print two copies.
- Use scissors to cut out the individual circle.
- Set the wooden discs on scrap paper and spray paint them.
- Let the paint dry. Then, flip the wooden discs over and spray paint the other side.
- When those are dry, paint a thin layer of Mod Podge in the center of the painted disc.
- Gently press one of the photo circles into the center, making sure the edges are stuck down. Continue until you’ve finished all the photos. Let the Mod Podge dry overnight before playing.
Notes
Did you make this DIY Memory Match Game? Let us know how it went in the comments.