


My parents went on the most amazing road trip right before the world shut down. They took their RV from Florida to New Mexico and back. They used my dad’s phone as a GPS and every time they crossed into a new state, my dad snapped a photo of the welcome sign with his phone’s camera. When they got home, he asked me if I could make him Homemade Photo Coasters from his shots.
See, when they were stopped at Guadalupe Mountains National Park, my dad saw photo coasters from the park. He thought about buying one, but didn’t.
They stopped at Big Bend National Park during their road trip, and he saw more photo coasters. He looked through them and although there were a bunch of National Parks available, there was no Guadalupe coaster.
That’s when he decided he would just ask me if I could make him a photo coaster set. He had a photo of my mom in front of a Guadalupe National Park sign, so that would make up for the one he didn’t buy. And then he sent me another park photo, plus eight welcome to state signs for a full set of 10.
Of course, you can make as many or as few coasters as you want.
Homemade Photo Coasters
You can purchase ceramic coasters online to make these. But, most places will charge over $1 per coaster. That’s expensive. So instead, I use ceramic tiles from the hardware store. I can find them at our local Lowes Hardware for 15 cents each. That’s a lot better than $1.
Our local Lowes will also let you order ceramic tiles online for in store pick up or you can purchase them in store. Our local Home Depot doesn’t offer them online (and because of that, I never buy them there, so I have no idea if Home Depot sells ceramic tiles in store).

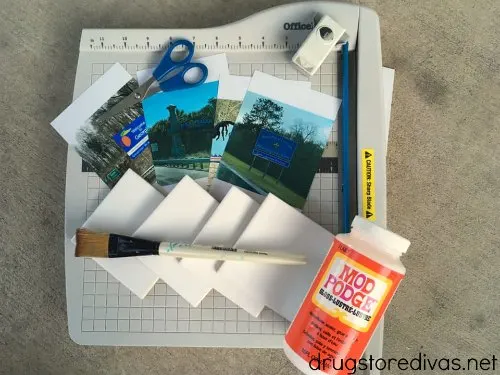
Homemade Photo Coasters Supplies:
- 10 4×4 ceramic tiles
- 10 glossy photos
- Paper trimmer
- Corner rounder
- Mod Podge
- Paint brush
- Triple clear glaze
- Felt
- Scissors
- Glue
* If you don’t want to buy all the supplies to make photo coasters, this Photo Coaster Resin Craft Kit has the majority of the supplies in one kit.
How To Make Homemade Photo Coasters:
Print your photos.
Some websites will allow you to print 4×4 photos. If you don’t see that option wherever you want to print, you can resize your images to 4×4, then upload them as 4×6 images to print as a 4×6. That’s what I did with my dad’s photos. (Side note: There’s a quick tutorial on how to do that at the end of this post.)
Trim your photos using a paper trimmer to 3 and 7/8-inch squares.
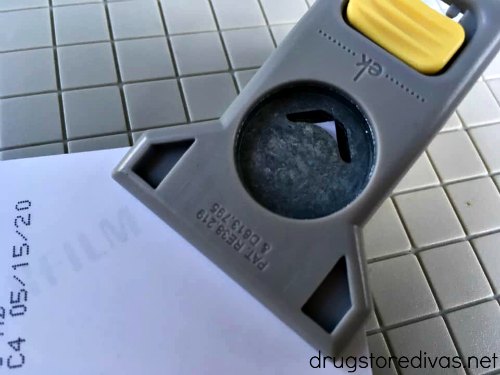

Use the corner rounder to round each corner.


Believe me when I tell you this looks so much better and more professional than square corners.


Paint a very small layer of Mod Podge onto the coaster.
Gently place the photo on top of the Mod Podge and carefully press down.
Continue until you have all 10 of your coasters done.
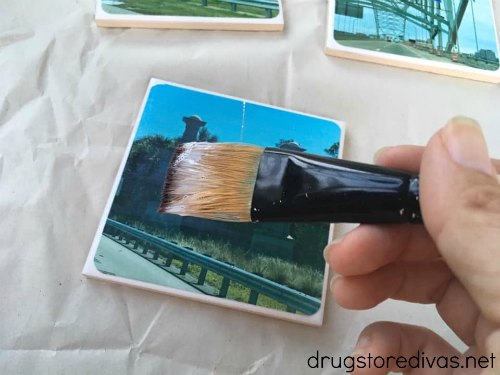

Paint a very thin layer of Mod Podge over the image, making sure to go from left to right when you apply the Mod Podge.
Let it dry overnight.
Paint a second thin layer of Mod Podge over the image, this time going from the top to the bottom.
Let that dry overnight.

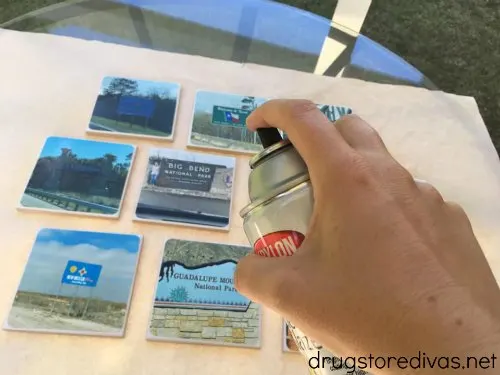
Spray the coasters with triple clear glaze. This will assure that your drinks will not stick to the coasters, even if your glasses are wet from condensation. Skipping this step could potentially ruin your coasters.
Let the glaze dry overnight.

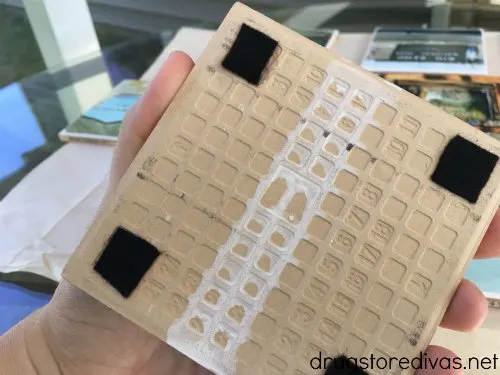
Cut four small felt pieces per coaster. Use glue (either white glue, a glue gun, or E600) to affix them to the bottom of each coaster. Let the felt dry completely before using.
Tips when using the Mod Podge for homemade photo coasters
– Paint the layer very thin of Mod Podge to make sure it doesn’t clump or bubble. More thin layers work better than less, thick layers. If you end up with bubbles, they will eventually pop and form circles on your coasters.
– Don’t worry if the Mod Podge is cloudy. It may look bad at first, but the Mod Podge will dry clear.
– Paint in one continuous stroke from edge to edge. If you can’t, at least make sure your brush strokes are all going in the same direction. So always go left to right, don’t mix left to right with right to left or up and down.
– Make sure you are painting the edge of the photo so it affixes onto the front of the coaster. You need to leave a space between the edge of the photo and the edge of the coaster so the Mod Podge can hold the photo down to something. If you cut the photo to the edge, there’s nothing to stick the photo to and it will pop up and eventually pull off.
How to resize your photos to 4×4 for homemade picture coasters
If you’re using Instagram photos to make your own photo coasters, those are perfect because they’re already a square. But if you’re taking a photo from your phone or your camera, it’s usually formatted as a 4×6. And most stores will print 4×6 photos cheaply, but charge you more to print a 4×4 photo.
So your most cost-effective option is to resize your 4×6 photos to be 4×4, then print them as 4×6.
It’s actually a lot easier than you think.
Upload your photo into PicMonkey.com (that site is free to use).
Click the crop tool. Choose “square” from the drop down menu. Click and drag the edge of the crop box as far as it will go, then move it to the perfect 4×4 section of your image.
Save it.
Open Canva.com (which is also free to use).
On the top right size, choose “Create a design”. Then, choose “Custom dimensions” and create a 400 x 600 pixel design.
Upload that new cropped image, then drop it onto your 400×600 design. Click and drag the edge until it reaches the edge of your 400xx600 design. You will have 200 pixels of white space.
Save that. Now, you have a square picture on a 4×6 image. Order that and when it arrives, just trim the edges with a paper trimmer.

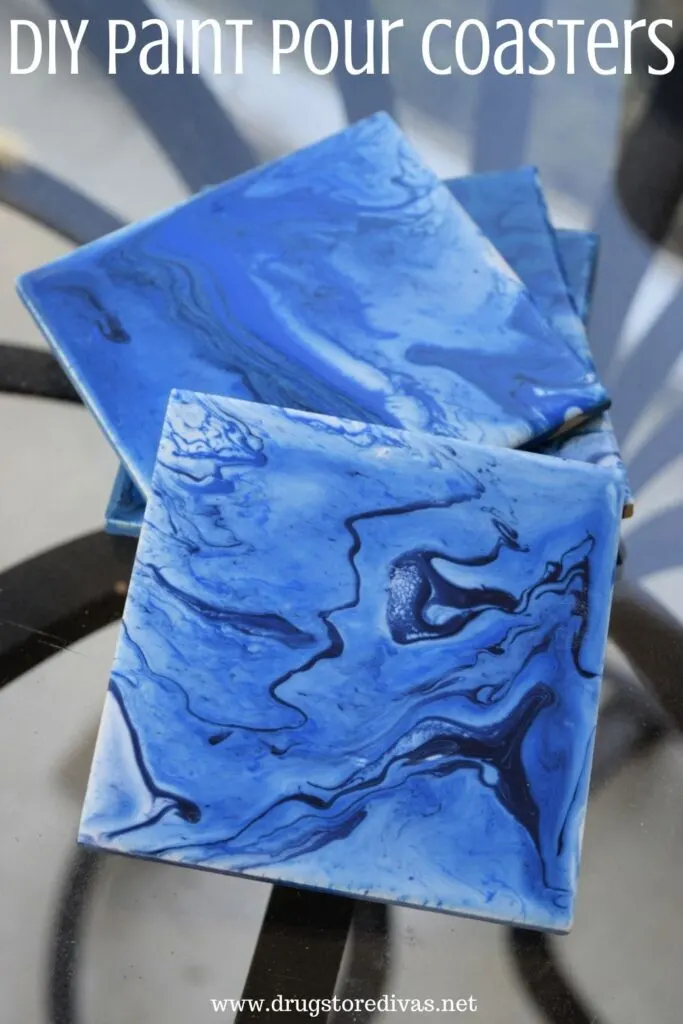
Want more DIY coasters?
We have a few other DIY coaster tutorials that you might enjoy:
Homemade Photo Coasters
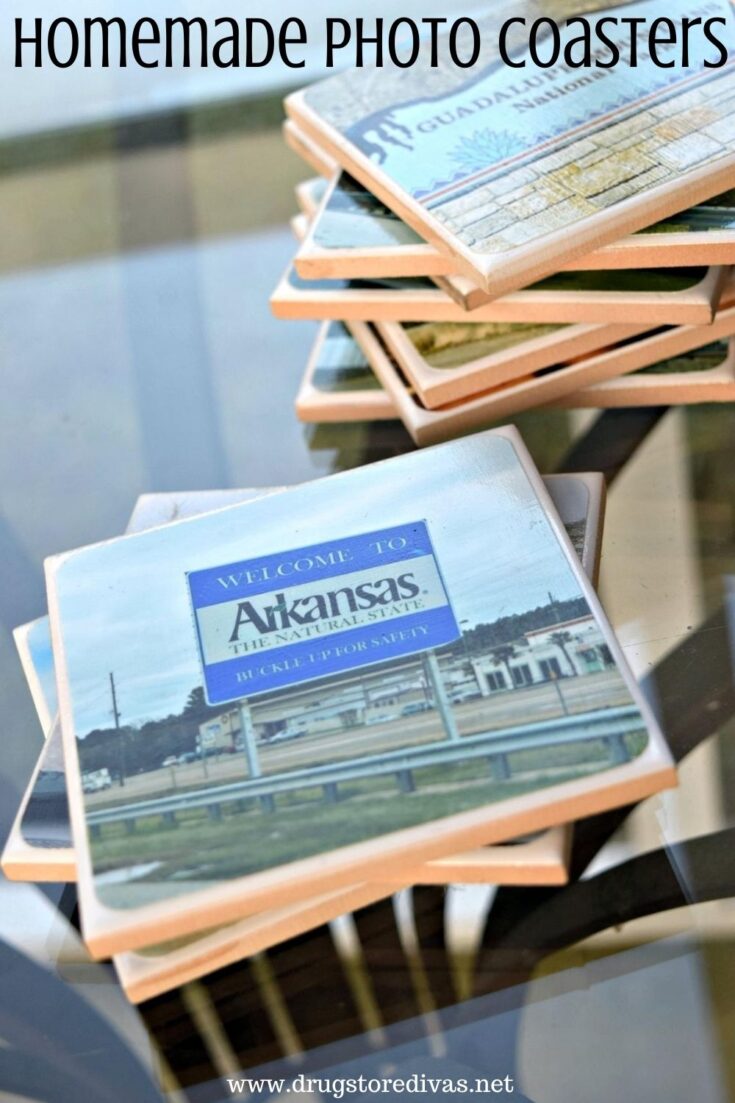

Homemade Photo Coasters are a great personalized souvenir after a trip.
Materials
- 10 4×4 ceramic tiles
- 10 glossy photos
- Mod Podge
- Triple clear glaze
- Felt
- Glue
Tools
- Paper trimmer
- Corner rounder
- Paint brush
- Scissors
Instructions
 Print your photos. Trim your photos using a paper trimmer to 3 and 7/8-inch squares. Use the corner rounder to round each corner.
- Paint a very small layer of Mod Podge onto the coaster. Gently place the photo on top of the Mod Podge and carefully press down. Continue until you have all 10 of your coasters done.
- Paint a very thin layer of Mod Podge over the image, making sure to go from left to right when you apply the Mod Podge. Let it dry overnight. Paint a second thin layer of Mod Podge over the image, this time going from the top to the bottom. Let that dry overnight.
- Spray the coasters with triple clear glaze. Let the glaze dry overnight.
- Cut four small felt pieces per coaster. Use glue (either white glue, a glue gun, or E600) to affix them to the bottom of each coaster. Let the felt dry completely before using.
Notes
Comment below and let us know what photos would you use to make these Homemade Photo Coasters?
Rebecca Payne
Friday 31st of July 2020
How cute.