
If you don’t want to throw away this year’s Christmas cards, just upcycle them into these cute DIY Wood Slice Christmas Card Magnets.
For more crafts, check out all of our DIY posts.


I love exchanging Christmas cards. It’s something I’ve done ever since middle school. So of course, I send them now and hang them up and down our staircase in the living room.
But, when Christmas is over, I feel so bad just recycling the cards. I’m always looking for something to do with them to after the holiday season is over.
If you are too, make our DIY Wood Slice Christmas Card Magnets. They’re such an easy Holiday DIY. You take your favorite cards, stick them onto wood, and stick them to the fridge. Super easy.
Okay, it’s a little more involved than that, but I promise, it’s so easy and such a fun way to upcycle your cards.
For this fridge magnets tutorial, we only use standard greeting cards, but if you have photo cards you want to use, you can use those too.
And, actually, if you do have those, here’s a fun idea. You can follow this tutorial and make fridge magnets with your friend’s kids’ photos from this years card. Then, give them the magnets as a holiday gift next year. That’s a great way for them to have a piece of their cards and a great way for you to give a really thoughtful gift that’s also really frugal.


If you bought a large pack of wood slices and now you have extras, these are the same ones that we used to make our DIY Photo Memory Match Game.
DIY Wood Slice Christmas Card Magnets
Affiliate links are included in this post and Drugstore Divas may make a small commission if you use them.
DIY Wood Slice Christmas Card Magnets Supplies:
You can get the full list of supplies in the how to card below.
- Christmas cards – This craft is the perfect way to upcycle your old cards.
- Natural wood slices – You can choose a larger size if you want, but don’t go smaller. You won’t be able to fit enough of the photo on a smaller slice.
- Pencil
- Scissors
- Black acrylic paint – You can substitute wood stain for this.
- Paint brush
- Mod Podge
- Magnet tape – You can substitute small magnets for this if you can’t find the tape.
- E600 glue (optional)
How To Make DIY Wood Slice Christmas Card Magnets:

Grab your old Christmas cards. You want ones with a Christmas design that’s small. Anything too large won’t fit on your magnets.
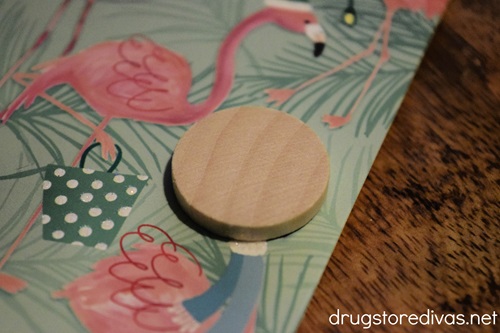
Lay one of the wood slices on top of the Christmas card.
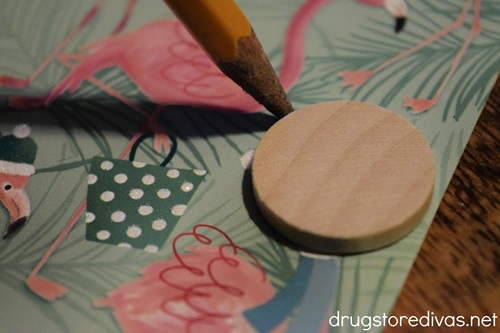

Outline it with the pencil.

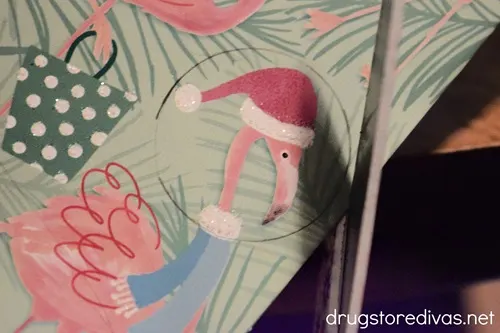
Cut out the circle, slightly inside from where the pencil circle is.
You want to do this so you can see part of the wooden slice later.
If you cover the entire wooden slice, there’s no point to using it. In that case, you can just use anything as the base.

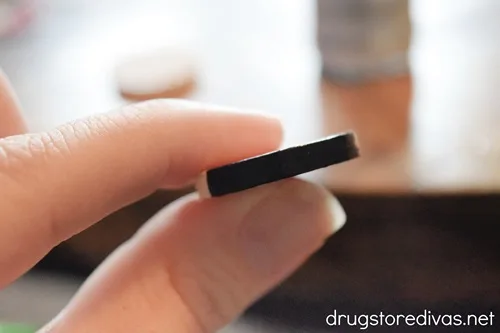
Paint the outer ring of the wood slice black.
Let it dry.

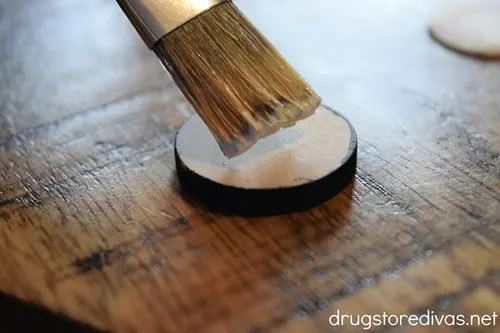
Use the paint brush to apply a little bit of Mod Podge to the flat side of the wood slice.

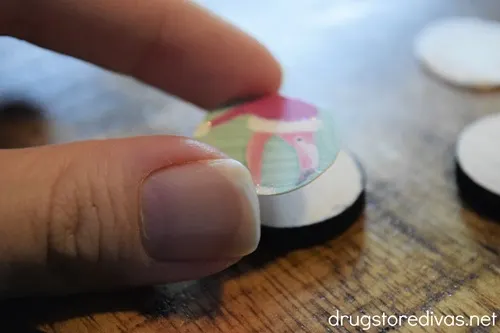
Put the card cutout on top of the Mod Podge, centering it as best as you can.

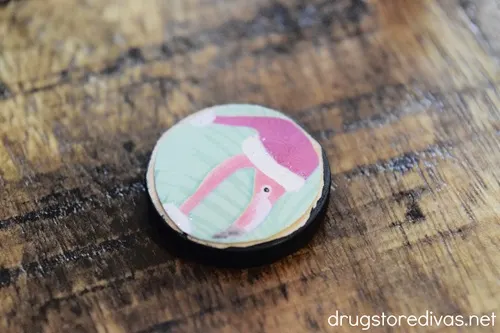
Use your fingers to push down in the card cutout out to secure it.
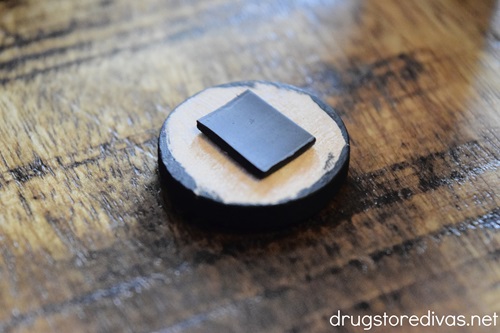

Cut a piece of the magnet tape.
Tape it to the back of the wooden slice.
Quick note: If the tape is old and the stickiness has warn off, you can use a dab of E600 glue to hold it down.
Also, if you don’t have magnet tape, you can just use magnets. Magnet tape is easier because it’s sticky on one side, so you can just stick it down without needing glue. You need glue for traditional magnets. But, use whatever you have handy.
When everything is completely dry, use your magnets on your fridge.

DIY Christmas Card Magnets: Frequently Asked Questions
We use 1-inch wood slices, which are a good size for magnets, in my opinion. They don’t take up too much space on the fridge and can still fit a design on them. However, you can use any size you think is best.
Just keep in mind that if you use wood slices that are smaller than 1-inch, you won’t really see too much of the design, which is the entire point of the craft.
When I’m using Mod Podge with photos, which have a tendency to curl up, like in our Homemade Photo Coasters, I add a layer of Mod Podge on top to hold the photos down. But, Christmas cards are printed on flat paper, so you don’t need a layer on top to hold them down.
Just make sure you follow the step where we say press down on the cards. If you don’t do that, the cards may pop up.
Christmas just ended, so I have a bunch of Christmas cards around the house, which is why I used Christmas cards in this craft. But, of course you can use any other holiday cards you want. If you have cute birthday cards that you want to save, this is a great way to do it.
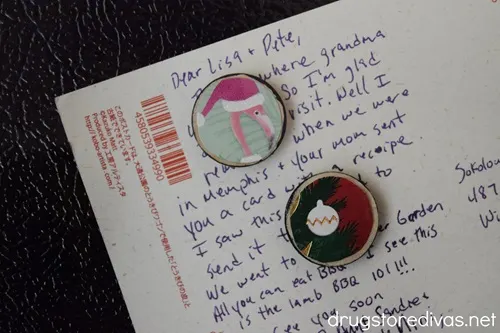
And, if you don’t have greeting cards, this craft would also work with postcards. So you can either wait for someone to mail some to you or you can purchase some on your next trip and make these as a way to remember that vacation.

More Ways To Upcycle Christmas Cards:
If you made a bunch of magnets and you still have leftover holiday cards, we have a few other crafts you can make with them.
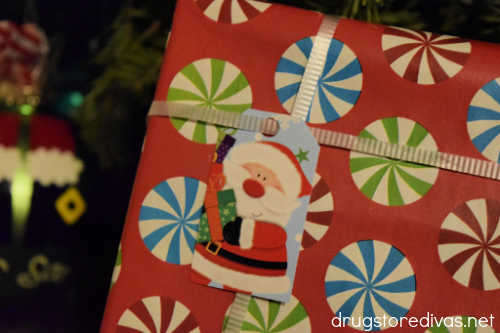
If you have a lot of cards, make our Christmas Card Tree. You need a bunch to make the Christmas tree feel full enough. If you don’t have that many cards left, you can use the ones you do have to make gift tags for next year. Or, if you don’t feel like being crafty at all (and that’s absolutely fine), you can donate your old cards to St. Jude’s Ranch so they can be upcycled.
DIY Wood Slice Christmas Card Magnets


If you don’t want to throw away this year’s Christmas cards, just upcycle them into these cute DIY Wood Slice Christmas Card Magnets.
Materials
- Christmas cards
- 1-inch wood slices
- Black acrylic paint
- Mod Podge
- Magnet tape
- E600 glue (optional)
Tools
- Pencil
- Scissors
- Paint brush
Instructions
- Grab your old Christmas cards.
- Lay one of the wood slices on top of the Christmas card.
- Outline it with the pencil.
- Cut out the circle, slightly inside from where the pencil circle is.
- Paint the outer ring of the wood slice black. Let it dry.
- Use the paint brush to apply a little bit of Mod Podge to the flat side of the wood slice.
- Put the card cutout on top of the Mod Podge, centering it as best as you can.
- Use your fingers to push down in the card cutout out to secure it.
- Cut a piece of the magnet tape.
- Tape it to the back of the wooden slice.
- When everything is completely dry, use your magnets on your fridge.
Notes
Have you make these DIY Christmas Magnets? Let us know how it went in the comments.