Halloween Pinwheel Cookies swirl together homemade orange and black cookie doughs to make a fancy looking Halloween dessert.
Get tips to make this the best holiday yet with all of our Halloween posts.
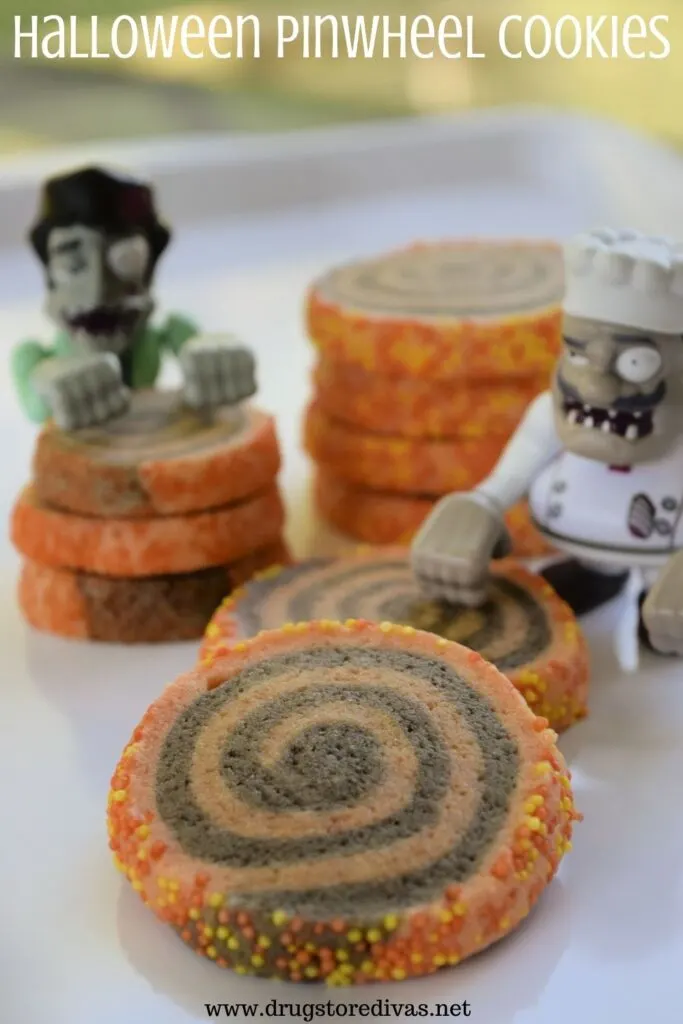
It’s all treats, no tricks when it comes to these Halloween Pinwheel Cookies.
Well, technically there’s a hack to make your life so much easier, but we’re getting ahead of ourselves.
These swirl-shaped Halloween cookies are stunning. They look just like store-bought cookies from a high-end bakery. But they’re not. These Halloween cookies made in your home kitchen … all from ingredients you already have at home.
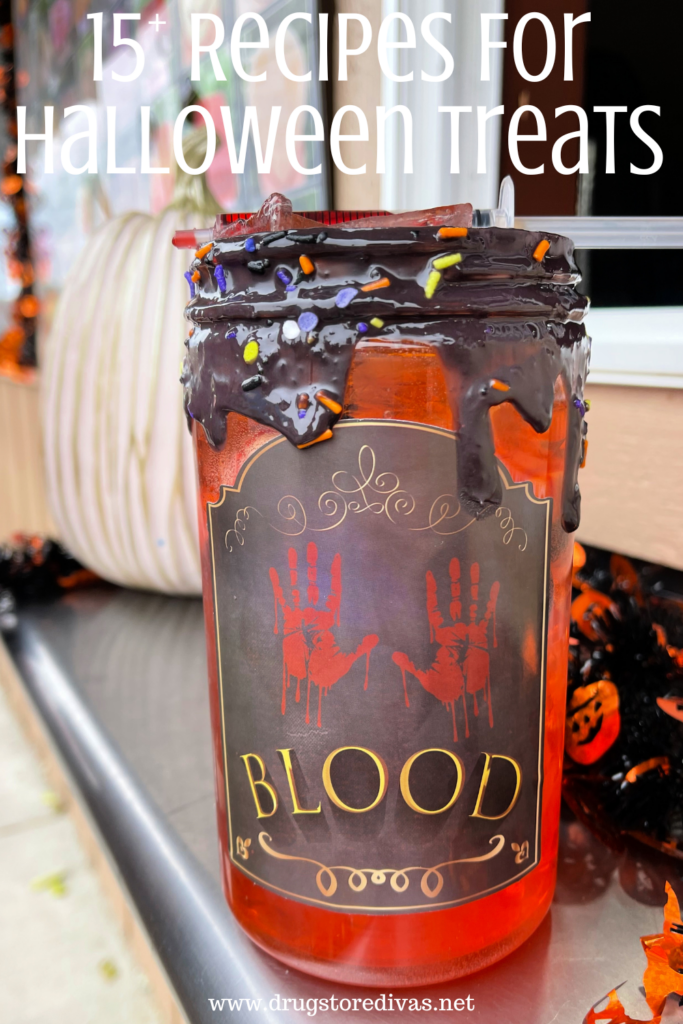


These cookies are just one of the Halloween treats we have on Drugstore Divas. Be sure to check them all out in our Spooky Halloween Treats post.
Halloween Pinwheel Cookies Recipe
Affiliate links are included in this sponsored post and Drugstore Divas may make a small commission if you use them.
Halloween Pinwheel Cookies Ingredients:
- 2 sticks of cold unsalted butter
- 1 cup granulated sugar
- 2 eggs
- 2 teaspoons real vanilla
- 3 cups all-purpose flour
- 1/2 teaspoon baking powder
- 2 teaspoon salt
- Red food coloring
- Yellow food coloring
- Blue food coloring
- 1 oz. Halloween sprinkles
How To Make Halloween Pinwheel Cookies:
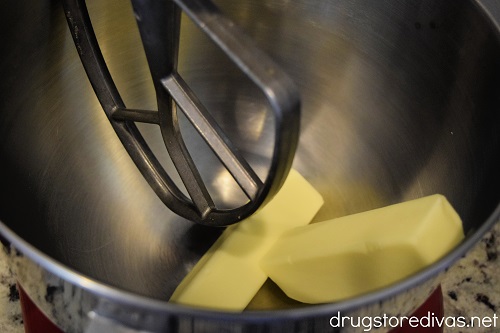

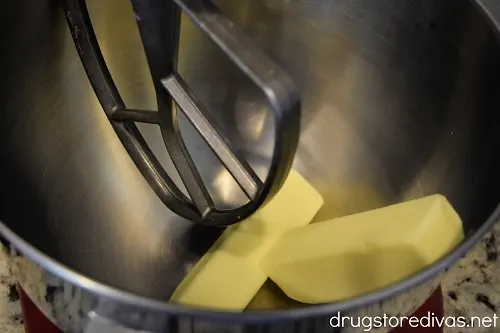

Put the butter, straight from the fridge, into a stand mixer. Beat on low until the butter is broken apart.
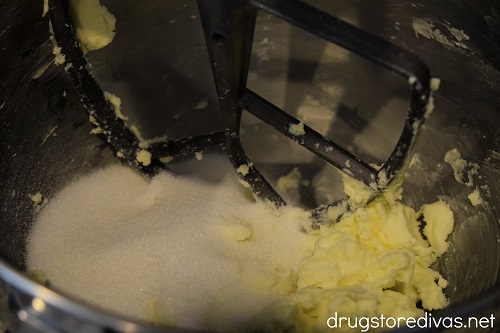


Pour in the sugar and beat until combined.


Add in one egg and beat until combined. Add in the second egg and beat until combined.
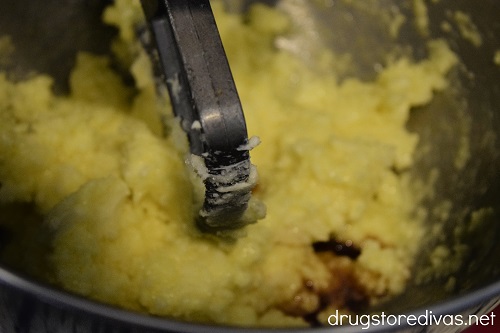


Finally, add the vanilla and lightly beat until it’s incorporated.
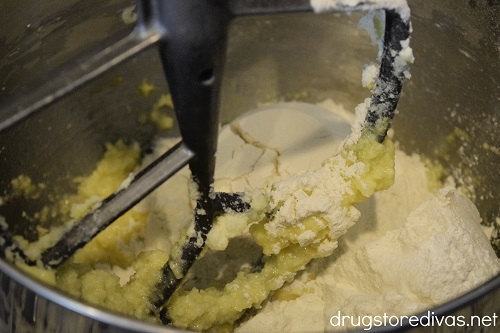

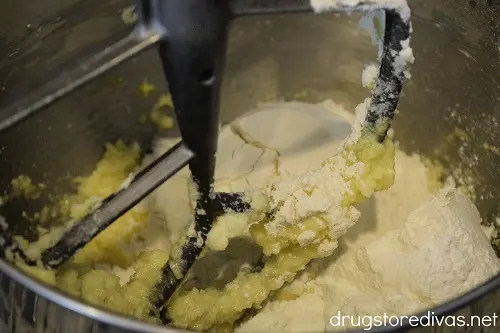

Add the flour, baking powder, and salt. Beat just until a dough starts to form.
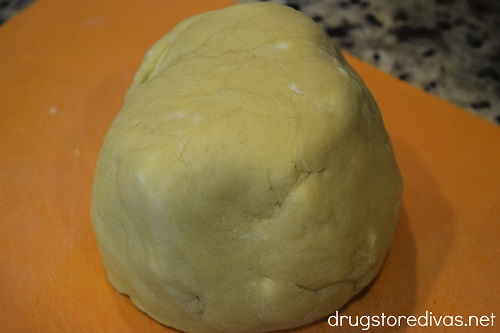

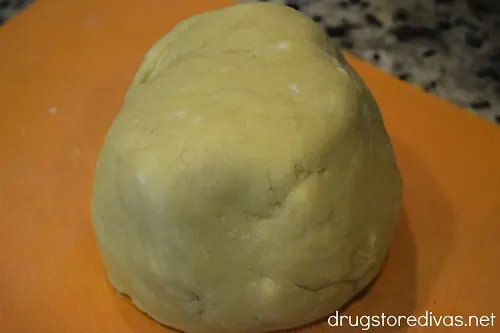

Use your hands to form the dough into a ball.
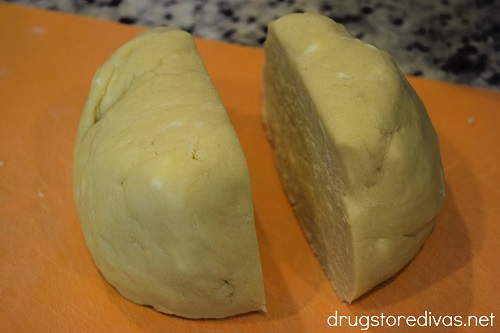


Cut the dough ball into two equal pieces.
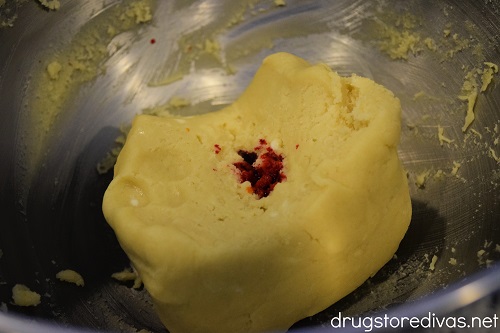

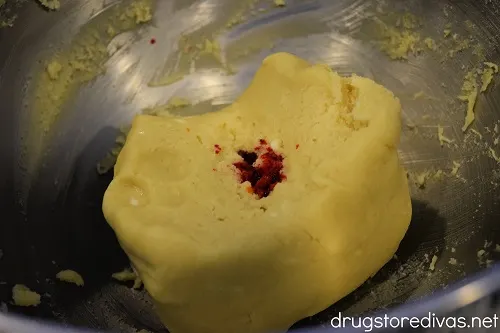

Put one of the dough ball pieces back into the stand mixer bowl. Add five drops of red food coloring and eight drops of yellow food coloring. Beat until the dough is colored orange from the food coloring.
Set the dough aside.
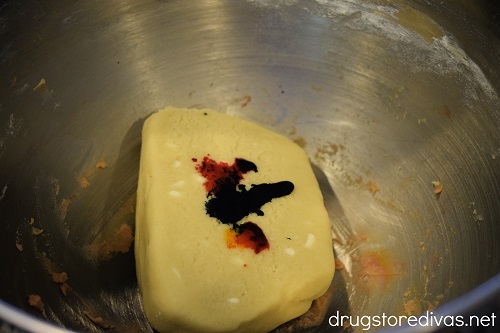


Put the second dough ball piece into the stand mixer bowl. Add 10 drops of red, yellow, and blue food coloring. Beat until the dough is colored dark gray/black.
Quick note: The easiest way to do this is to add the food coloring into a measuring spoon, so it combines, and then add it to the dough. That way, you basically make black food coloring in the mixing spoon, and then you’re adding black food coloring to the dough. If you don’t pre-mix it, it takes a lot longer for the stand mixer to combine the colors and dye your dough.
If you don’t feel the dough is black enough, you can add more of the red, yellow, and blue food coloring — in equal parts — until the dough is the color you want.
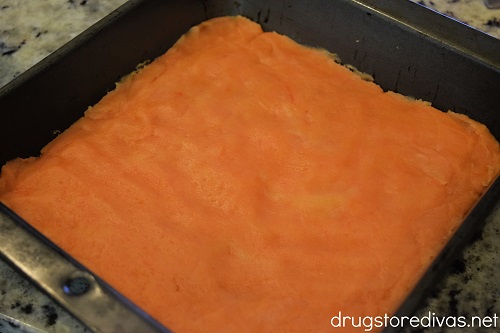

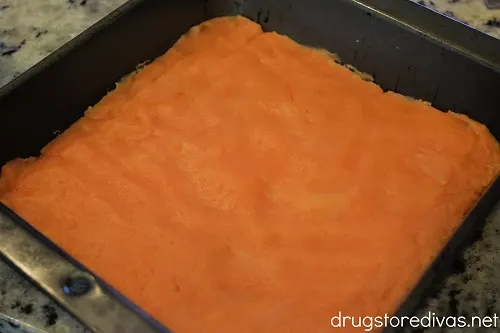

Take the orange dough and flatten it to fit in an 8×8 pan.
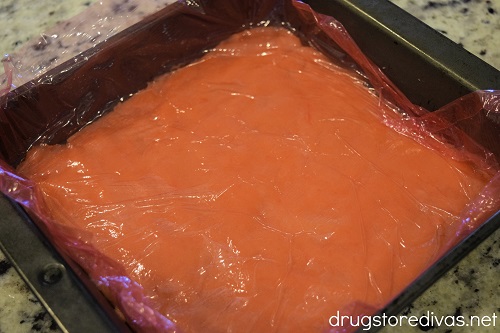


Cover it with a piece of plastic wrap.


Take the black dough and flatten it in the 8×8 pan, on top of the plastic wrap.
Cover that with a piece of plastic wrap. Put the pan in the fridge for 30 minutes.
Remove both of the doughs from the pan.
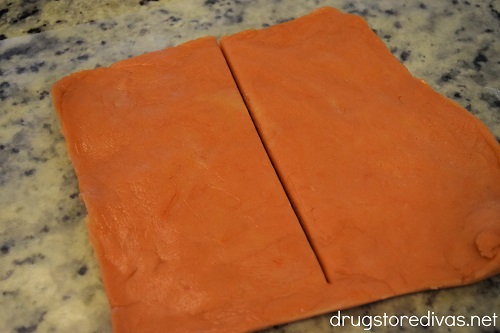


Start with the orange dough. Cut into two pieces. Set one piece aside.
Form the second piece into a ball, squeezing it in your hands a little bit. The warmth of your hands helps to spread the food coloring around evenly so there aren’t white spots or blotches.


Put the rolled dough between two pieces of wax paper. Roll the dough into a rectangle that is about 1/3-inch thick. Set it aside.


Cut the black dough in two pieces. Set one piece aside.
Form the second piece into a ball, and, just like with the orange dough, squeeze it between your hands for a little to help disperse the food coloring.
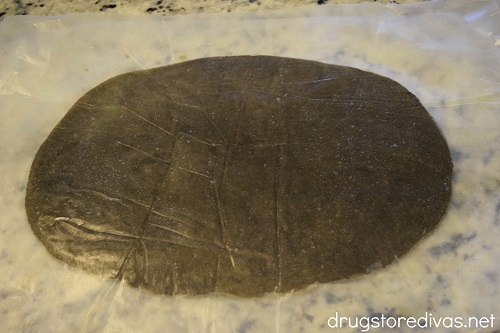


Put the rolled dough between two pieces of wax paper. Roll the dough into a rectangle that is the same size and thickness of the orange dough.
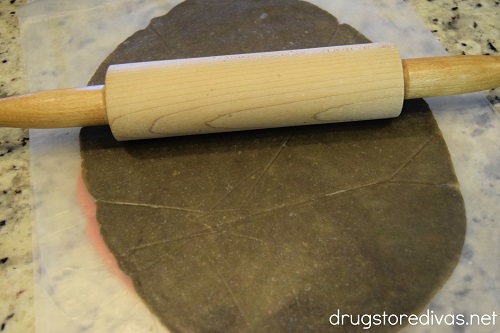

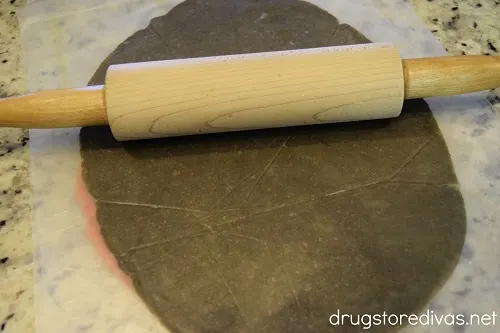

Peel one piece of wax paper off of each dough, then combine them so the black dough is on top of the orange dough. Gently roll the rolling pin over the doughs to stick them together.


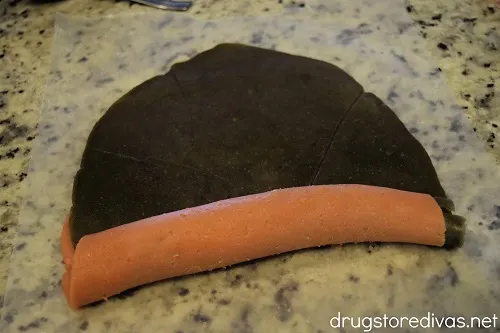

Remove the top sheet of wax paper and roll the dough into a log.
You can either roll from the short end to the short end or the long end to the long end.
If you roll from the short end, you end up with larger (but fewer) cookies. You can make about 46 cookies this way. If you roll from the long end, you end up with smaller (but more) cookies. You can make about 80 cookies this way.
Whichever way you decide to roll, cut a straight edge on that side before you roll. That will make it a lot easier.


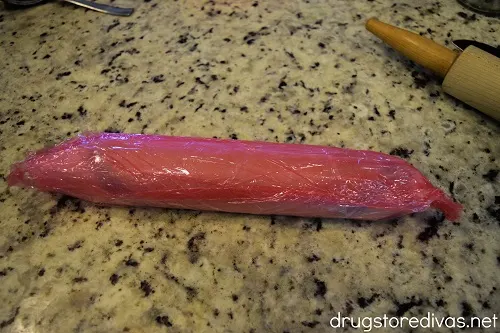

Roll the dough log in plastic wrap, then wax paper.
Repeat with the second pieces of each dough.
Put the dough logs in the fridge for an hour. Make sure that they’re lying directly on a shelf in your fridge. You don’t want to place them on top of any containers because the shape will imbed into the dough.
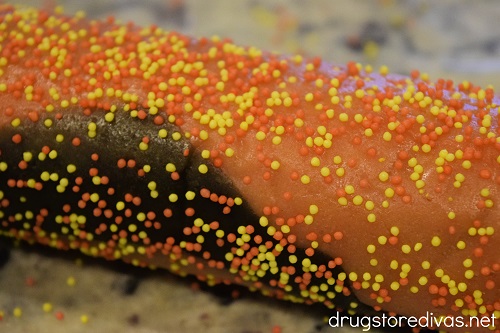


Remove the dough logs from the fridge and cover them in Halloween sprinkles (which, yes, will get all over your counter and floor, but it’s worth it. I promise). Completely cover the outer layer of the dough log with sprinkles.
Rewrap the dough logs in plastic wrap and wax paper and put them in the fridge overnight. Again, make sure the dough logs are lying directly on a shelf in your fridge.
Pre-heat the oven to 350 F.
Remove the dough logs from the fridge. Gently roll them on a counter to remove any flatness that may have occurred due to them lying in the fridge overnight.
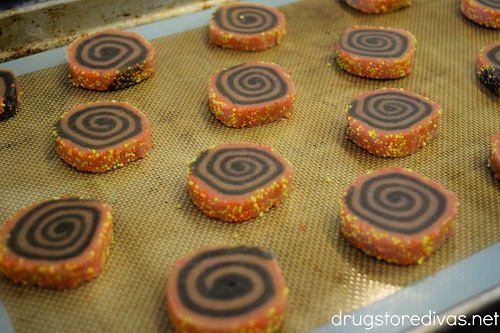


Slice the dough logs into 1/4-inch cookies.
Set them on a silicone baking mat-lined cookie sheet. Bake 12 full size or 20 mini size cookies at once. You want to give the cookies enough space to spread.
Bake the full size cookies for 11 minutes (10 minutes for subsequent batches) and bake the mini size cookies for 10 minutes (9 minutes for subsequent batches).
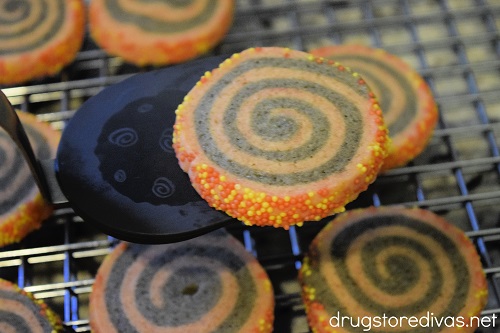

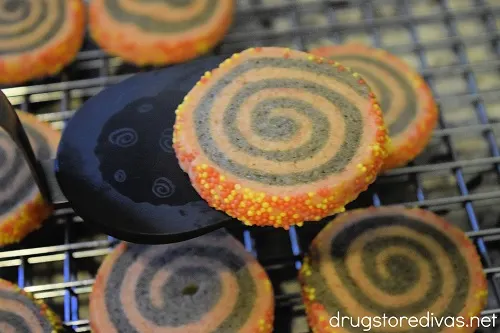

The cookies will still be light in color when they’re done. Don’t look for them to turn golden brown.
Let them cool on a wire rack. As they cool, the insides will finish baking, so don’t feel like you’re pulling these cookies out early.


Halloween Pinwheel Cookies: Frequently Asked Questions
Most food coloring packages come with basic colors: red, yellow, blue, and green. They don’t come with black.
You can purchase black food coloring, and that would work in this recipe, but if you’re never intending on using it again, just combine the three like described above.
Or, if you wanted, you could skip the black completely and make orange and white Halloween pinwheel cookies instead of orange and black Halloween pinwheel cookies.
If you don’t have a stand mixer, you can use a hand mixer. I wouldn’t recommend mixing by hand because it will be a lot of work to try to disperse the food coloring through the dough by hand.
They’re actually not that sweet. They’re more of a shortbread cookie than a sugar cookie.
You could add additional sugar to the dough, but too much sugar in cookies can cause them to not hold their shape. And you really need this dough to hold its shape in order to become a homemade slice and bake cookie dough.
Homemade Halloween Pinwheel Cookies can be stored at room temperature for two weeks in an airtight container. You can also store them in the fridge in an airtight container for up to two months.
Cool the cookies completely on the wire rack before storing them via either method.
Yes, you can freeze this cookie dough. Take the wrapped logs and put them in a freezer-safe bag, making sure to remove any excess air. Freeze for up to three months.
When you’re ready to make the cookies, thaw them in the fridge for four hours or on the counter for at least 30 minutes. Roll the log to make sure it holds a round shape. Then, slice and bake according to the directions above.
Halloween Pinwheel Cookies


Halloween Pinwheel Cookies swirl together homemade orange and black cookie doughs to make a fancy looking Halloween dessert.
Ingredients
- 2 sticks of cold unsalted butter
- 1 cup granulated sugar
- 2 eggs
- 2 teaspoons real vanilla
- 3 cups all-purpose flour
- 1/2 teaspoon baking powder
- 2 teaspoon salt
- Red food coloring
- Yellow food coloring
- Blue food coloring
- 1 oz. Halloween sprinkles
Instructions
- Put the butter, straight from the fridge, into a stand mixer. Beat on low until the butter is broken apart.
- Pour in the sugar and beat until combined.
- Add in one egg and beat until combined. Add in the second egg and beat until combined.
- Finally, add the vanilla and lightly beat until it’s incorporated.
- Add the flour, baking powder, and salt. Beat just until a dough starts to form.
- Use your hands to form the dough into a ball.
- Cut the dough ball into two equal pieces.
- Put one of the dough ball pieces back into the stand mixer bowl. Add five drops of red food coloring and eight drops of yellow food coloring. Beat until the dough is colored orange from the food coloring. Set the dough aside.
- Put the second dough ball piece into the stand mixer bowl. Add 10 drops of red, yellow, and blue food coloring. Beat until the dough is colored dark gray/black.
- Take the orange dough and flatten it to fit in an 8×8 pan. Cover it with a piece of plastic wrap.
- Take the black dough and flatten it in the 8×8 pan, on top of the plastic wrap. Cover that with a piece of plastic wrap. Put the pan in the fridge for 30 minutes.
- Remove both of the doughs from the pan.
- Start with the orange dough. Cut into two pieces. Set one piece aside. Form the second piece into a ball, squeezing it in your hands a little bit.
- Put the rolled dough between two pieces of wax paper. Roll the dough into a rectangle that is about 1/3-inch thick. Set it aside.
- Cut the black dough in two pieces. Set one piece aside. Form the second piece into a ball.
- Put the rolled dough between two pieces of wax paper. Roll the dough into a rectangle that is the same size and thickness of the orange dough.
- Peel one piece of wax paper off of each dough, then combine them so the black dough is on top of the orange dough. Gently roll the rolling pin over the doughs to stick them together.
- Remove the top sheet of wax paper and roll the dough into a log. You can either roll from the short end to the short end or the long end to the long end. (If you roll from the short end, you end up with larger (but fewer) cookies. You can make about 46 cookies this way. If you roll from the long end, you end up with smaller (but more) cookies. You can make about 80 cookies this way.)
- Roll the dough log in plastic wrap, then wax paper.
- Repeat with the second pieces of each dough.
- Put the dough logs in the fridge for an hour.
- Remove the dough logs from the fridge and cover them in Halloween sprinkles.
- Rewrap the dough logs in plastic wrap and wax paper and put them in the fridge overnight. Again, make sure the dough logs are lying directly on a shelf in your fridge.
- Pre-heat the oven to 350 F.
- Remove the dough logs from the fridge. Gently roll them on a counter to remove any flatness that may have occurred due to them lying in the fridge overnight.
- Slice the dough logs into 1/4-inch cookies.
- Set them on a silicone baking mat-lined cookie sheet. Bake 12 full size or 20 mini size cookies at once. Bake the full size cookies for 11 minutes (10 minutes for subsequent batches) and bake the mini size cookies for 10 minutes (9 minutes for subsequent batches).
- Let them cool on a wire rack before serving.
Nutrition Information
Yield
80Serving Size
1Amount Per Serving Calories 51Total Fat 3gSaturated Fat 2gTrans Fat 0gUnsaturated Fat 1gCholesterol 11mgSodium 76mgCarbohydrates 6gFiber 0gSugar 3gProtein 1g
Have you made these Halloween Pinwheel Cookies? Let us know in the comments.

Linda Primmer
Sunday 23rd of October 2022
These Halloween pinwheel cookies are so cute. Perfect for a Halloween treat. I am happy to feature your Halloween Pinwheel cookies at Love Your Creativity on Sunday.
Niki | Life as a LEO Wife
Saturday 22nd of October 2022
Adorable Halloween cookies!
Michelle
Thursday 20th of October 2022
What fun cookies for Halloween - they're the perfect colors!