
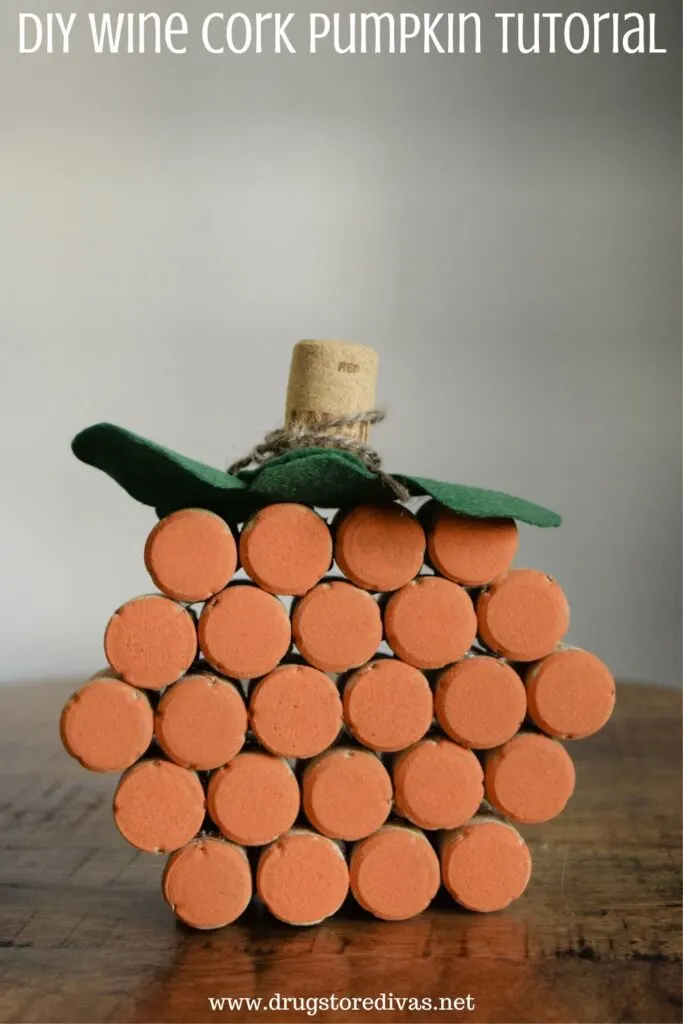
If you want to make a few wine cork Halloween crafts for this year, check out our DIY Wine Cork Pumpkin. It’s so easy to make with supplies you have at home.
For more crafts, check out all of our DIY posts.

It’s unofficially fall. Sure, it’s still eight million degrees out and we still run our air conditioning all day long.
But pumpkin spice lattes are on coffeeshop menus and Labor Day has come and gone, so it’s time for all the fall crafts to take over our homes.
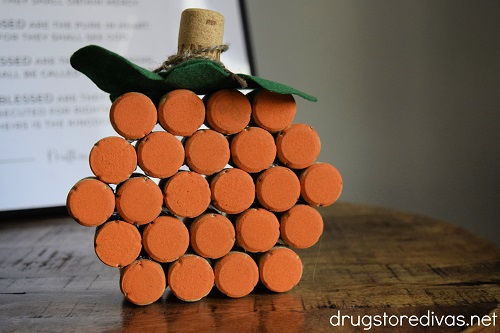
If you’re looking for a fun one to make this year, our DIY wine cork pumpkin is it. This is definitely a fun and easy craft to make in an afternoon. It holds up well, so you can easily store it and put it out year after year.
We geared this more towards Fall by keeping it just as a pumpkin. But, if you want to make this more of a Halloween pumpkin craft, check the questions after the tutorial for details on how to do that.
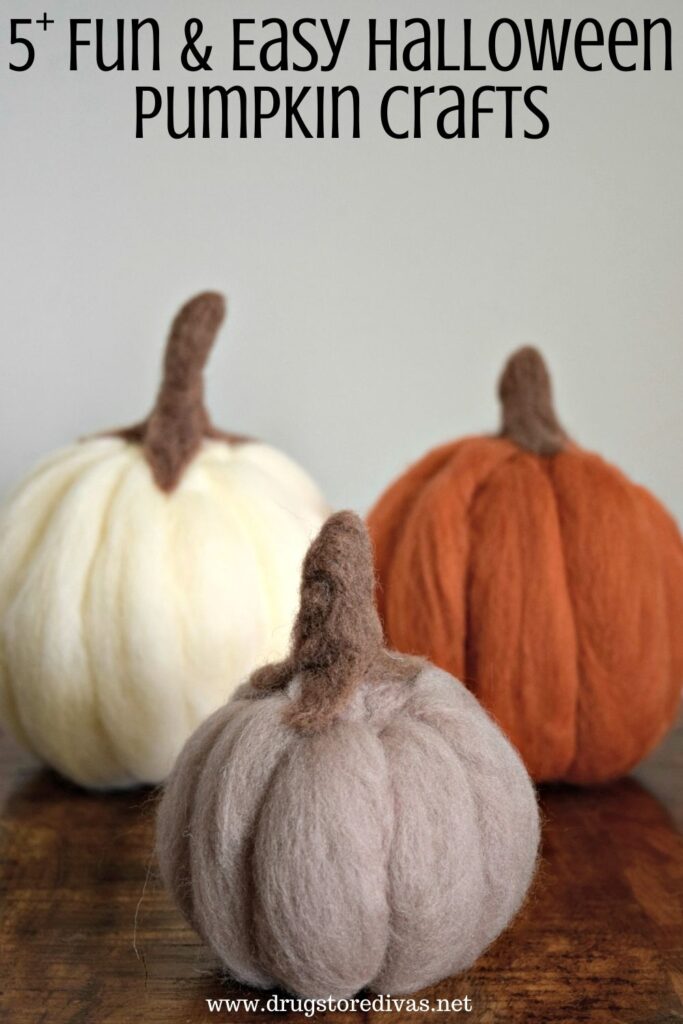

If you’re looking for more pumpkin crafts to make this fall, check out our great list of 5+ Fun & Easy Halloween Pumpkin Crafts.
DIY Wine Cork Pumpkin Tutorial
Affiliate links are included in this post and Drugstore Divas may make a small commission if you use them.

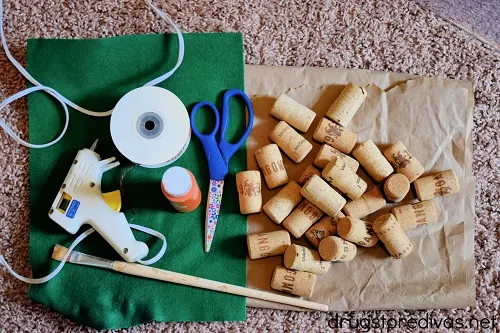
DIY Wine Cork Pumpkin Supplies:
You can get the full list of supplies in the how to card below.
- Glue gun and hot glue sticks – White glue isn’t strong enough to hold this together.
- Wine corks – if you don’t drink wine, or you don’t have enough corks, you can actually buy wine corks online. It’s a lot cheaper to buy them in bulk than to buy wine.
- Paint brush – A larger brush is better than a smaller one.
- Orange acrylic paint – Pumpkin orange, of course.
- Green felt – Any shade of green works.
- Scissors – This is to cut the felt.
- Jute cording – This is optional, but it looks cute.
How To Make A DIY Wine Cork Pumpkin:
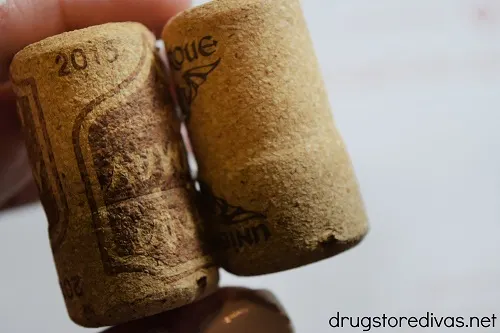
Take a look at your wine corks. If they’re crafting corks, you can skip this part. But if they’re corks that have been used, one side is going to be fatter than the other side. You want to make sure that the fatter side is the front always and the skinnier side is the back always. That will help keep your pumpkin even.

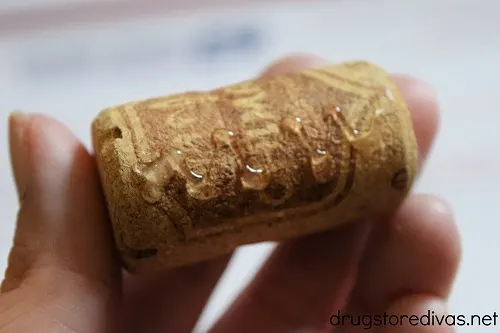
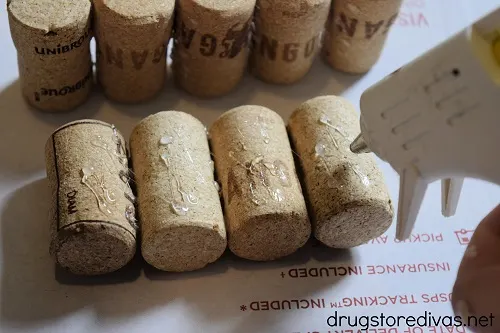
Put a dab of hot glue on one side of a wine cork.

Use that glue to affix a second wine cork to it. You want to look at the wine corks as you glue them together to make sure they’re as flat as possible on the bottom.

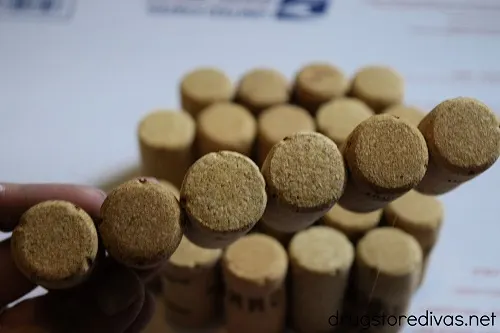
Continue until you’ve glue six wine corks together. That’s your middle row.
Make two rows of five wine corks and two rows of four wine corks.

When they’ve all dried, start with the row of four. Add hot glue on the long side of it and lay the row of five on top of it.
Then glue the row of six, another row of five, and the last row of four.
Let them dry.

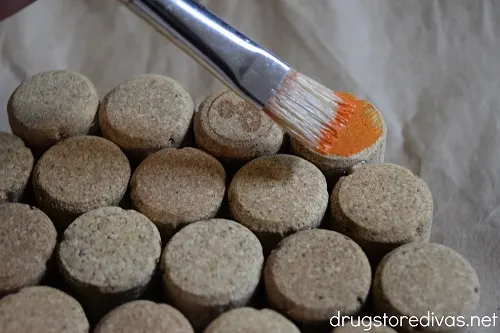
Lay the corks down on the back and paint the fronts of them orange.

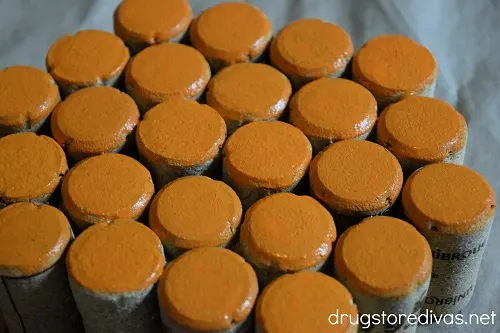
Let the paint dry.
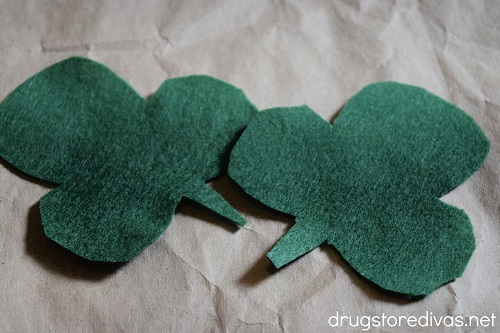
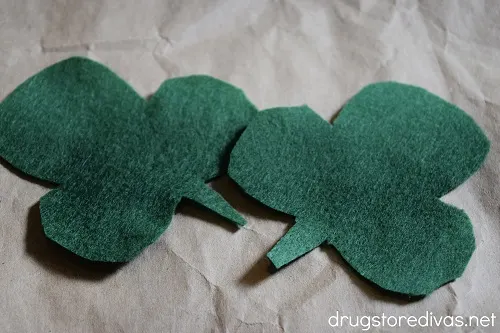
Cut two leaves out of green felt.

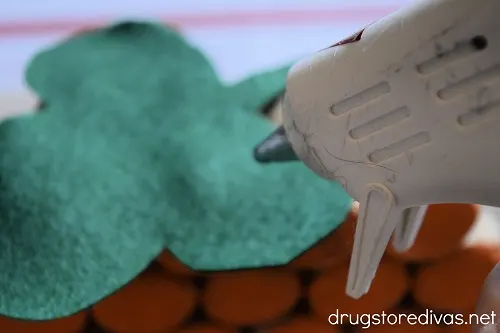
Glue the leaves down to the top of the cork pumpkin.
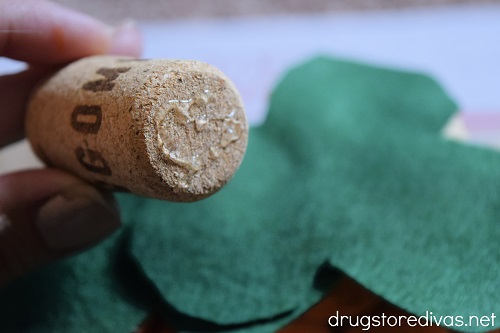

Glue the last wine cork sticking up on top of the leaves.
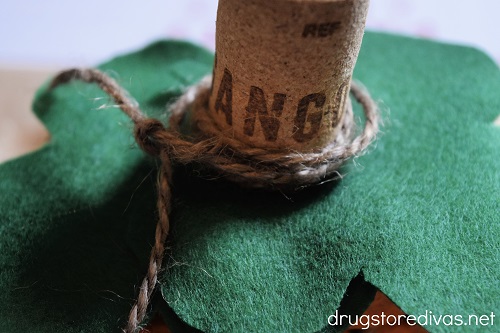

Wrap some jute cording to that cork, just to give the pumpkin a little movement, and tie it up top.
Display anywhere you want.

Wine Cork Pumpkins: Frequently Asked Questions
Hot glue cools very quickly. So if you don’t work quickly, you’ll be trying to stick the wine corks together with cold glue. And that will fall apart.
So, you first want to make sure your glue gun is actually hot. Plug it in and let it warm up for a little bit before trying to use it.
Then, when you’re using it, work quickly. Add enough glue to affix two corks together, then hold those for just a second to make sure they’re stuck together. Then, move onto the next one.
If you want to make this, but you don’t have 25 wine corks lying around, you can make a mini version.
You can make three rows: three, four, three. If you wanted, you could also make four rows, two, three, four, three to make it a little bigger. Of course, don’t forget you’ll want one more wine cork for the stem.
To make these more of a Halloween craft than a fall craft, you can cut a jack-o-lantern face out of black felt. Glue that onto the painted side of your pumpkin and display it that way.
For another Halloween pumpkin related craft, check out our DIY Mix And Match Wooden Pumpkin Face Decoration. That one has four different jack-o-lantern faces and can give you inspiration on what type of face to make for your wine cork jack-o-lantern.
More Wine Cork Halloween Crafts:
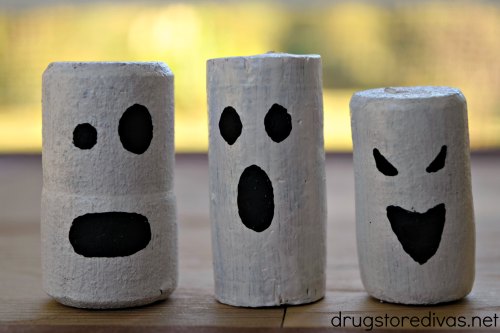
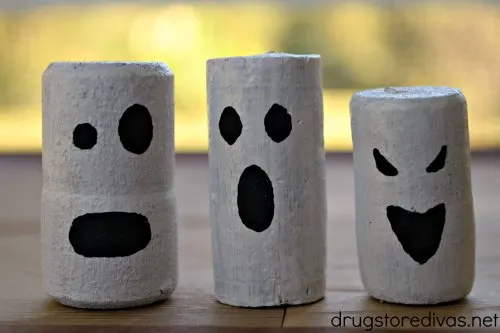
This pumpkin isn’t the only Halloween craft we made from wine corks. For another idea, check out our Wine Cork Ghosts. And our DIY Wine Cork Stamped Pumpkin T-Shirt.
DIY Wine Cork Pumpkin


If you want to make a few wine cork Halloween crafts for this year, check out our DIY Wine Cork Pumpkin. It’s so easy to make with supplies you have at home.
Materials
- Hot glue sticks
- 25 wine corks
- Orange acrylic paint
- Green felt
- Jute cording
Tools
- Glue gun
- Paint brush
- Scissors
Instructions
- Put a dab of hot glue on one side of a wine cork.
- Use that glue to affix a second wine cork to it. You want to look at the wine corks as you glue them together to make sure they’re as flat as possible on the bottom.
- Continue until you’ve glue six wine corks together. That’s your center row. Make two rows of five wine corks and two rows of four wine corks.
- When they’ve all dried, start with the row of four. Add hot glue on the long side of it and lay the row of five on top of it. Then glue the row of six, another row of five, and the last row of four. Let them dry.
- Lay the corks down on the back and paint the fronts of them orange. Let the paint dry.
- Cut two leaves out of green felt.
- Glue the leaves down to the top of the cork pumpkin.
- Glue the last wine cork sticking up on top of the leaves.
- Wrap some jute cording to that cork, just to give the pumpkin a little movement, and tie it up top.
Notes
Have you made this DIY Wine Cork Pumpkin? Let us know how it went in the comments.