These DIY Mickey & Minnie LOVE Signs are a perfect Valentine’s Day craft for Disney fans. You can make them with materials you have at home.
or more ways to make this the best holiday, check out all of our Valentine’s Day posts.
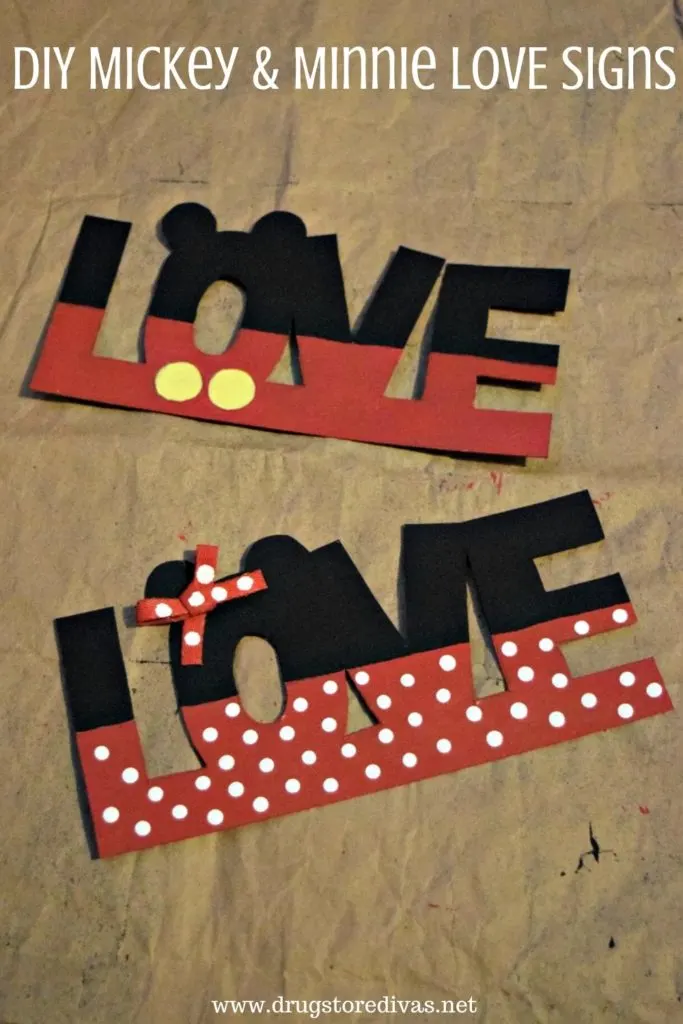
I’m in a Facebook group where all the members are making crafts from these wooden LOVE signs. I saw a set painted like Mickey and Minnie, and I immediately wanted to recreate the sign. Everyone was finding the sign at the dollar store, but didn’t have the sign. So I had to make my own DIY Mickey & Minnie LOVE Signs.
Now, I’ll be honest. If you can find the wood sign, this craft gets a lot easier. The one linked above is actually the one everyone is using. Since I couldn’t find it, I just used a piece of cardboard to make mine.
Everyone has cardboard.
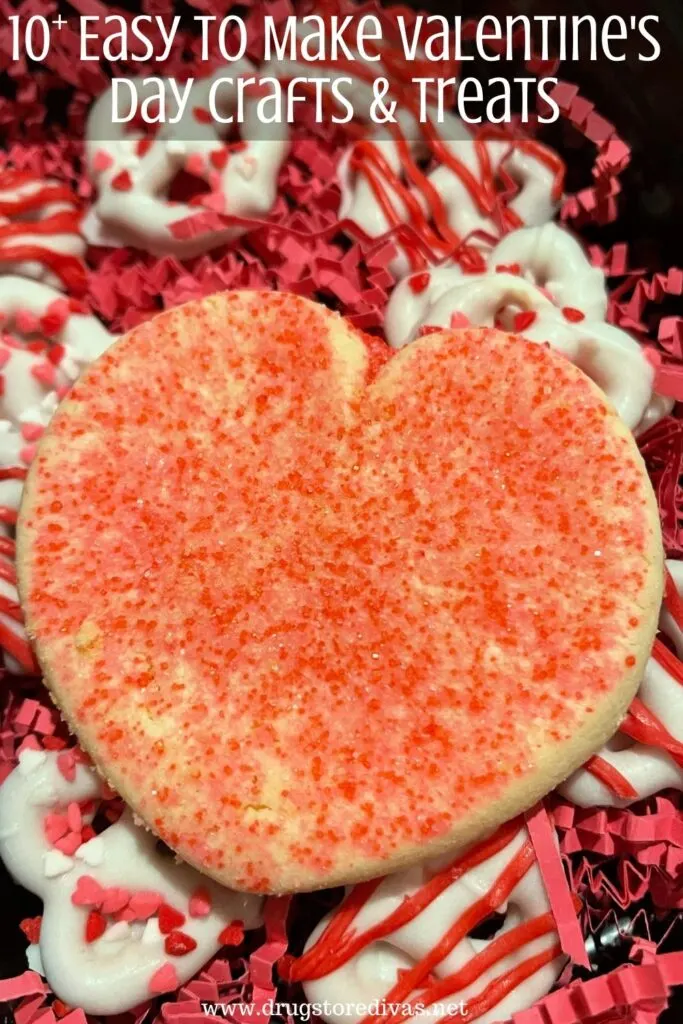
This isn’t the only craft for Valentine’s Day that we have on Drugstore Divas. For more, check out our post of Easy To Make Valentine’s Day Crafts & Treats.
DIY Mickey & Minnie LOVE Signs
Affiliate links are included in this post and Drugstore Divas may make a small commission if you use them.
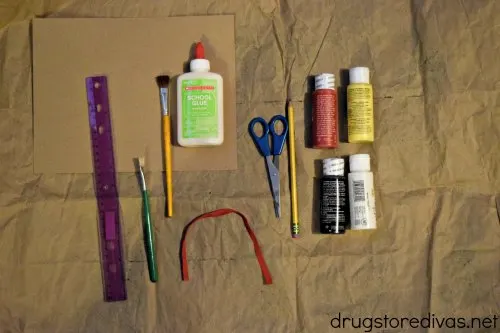
Mickey & Minnie LOVE Signs Supplies:
- Cardboard
- Paint brushes
- Glue
- Scissors (or X-Acto knife)
- Pencil
- Ruler
- Red acrylic paint
- Black acrylic paint
- White acrylic paint
- Yellow acrylic paint
- Red ribbon
How To Make Mickey & Minnie LOVE Signs:
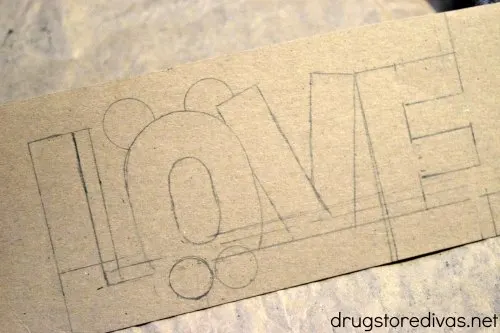
Sketch out your LOVE on half of the cardboard. Now, I’ll be honest with you. Mine took a lot of measuring because I’m a perfectionist. I wanted everything to be nice and even.
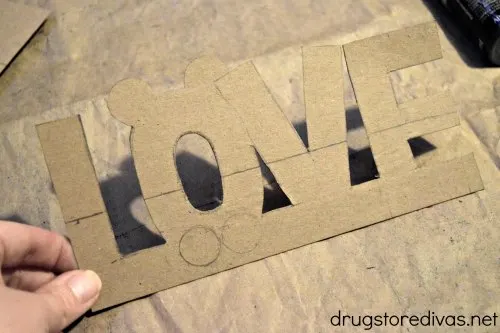
Once you have the pattern drawn, use scissors to carefully cut it out. To get the parts like the inside of the “o”, I poked a hole with the scissor point and then used that to wedge in the scissors and cut the piece out. If you have an X-Acto knife, this is a lot easier.
Use the ruler to divide the LOVE sign in half.
Now, to make your life easier, I’ll post the painting directions to each separately.
How to paint a Mickey Mouse LOVE Sign
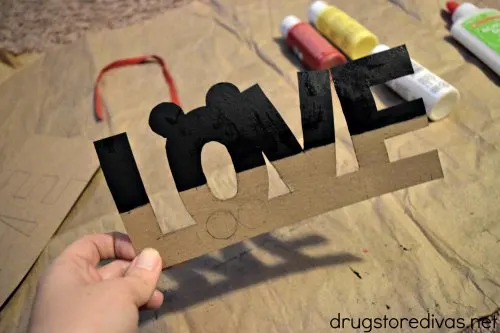
Draw two small circles on the bottom half of the “o”.
Paint the top half of the sign completely black.
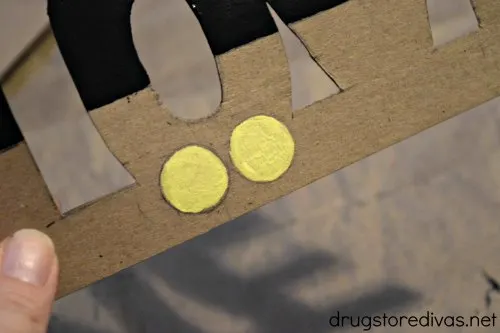
Paint the two circles (which are Mickey’s buttons) yellow.
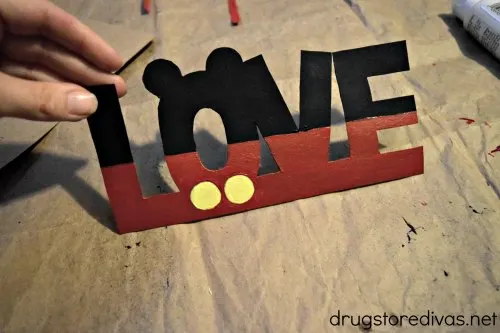
Carefully, paint the bottom half of the sign red, with the exception of the two circles. Let it dry completely.
Now, this part is optional, but you can use a toothpick to carefully outline the yellow circles in case your paint brush doesn’t make a crisp edge.
Now, on to Minnie …
How to paint a Minnie Mouse LOVE Sign
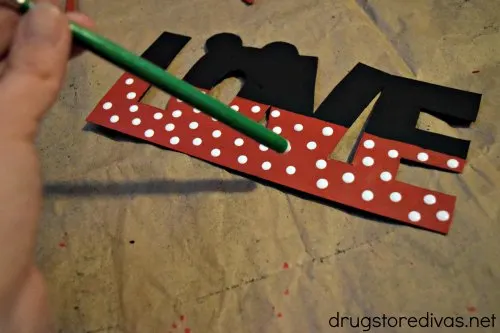
Paint the bottom half of the sign completely red.
Paint the top half of the sign completely black. If you paint in this order, the red will be dry when the black is done.
Dip the back of your paint brush into white paint and make dots of white all over the red paint.
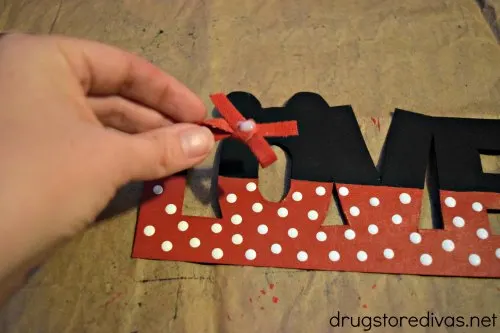
Tie the red ribbon into a bow. Put a drop of glue on the back of it and affix it where one of the “ears” touches the “o”.
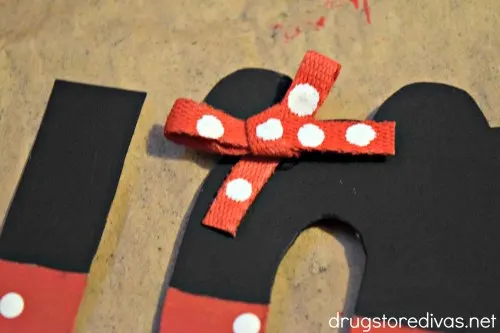
Once it has dried, use the back of the paint brush to paint white dots on the bow.
That’s it.
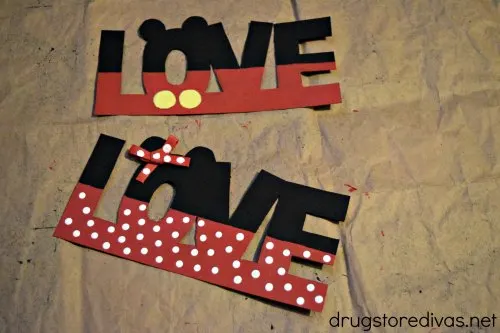
Note: I made mine it of cardboard because I actually stumbled over these cardboard inserts when I was cleaning and wanted something to do with them. My plan was for them to hang on a wall, so they’re fine as they are. If you want yours to have a little more sturdiness, use foam board. I would suggest definitely using an X-Acto knife, though, because there’s no way scissors are cutting through foam board without making creases.
Also, cardboard absorbs paint really well and doesn’t leave streaks. You may not find that with the foam board.

More Mickey Mouse Craft Ideas:
Believe it or not, this isn’t our only Disney-themed Valentine’s Day craft. For another, check out our DIY Mickey Mouse Valentine’s Day Mailbox.

Carol
Thursday 27th of February 2020
So adorable!
Roseann Hampton
Sunday 23rd of February 2020
You did such a great job with your signs - they are so cute! Thanks for sharing with us at The Blogger's Pit Stop!
Julie
Thursday 20th of February 2020
Oh my, they are adorable! What a cute idea.
Joanne
Wednesday 19th of February 2020
These are so cute!!
Donna @ Modern on Monticello
Wednesday 19th of February 2020
Such a fun and adorable project!