
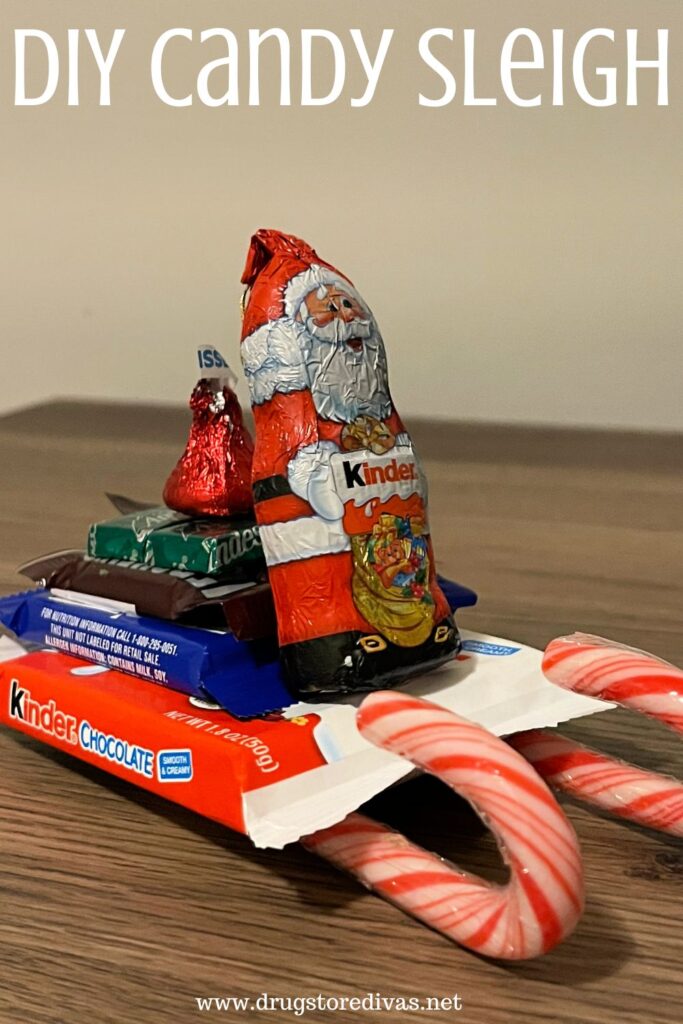
If you’re looking for a last minute Christmas gift idea, this DIY Candy Sleigh is for you. You can make it from any candy you want, as long as you have candy canes.
For more ways to make this the best holiday, check out all of our Christmas posts.

If you don’t know what to get someone for Christmas, chocolate is always the go to. You can get a box of chocolate with Christmas-themed wrapping on it or you can just buy a bag of miniature candy bars and fill a Christmas-themed mug with them.
Or, you can be extra like me and take that candy you would have stuck in a mug and turn it into candy sleighs for your friends.
Yes, putting together a candy sleigh takes longer than just putting chocolates in a bag, but it’s so incredibly adorable that it’s absolutely worth the extra effort.
To make candy cane sleighs, you, obviously, have to use candy canes. After that, you can use any small candies that you want, as long as they’re flat. Those are the presents in Santa’s sleigh and you’re gonna want to stack them on top of each other. If they’re not flat, they’ll be hard to lay on top of each other.
At the very top, I always add a Hershey’s Kiss. You could add a mini bow at the top instead, but I like adding that little bit of extra chocolate. You could also add holiday ribbon around it if you want, but I never love how that looks, so I don’t do it. But, use this tutorial to get an idea and then make it your own.


This candy sleigh isn’t the only Christmas craft with chocolate that we have on Drugstore Divas. If you have extra candy and want to make some other holiday treats, check out our DIY Snow Globe Mason Jar Toppers For Candy Holders.
DIY Candy Sleigh Tutorial
Affiliate links are included in this post and Drugstore Divas may make a small commission if you use them.


DIY Candy Sleigh Supplies:
You can get the full list of supplies in the how to card below.
- Glue dots – These will hold everything together better than regular tape will.
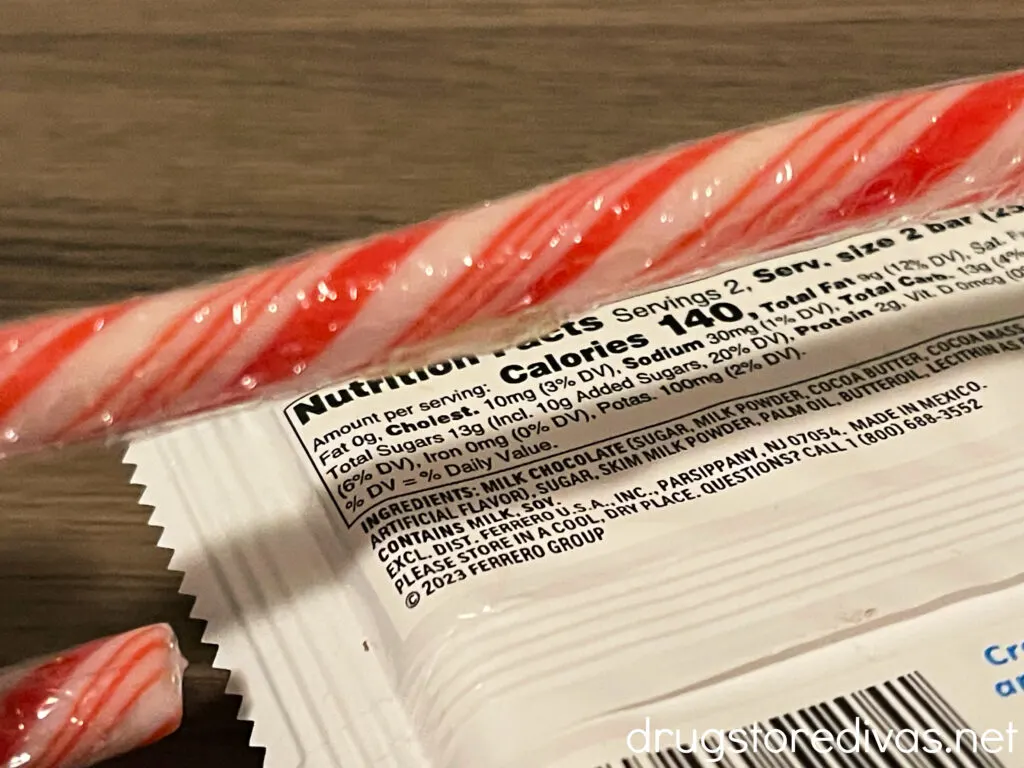
- Candy canes – The flavor doesn’t matter, but you want to use two of the same so they match on your sleigh.
- Boxed candy – You can choose any type of candy that you want, but you want to make sure you’re getting the movie theater box size.
- Santa-shaped candy – This is so Santa can drive the sleigh. You can choose a different holiday character if you prefer.
- Mini candy bars or fun sized candy – Flat candy will lay on your sleigh better, so stay away from any round candy.
- Hershey’s Kiss – This will top your sleigh. You can skip it if you don’t want to buy a whole bag of Hershey’s Kisses just to use one.
How To Make A DIY Candy Sleigh:

Stick two glue dots onto one of the candy canes.
Stick the candy cane to the bottom of a large candy box.
Quick note: For this, I used Kinder chocolate bars because they were a great deal a couple weeks ago. There was a good deal on theater candy around that same time too, so if you bought candy from that deal, you could use that as the base of your sleigh.
That’s why you need to follow Drugstore Divas on social media. You get the great deals during the year so that you can save money during Christmastime.
Stick two glue dots onto the second candy cane. Stick that to the bottom of your sleigh base.


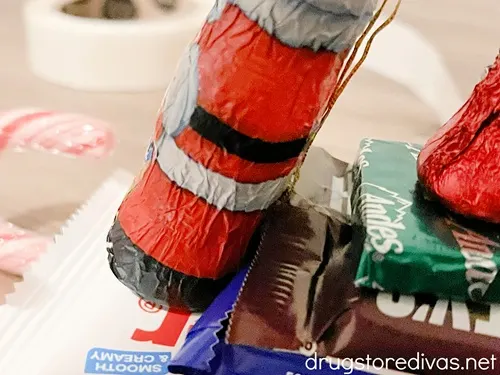
Put a glue dot on the bottom of your Santa candy and stick him to the front of the sleigh.
Quick note: For my Santa, I used one from a pack of Kinder chocolate. It comes with three decent sized character chocolates. It’s a coincidence that I used the Kinder brand for the base of the sleigh and the Santa, but they fit really well size wise. You can use whatever Santa-shaped candy you find.


Start layering the mini chocolate bars on top of the large candy.
You want to make sure the larger candy is at the bottom and the smaller candy is on top.
I used Nestle Crunch bars at the bottom of this candy sleigh craft because they were on sale a while ago. I’m telling you. Stick with me and each thoughtful gift you give out during the holiday season will also be frugal.
And, if you really want to be budget friendly, save some Halloween candy and use that to make your candy sleighs.
If you’re actually buying chocolate to make these and not using what you already have, Hershey’s miniatures are a great idea. They come in cute holiday-themed wrappers this time of year, and they’re all a uniform size, so they’ll stack really nicely on your sleigh. Plus, each bag has a variety of candy, so you don’t have to buy multiple bags to get multiple options.


Once you decide what order makes the most sense, start using glue dots to stick the chocolates down in the back of the sleigh.
Just be mindful when you’re laying the chocolate down. You can’t move it once it’s stuck with the glue dot. If you try to, the glue dot will rip the candy wrapper, so you’ll need a new piece of candy.
Keep going until you stick the Hershey’s Kiss on top.

When you’re done with the candies, put a glue dot on Santa’s back and stick him to the front of the candies. This will help him stay onto the candy sled and not wobble back and forth and potentially snap.


DIY Candy Sleigh: Frequently Asked Questions
Glue dots work the best in this project. They’re sticky and have a little bit of a learning curve to them, but they make the most sense.
Double-sided tape would work too, if you use the heavy duty double-sided tape. Regular strength, or regular tape that’s looped, won’t be sticky enough to hold this together.
You don’t want to use any sort of school glue, tacky glue, or even use a hot glue gun on this. Glue can potentially permeate through the candy wrappers and get into the chocolates. And since glue isn’t food safe, you don’t want that happening.
The chocolates on the back of the sled are supposed to be Christmas presents. So, it makes sense that you’d want to wrap them in Christmas paper.
I tried that. It’s cute. But it takes a lot of time to wrap up the chocolates, especially if you’re making a lot of these. And it doesn’t add enough pizzaz to this for me to feel like it was worth it.
You can do that, of course, since this is your project. But, you don’t need to.
DIY Candy Sleigh


If you’re looking for a last minute Christmas gift idea, this DIY Candy Sleigh is for you. You can make it from any candy you want, as long as you have candy canes.
Materials
- Glue dots
- 2 candy canes
- 1 large candy (a theater box size works)
- 1 Santa-shaped candy
- 7 to 8 mini candy bars or fun sized candy
- 1 Hershey’s Kiss
Instructions
- Stick two glue dots onto one of the candy canes.
- Stick the candy cane to the bottom of a large candy box.
- Stick two glue dots onto the second candy cane. Stick that to the bottom of your sleigh base.
- Put a glue dot on the bottom of your Santa candy and stick him to the front of the sleigh.
- Start layering the mini chocolate bars on top of the large candy. You want to make sure the larger candy is at the bottom and the smaller candy is on top.
- Once you decide what order makes the most sense, start using glue dots to stick the chocolates down in the back of the sleigh.
- Keep going until you stick the Hershey’s Kiss on top.
- When you’re done with the candies, put a glue dot on Santa’s back and stick him to the front of the candies.
Notes
Have you made this DIY Candy Sleigh? Let us know how it went for you in the comments.