
A little bit of paint turns pine cones into a cute craft for Halloween. Just follow our DIY Candy Corn Pine Cone Tutorial to make adorable Fall decorations for your shelves or baskets.
For more crafts to make, check out all of our DIY posts.


I’m a huge fan of upcycle crafts because they can be absolutely adorable and then don’t cost you anything. Like these Candy Corn Pine Cones.
You just find some pine cones in your backyard, paint them with paint you already have, and display them. They’re super cute and super frugal (I mean, the paint it negligible, so it’s basically free).
Display them on your mantle, a shelf, or in one of those cute wicker baskets where people put random ornamental balls. This can be what lives there for fall, then swap the balls back during winter.

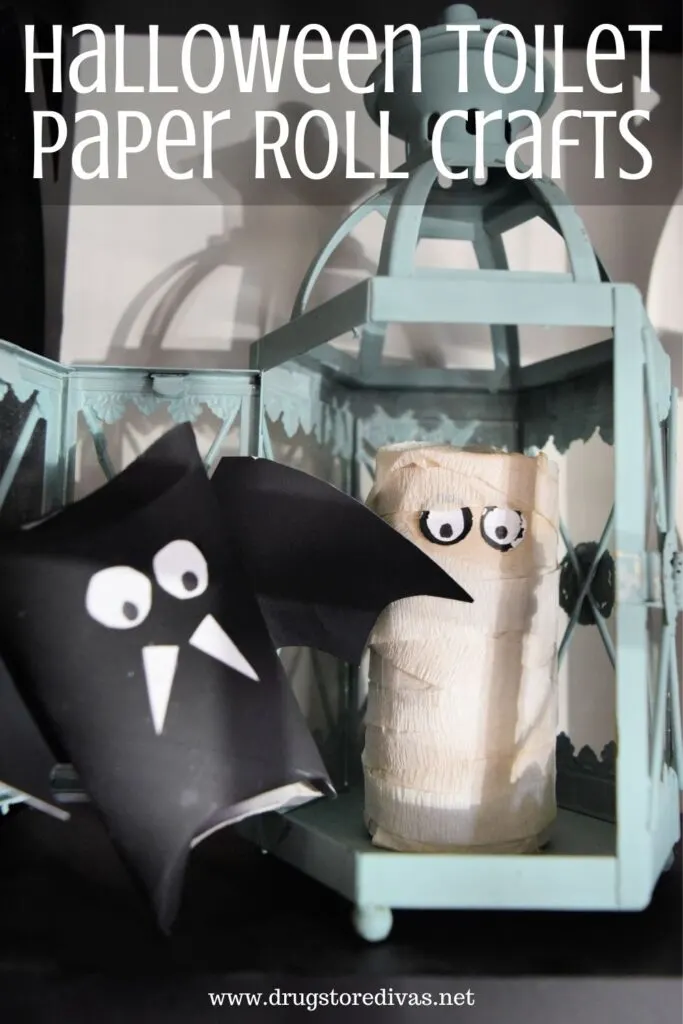
If you’re looking for more frugal crafts for this holiday, check out our list of Halloween Toilet Paper Roll Crafts.
DIY Candy Corn Pine Cone Craft Tutorial
Affiliate links are included in this post and Drugstore Divas may make a small commission if you use them.
Candy Corn Pine Cone Craft Supplies
You can get the full list of supplies in the how to card below.
- Pine cones – If you don’t have any at home, you can purchase crafting pine cones.
- Aluminum foil – This is to line the cookie sheet.
- Cookie sheet – You need to bake the pine cones.
- Paint brush – Any size paint brush works.
- Acrylic paint – You need white, orange, and yellow acrylic paint.
How To Make A Candy Corn Pine Cone

Pine cones aren’t ready for crafting. You can’t just bring some in from the backyard and then start turning them into your beautiful creations. Instead, you actually have to prepare pine cones for crafting.
The exception is if you purchase crafting pine cones online. Those are ready to go.
But, if you’re using natural pine cones from the outdoors, you first have to prep them.
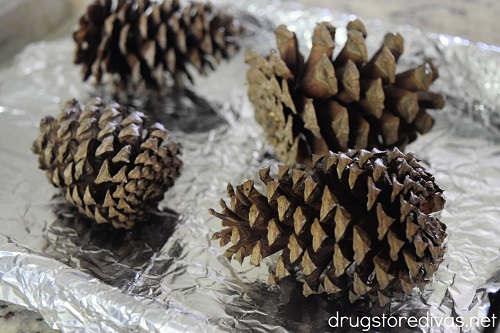
To do this, place the pine cones on a foil-lined cookie sheet. Bake them at 200 F for 30 minutes. Then, let the pine cones sit for 24 hours.
This will assure that any critters that may have burrowed themselves into the pine cone have left and aren’t setting up home in your house.
After 24 hours, you can start crafting.

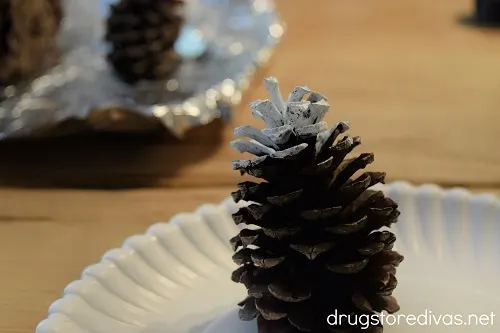
Paint the top quarter (or so) of the pine cone white.
Using a very thin paint brush that can get in between the scales of the pine cone (which, apparently, is the word for the pieces that stick out of the pine cone, according to Google. Who knew this post would be so educational?).
The easiest way to do this is to mark the outside of the scales. Then, paint them with the pine facing up. Flip the pine cone and paint the underside of the scales.
Continue until you’ve painted all of your pine cones. By the time you get to your last one, your first one will be dry. You can either paint a second coat, if you need to, or move on to the next color.
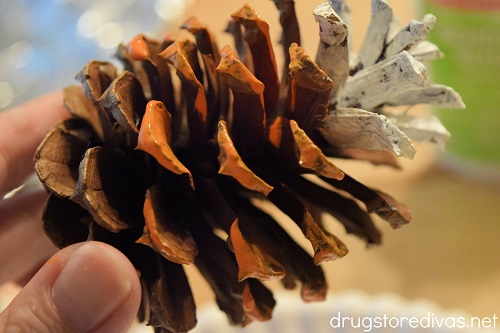

Paint the middle half of the pine cone orange.
Of course, this isn’t an exact science. But on most candy corn, the center section is double the top and bottom sections, so you want your candy corn pine cones to reflect that.
Just like with the white, paint both the top of the bottom of the scales. When you get to the last one, the first one should be dry enough to paint a second coat on, if you think you need to.

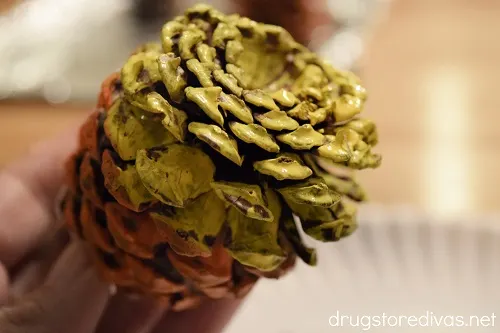
Finally, paint the bottom third yellow. Don’t forget to flip the pine cone completely so that you paint the base of the pine cone as well. Just like with the other colors, by the time you get to the last one, the first will be dry and you can paint a second layer if you need to.
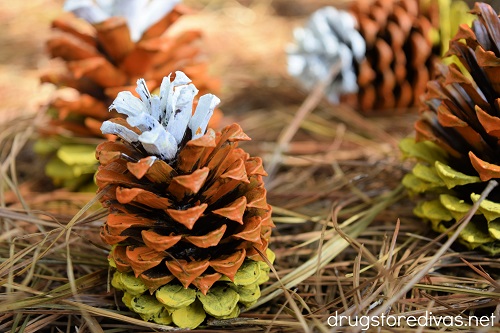
When they’re completely dry, display them on a shelf, in a cute wicker basket, or wherever you need a pop of fall.

Candy Corn Pine Cone Craft: Frequently Asked Questions
You absolutely should bake pine cones before crafting. It delays your craft for a day because you do want them to sit and cool for 24 hours after you bake them, but you absolutely don’t want to skip this.
Pine cones exist outside, where there are lots of bugs. And those bugs can burrow themselves into pine cones. So when you’re bringing the pine cones inside, you’re also bringing those bugs inside. That can cause a lot of potential trouble in your home. So better safe than sorry.
Don’t forget the foil when you’re baking them. The foil can catch any bugs or sap that drips when you’re baking pine cones, and you definitely want to just throw that away rather than having it fall onto your cookie sheet.
So, we actually don’t soak pine cones in vinegar. This is an alternate way of making sure the critters don’t remain in the pine cones after you bring them inside.
If you use vinegar, soak them for about 20 minutes and then let them dry for 24 hours before crafting.
You can use the vinegar method if you prefer, but it usually causes the pine cone to close tighter. Baking pine cones causes them to open wider, which is better for this craft.
Personally, I prefer acrylic paint in this craft instead of spray paint. You have better control over the paint and where it’s going, assuring that you fill all those tiny crevices.
But, if you would rather use spray paint, you’ll want to first spray paint the entire pine cone orange. Let it dry. Then, spray paint the top white and the bottom yellow. It’ll be almost impossible to control the spray paint if you try to spray it in ordered layers. So this is the best way.
You may need multiple coats of the white and yellow spray paint in order to completely cover the orange.
Since these pine cones will be used as indoor décor, you don’t need to seal them with anything. If you were planning on using them outside, you might want to consider spraying them with a glaze. We recommend using spar urethane.

More Candy Corn Crafts:
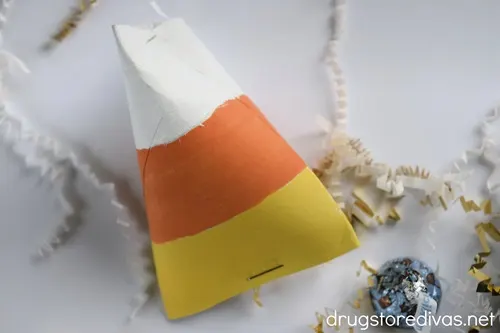
If you really like candy corn, you’ll love our Candy Corn Toilet Paper Roll Craft too. You can fill it with wrapped candy to give out on Halloween or just put them around your house as decoration.
DIY Candy Corn Pine Cone Craft Tutorial

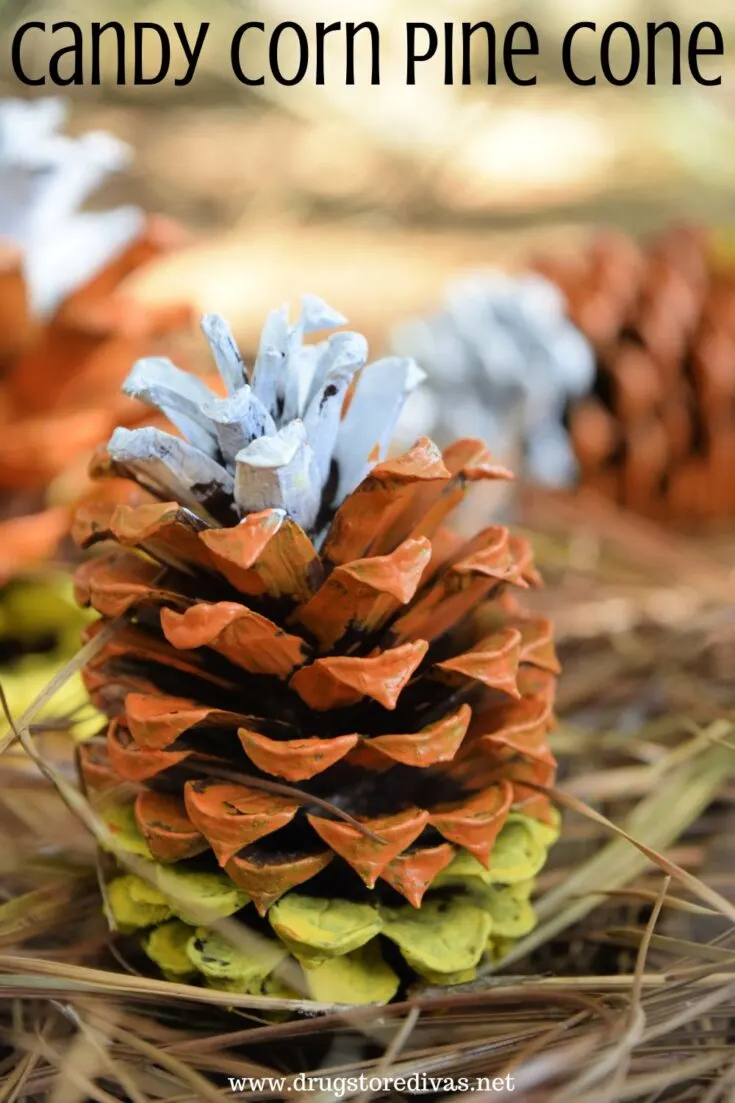
A little bit of paint turns pine cones into a cute craft for Halloween. Just follow our DIY Candy Corn Pine Cone Tutorial to make adorable Fall decorations for your shelves or baskets.
Materials
- Pine cones (If you don’t have any at home, you can purchase crafting pine cones)
- Foil
- White acrylic paint
- Orange acrylic paint
- Yellow acrylic paint
Tools
- Cookie sheet
- Paint brush
Instructions
 Place the pine cones on a foil-lined cookie sheet. Bake them at 200 F for 30 minutes. Then, let the pine cones sit for 24 hours.
- Paint the top quarter (or so) of the pine cone white.
- Paint the middle half of the pine cone orange.
- Finally, paint the bottom third yellow.
Notes
Have you used this DIY Candy Corn Pine Cone Craft Tutorial to make your own decorations? Let us know in the comments.