
If you’re looking for a fun wooden craft (that’s super easy), these Homemade Wooden Hammers are it. They’re perfect for smash eggs, but you can use them for other reasons.
For more craft ideas, check out all of our DIY posts.


This past Easter, one of my brothers came to visit with his two sons. We were going to visit our cousin, whose sister was visiting, and between them there were four kids. And my other cousin was thinking about passing through with her two kids. So we knew we’d be seeing anywhere between six and eight kids.
I wanted to get them all smash eggs because smash eggs are so much fun. They’re basically piñatas made of chocolate. Hollow chocolate eggs are filled with candy, then sealed. And kids take a wooden dowel, smash the chocolate egg, and reveal the candies.
It’s so much fun.
But the person who was selling them in my town was selling them for $5, plus a dollar if you wanted a hammer. And if you don’t have a hammer, you can’t smash them. But $6 times eight is way more than I wanted to spend for something that’s about 45 seconds of entertainment.
So I decided to make my own smash eggs. And I figured if I was making the smash eggs, Pete could make the wooden hammers. Which were so, so simple to make.


If you’re making these wooden hammers and now you want to make something to go with them, check out our DIY Chocolate Easter Smash Eggs tutorial.
Homemade Wooden Hammers
Affiliate links are included in this post and Drugstore Divas may make a small commission if you use them.
This tutorial makes six wooden hammers. If you needed to make more, you would just need to buy more wooden dowels and then make more.
We found the cheapest wooden dowels in Walmart, but you could also find them in hardware stores like Home Depot for about the same price.
Homemade Wooden Hammers Supplies:
You can get the full list of supplies in the how to card below.
- Wooden dowels – A larger dowel makes the top and the smaller dowel makes the handle.
- Tape measure – A ruler could work too.
- Pencil
- Miter saw – You can use a table saw instead of a miter saw, if that’s all you have, but a table saw isn’t as precise as a miter saw is. For tiny projects like this, where straight lines are pretty important, we feel a miter saw is a much better tool.
- Sand paper – Any grit is fine.
- Drill and drill bit – This is to make the hole to assemble the hammers.
- Wood glue – This secures the handle, but you may be fine without it.
How To Make Homemade Wooden Hammers:
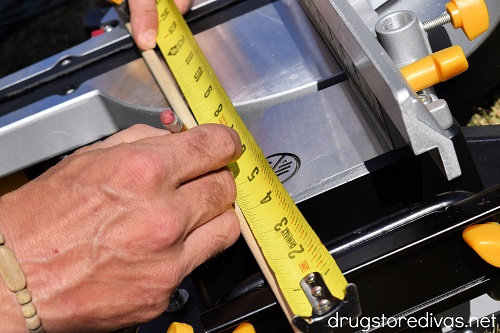
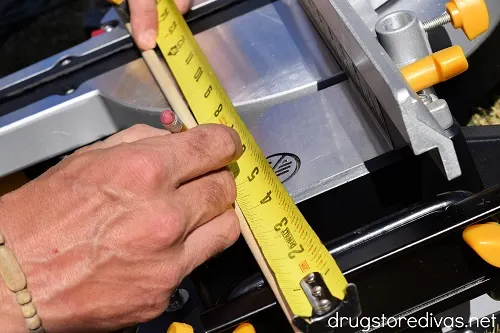
Start with the 5/16-inch wooden dowel. That will be the handle of the hammer.
Using the tape measure, measure it into six inch sections, making them off with a pencil.
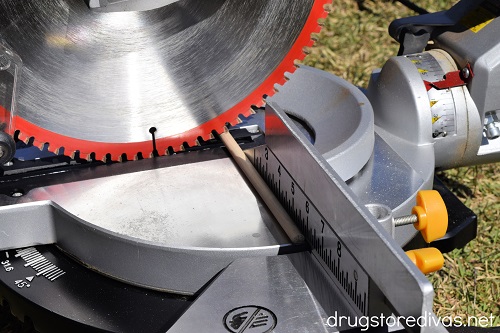
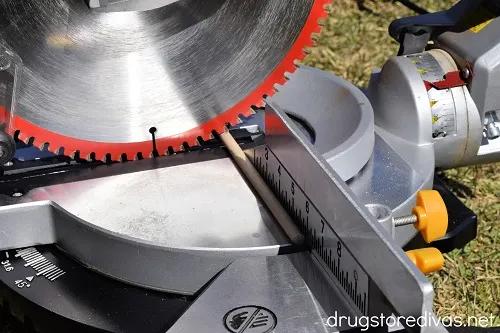
Use the miter saw to cut the pieces.
Side note: Because of the width of the miter saw blade, you will lose a little dowel on either side of the cut. So, if you do measure every six inches, your last handle will be a little smaller than the others. We didn’t mind, since one of our recipients was just under 2 years old. But, if you mind, you’ll have to measure the blade and then do a little extra math to assure they’re all the same size.
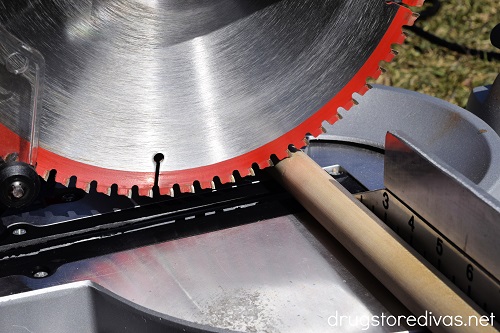
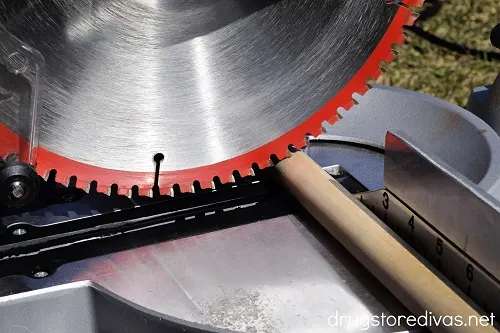
Measure the 7/8-inch wooden dowel into 2.5-inch sections.
Cut six pieces.
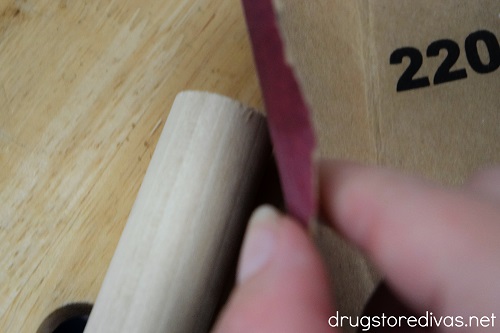
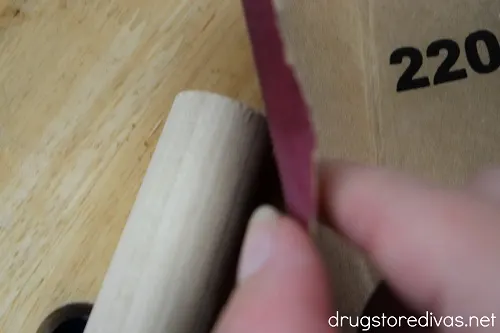
Sand all the edges to assure that they’re smooth.
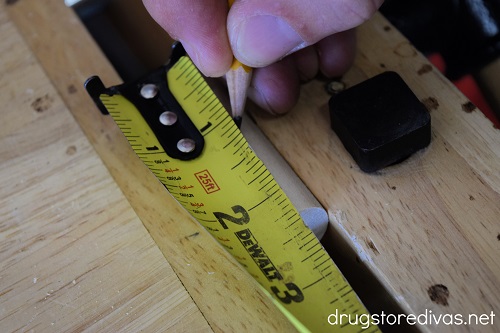
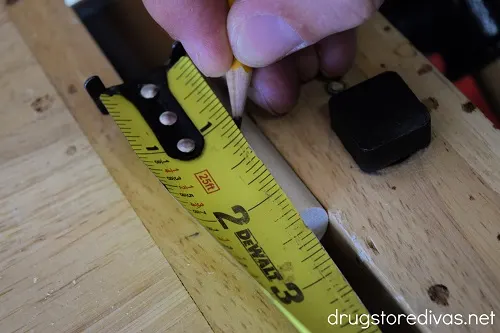
Measure to find the center (1.25-inches in) on the pieces cut from the 7/8-inch wooden dowel. Mark it with a pencil.
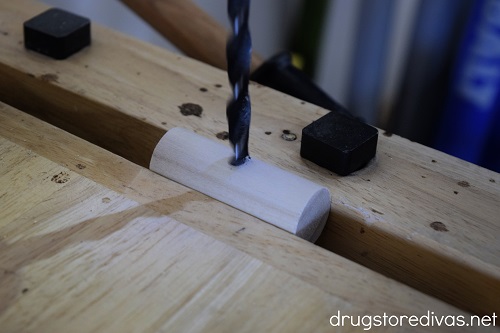
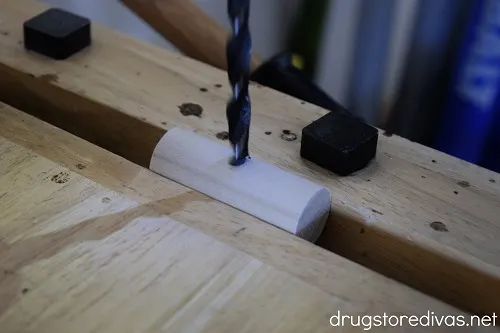
Use the drill, with the 5/16-inch dowel on it, to drill a hole about halfway down.
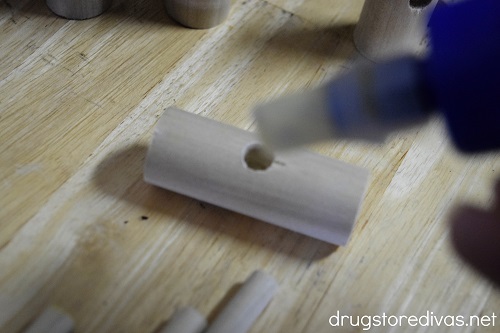
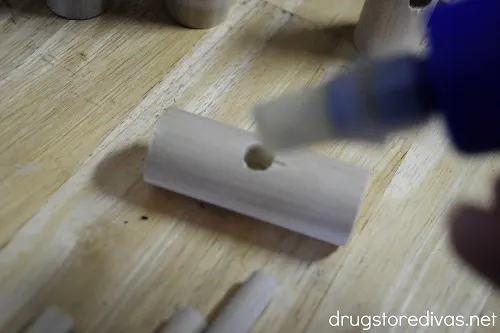
Add a drop of wood glue in the hole.
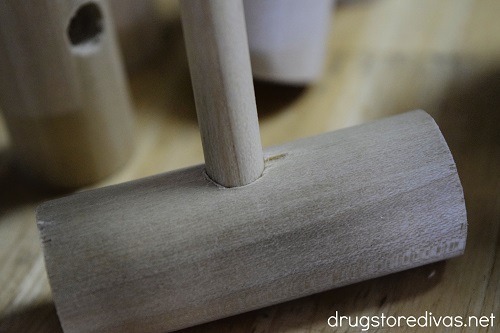
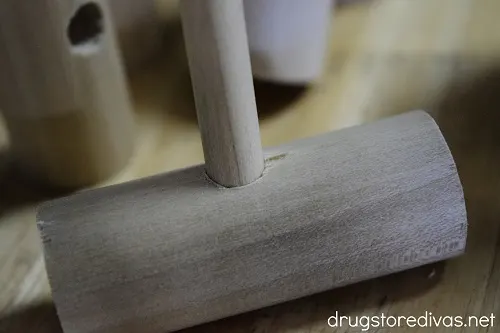
Stick a piece of the 5/16-inch dowel into the hole, making sure it’s as far in as it can go.
Let it dry overnight (or as long as needed according to the wood glue’s packaging).
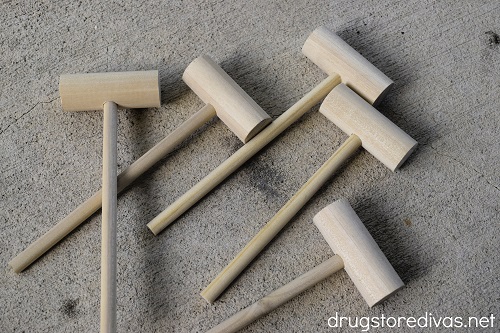
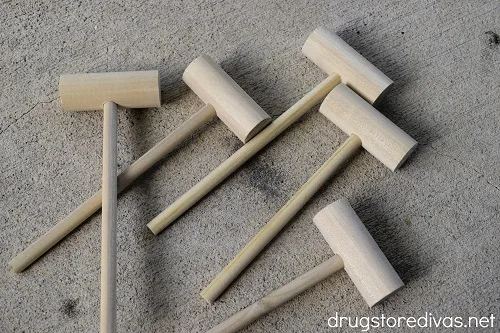
Homemade Wooden Hammers: Frequently Asked Questions
We made these homemade wooden mallets for Smash Eggs. We also include them when we gift out Halloween Breakable Chocolate Mummy too.
They can also be used to play with clay or Play-Doh, for kids to learn to hammer nails, just for playtime, and more.
You could also use these as lobster mallets, if you’re throwing a seafood boil. If you do that, though, make sure you are using a wood that is food safe.
We went through a lot of measurements and decided these size dowels would make the perfect wooden hammers for little hands who didn’t need a lot of force to break chocolate eggs.
You could change the sizes and make larger hammers, if you wanted, but we didn’t feel the need.
If you need wooden hammers, but you’re not going to make them yourself, you can purchase wooden hammers online via that link. That will bring you to a bunch of sizes, so make sure you’re checking the size before you order it.
Homemade Wooden Hammer


Materials
- 5/16-inch wooden dowel (36 inches long)
- 7/8-inch wooden dowel (36 inches long)
- Sand paper
- Wood glue
Tools
- Tape measure
- Pencil
- Miter saw
- Drill
- 5/16-inch drill bit
Instructions
 Start with the 5/16-inch wooden dowel. That will be the handle of the hammer. Using the tape measure, measure it into six inch sections, making them off with a pencil.
- Use the miter saw to cut the pieces.
- Measure the 7/8-inch wooden dowel into 2.5-inch sections. Cut six pieces.
- Sand all the edges to assure that they’re smooth.
- Use the drill, with the 5/16-inch dowel on it, to drill a hole in the center (1.25-inches in) of the pieces cut from the 7/8-inch wooden dowel. Drill it about halfway down.
- Add a drop of wood glue in the hole.
- Stick a piece of the 5/16-inch dowel into the hole, making sure it’s as far in as it can go. Let it dry (as long as needed according to the wood glue’s packaging).
Notes
Because of the width of the miter saw blade, you will lose a little dowel on either side of the cut. So, if you do measure every six inches, your last handle will be a little smaller than the others.
Have you made these Homemade Wooden Hammers? Let us know how it went in the comments.