
This DIY Paint Pour Coasters post is sponsored.


If you guys know us in real life, you know we have a vast coaster collection. We have coasters we’ve collected from bars, coasters we’ve gotten as gifts, and coasters we’ve made.
And now I can add these homemade paint pour coasters to the collection.
You can use any combination of colors that you want to make yours.
And don’t worry if you don’t have any experience with paint pouring. I promise you it’s so much easier than you think. And it’s super fun and relaxing.
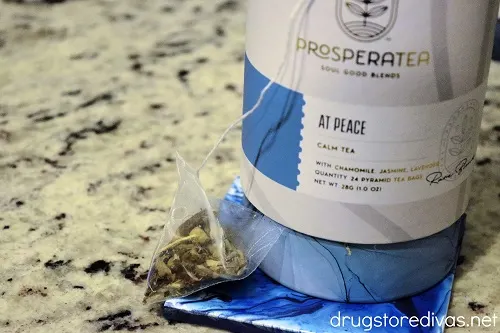
But, if you are nervous, a cup of the At Peace, with its chamomile and lavender florets, will calm you down.
And, before you start, we have a bunch of tips for paint pouring at the end of this post.
DIY Paint Pour Coasters
If you’re familiar with paint pouring, these coasters are made using a “dirty pour” method.

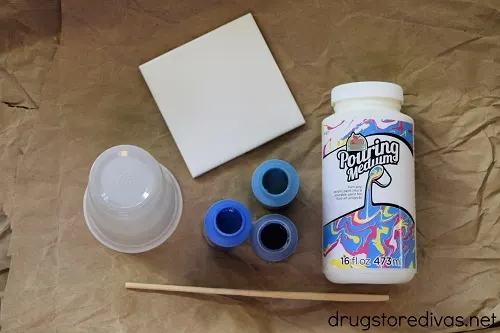
Paint Pour Coasters Supplies:
- 5 9oz. disposable plastic cups
- Pouring medium
- 3 Acrylic paints (in varying colors)
- Chopstick
- 4 4×4 tiles
- Scrap paper
- Cardboard box
- Triple thick clear glaze
- Scissors
- Felt
- Glue
How To Make Paint Pour Coasters:

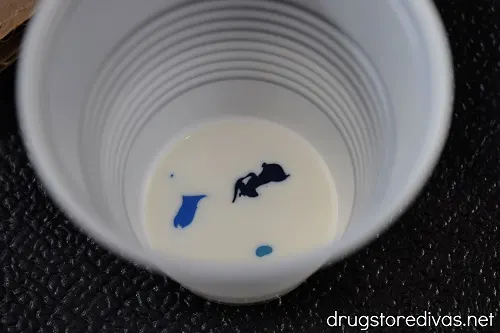
Pour your pouring medium into a plastic cup. You only need a little. If you’re using a 9oz. disposable plastic cup, fill the pouring medium up to the very first line from the bottom.
Squeeze one of the acrylic paints into the pouring medium. Follow with a second color and then finish with the third.
You don’t need to squeeze equal amounts of each color into the pouring medium, but you will need to make sure you squeeze an equal amount of paint to pour medium.
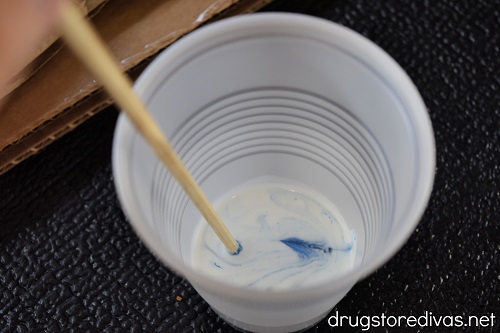

Use a chopstick (or a skewer) to gently swirl the paints and pouring medium together. You only want a small swirl to incorporate them. Do not mix them completely.

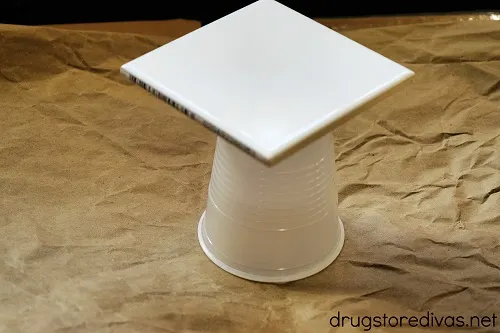
Put a piece of scrap paper in a cardboard box. Place a plastic cup, upside down, on the scrap paper. Lay the tile on top of the plastic cup.

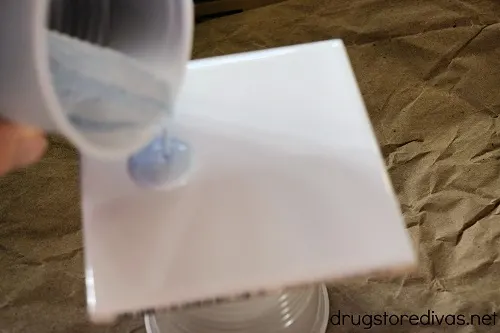
Gently pour the paint and pouring medium on top of the tile.
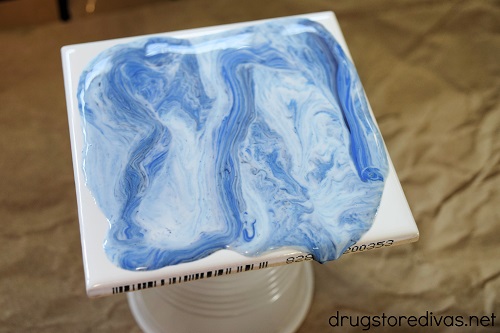

Hold the coaster by the corners and gently and slowly twist and turn it until the tile is completely covered with paint.
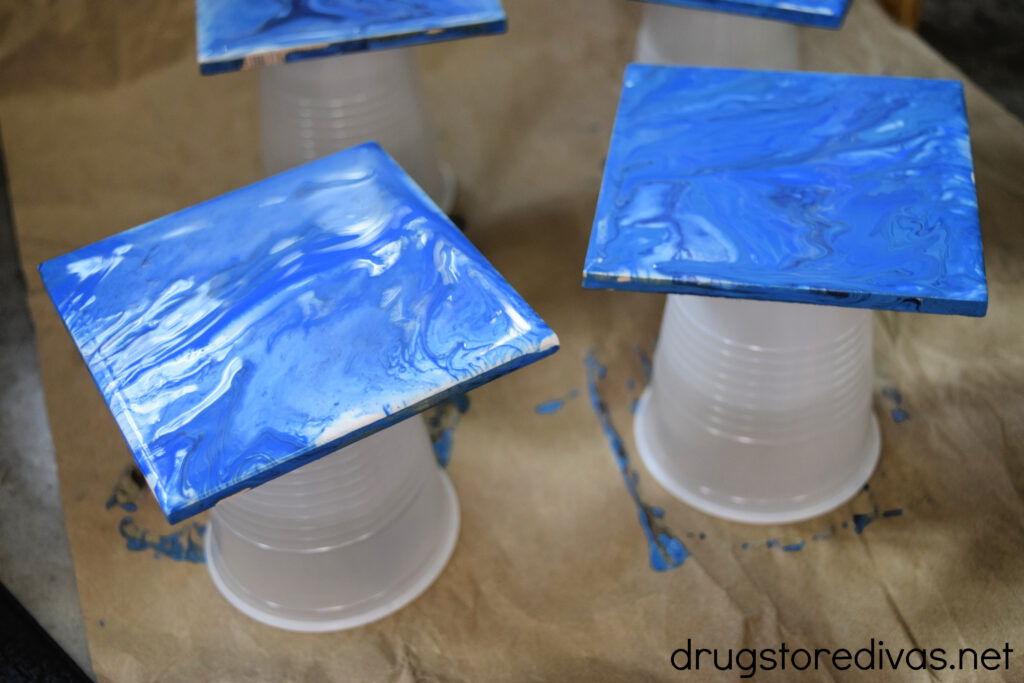

Set the tile back on the plastic cup and leave it to dry. The paint and pouring medium will run while it is drying, so you want to keep it elevated and allow the paint to drip off onto scrap paper.
Continue until you’ve made all four coasters.
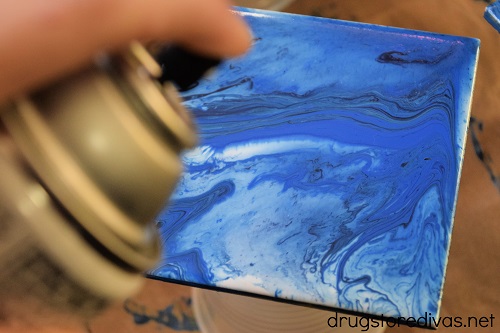

Let them all dry for 24 hours. After 24 hours, spray them with triple thick clear glaze.

Let the coasters dry for a week if you plan to use these with hot drinks. It may take up to two weeks for the paint to completely set.

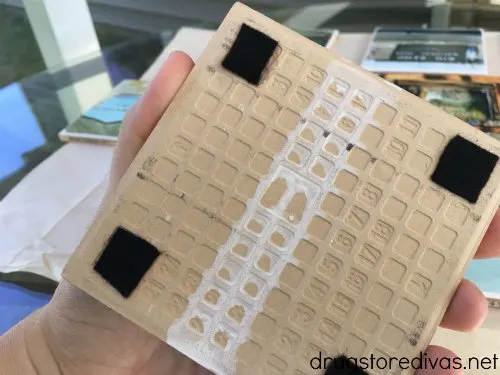
When the paint is set, cut four small squares from the felt. Use glue to affix them to the bottom of the coasters to prevent scratching.

Tips For Making Paint Pour Coasters
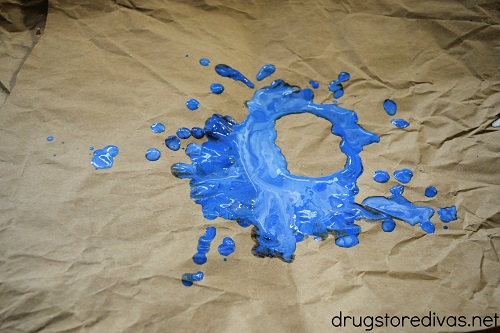
You want to make sure to use a cardboard box to catch the paint drippings. They will land on the scrap paper, but could splash and get all over your floor. The paint and pouring medium combination is also really running, so it could run off your paper. The cardboard box acts as a splash guard to contain any paint.
Since the tiles are small, you’ll only need a little bit of paint and pouring medium to cover them. The pouring medium makes the paint really loose and thin, so you will honestly use a lot less than you anticipate. Keep that in mind.
You can reuse the same cup and any leftover paint and pouring medium for subsequent coasters, but they will come out better if you rinse the cup completely and start over.
Don’t skimp on the amount of paint that you add to the pouring medium. If the ratio is off, and you use too much of the pouring medium, it will be too thin. The paint and pouring medium will pour just fine, but as it dries, it will crack. And unfortunately, there’s no way to prevent that.
Acrylic paints, that you can order online or buy in any big box store, work best. You don’t need any fancy paints. I use ones that cost $.49 and they work perfectly. Buying a good pouring medium is more important than expensive paints.
What is a dirty pour?
So I mentioned that this is made using a dirty pour. That’s when all of the colors are mixed into one cup and poured together.
Another method is to mix each color separately. In that technique, you would need one cup for each color. Mix together an equal amount of paint and pouring medium. Make sure they’re combined. Then, pour each color separately onto the tiles.


Want more DIY coasters?
We have a few other DIY coaster tutorials that you might enjoy:
DIY Paint Pour Coasters

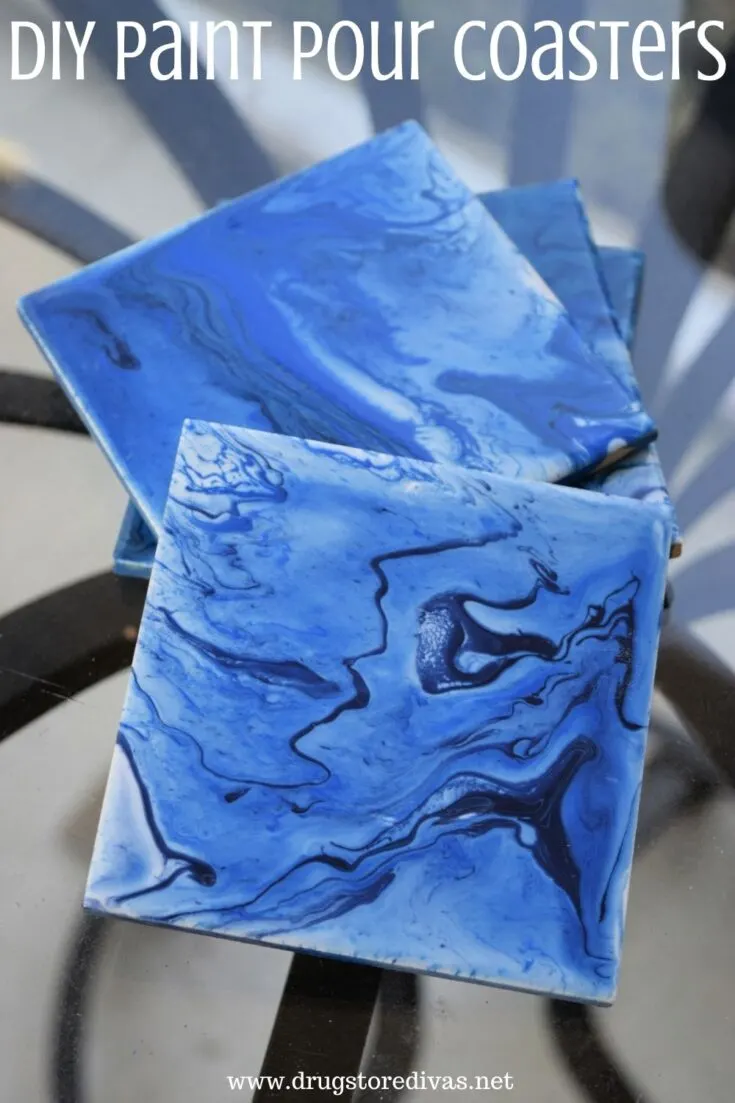
Paint pour coasters are really easy to make at home. Find out how in this Paint Pour Coasters tutorial.
Materials
- 5 9oz. disposable plastic cups
- Pouring medium
- 3 Acrylic paints (in varying colors)
- Chopstick
- 4 4×4 tiles
- Triple thick clear glaze
- Felt
- Glue
Tools
- Scrap paper
- Cardboard box
- Scissors
Instructions
 Pour your pouring medium into a plastic cup. Squeeze one of the acrylic paints into the pouring medium. Follow with a second color and then finish with the third.
- Use a chopstick (or a skewer) to gently swirl the paints and pouring medium together.
- Put a piece of scrap paper in a cardboard box. Place a plastic cup, upside down, on the scrap paper. Lay the tile on top of the plastic cup.
- Gently pour the paint and pouring medium on top of the tile.
- Hold the coaster by the corners and gently and slowly twist and turn it until the tile is completely covered with paint. Set the tile back on the plastic cup and leave it to dry. Continue until you’ve made all four coasters. Let them all dry for 24 hours.
- After 24 hours, spray them with triple thick clear glaze.
- When the paint is set, cut four small squares from the felt. Use glue to affix them to the bottom of the coasters to prevent scratching.
Notes
Check out the ProsperaTea website and find your favorite variant. Then, come back here and comment to let us know what color you would make your paint pour coasters so they match your tea.
Patricia
Wednesday 21st of April 2021
I love this craft, please sent me email with new craft. Thanks in advance.
Donna @ Modern on Monticello
Wednesday 17th of February 2021
I like the shades of blue with this. I have considered trying this type of project but didn't realize that there is a pour medium you need to use. Thanks for sharing a great tutorial.
Beth
Wednesday 17th of February 2021
I just love paint pour on anything!
Rebecca Payne
Friday 29th of January 2021
You make it look so easy. Thank you for sharing.