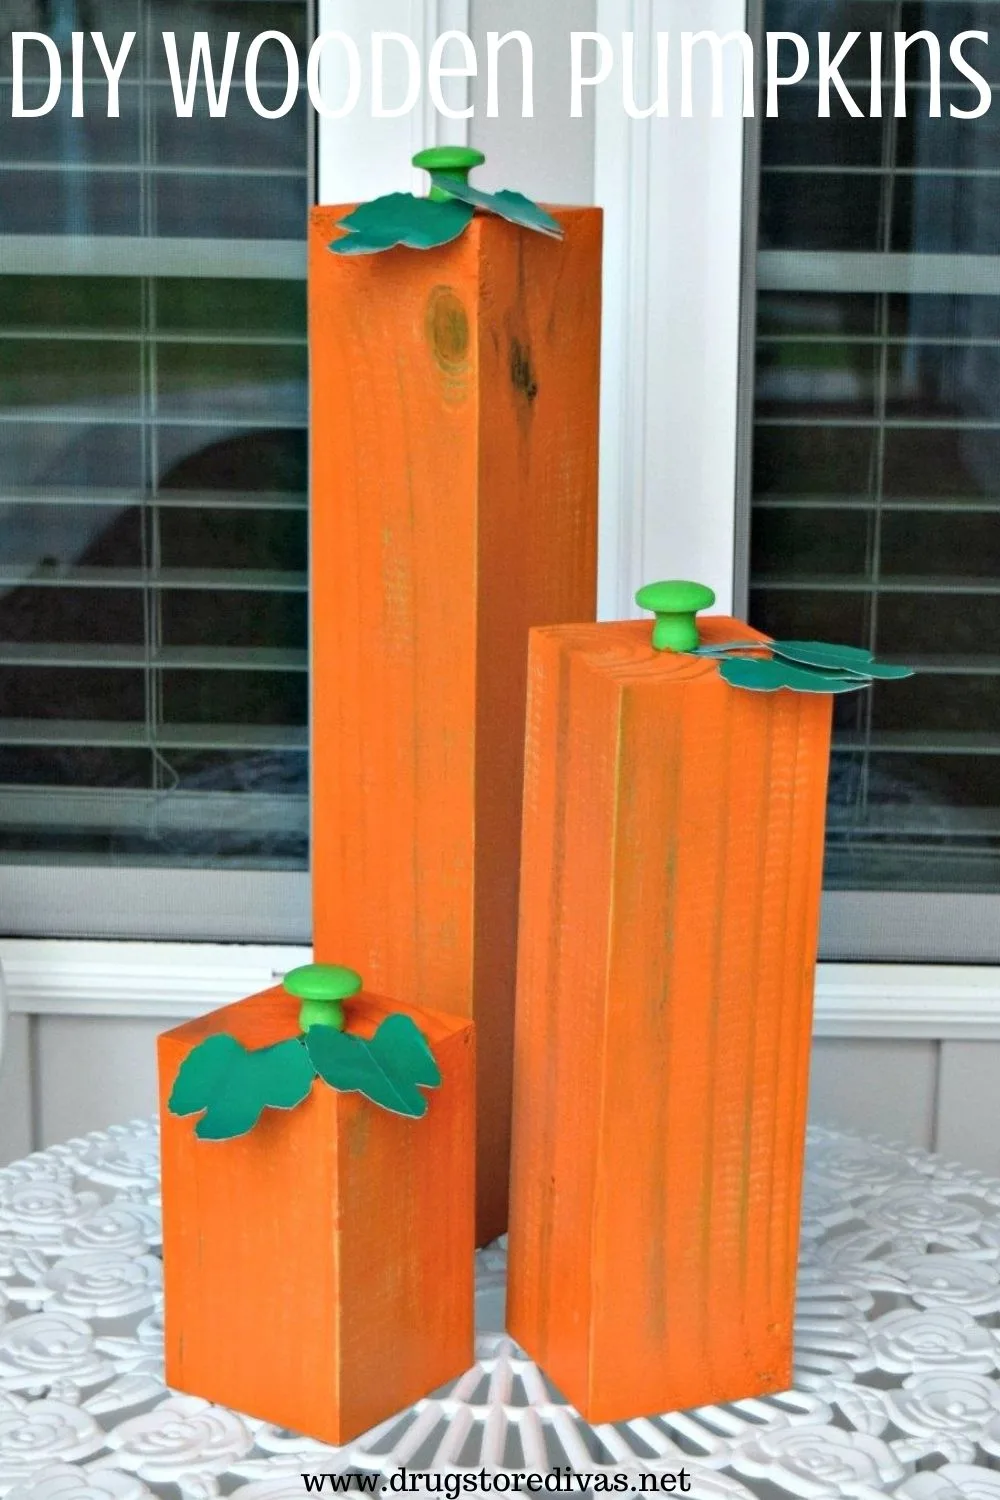
I brainstormed for a little while, then decided on turning a piece of lumber into 4×4 pumpkins. I had thought about this project last year, but with smaller wood. The trouble with that was they wouldn’t stand and I didn’t know how to build a stand for them. So the 4×4 was the perfect solution.
DIY Wooden Pumpkins Tutorial
Affiliate links are included in this post and Drugstore Divas may make a small commission if you use them.
Generally, you can buy a pressure treated 4×4 in 6 foot pieces. For this project, we’re using half of that, so you can actually make two sets of these wood pumpkins from one piece of wood (just be sure to buy extra wooden drawer pulls if you do).
DIY Wooden Pumpkins Supplies:
- Miter saw
- Tape measure
- Pencil
- Pressure treated 4×4 (3 feet worth)
- Sandpaper
- Paper towels
- Paint brushes
- Orange interior paint
- 3 round wooden drawer pulls
- Green interior paint
- Wood glue
- Scissors
- Green duct tape
- Blank sheet of printer paper (optional)
- Spar urethane
How To Make DIY Wooden Pumpkins:
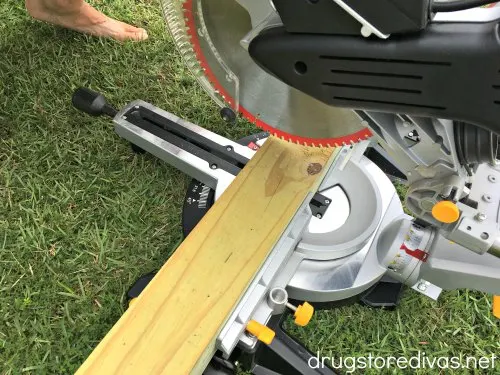
Use a tape measure and pencil to measure and mark the wood at 6 inches, 12 inches from there, and 18 inches from there (half a foot, a foot, and 1.5 feet, respectively).
Use the miter saw to cut the wood to size.
If you don’t have a miter saw at home, you can use a circular saw.
Gently sand the pieces.
I used 100 grit sandpaper, but any grit is fine. Don’t worry about sanding it too perfectly. Just sand it enough that the blunt edges are gone.
Clean the sawdust off with a dry paper towel.
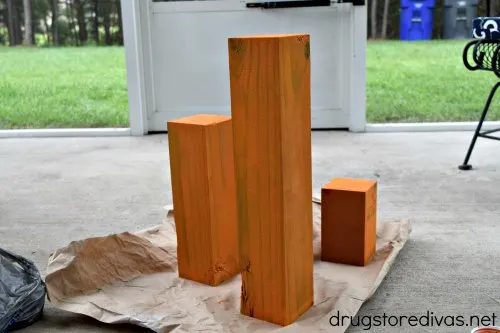
Paint a light coat of orange paint on the sides and top of each wood piece. Don’t worry about painting the bottom. These outdoor wooden pumpkins will forever be sitting on the bottom, so no one will see it.
By the time you get to the last surface, the first one you painted will be dry.
Paint a second coat of orange on every surface.
Be sure that you are painting light coats on the wood. You want the grain showing to give your wooden pumpkins some personality.
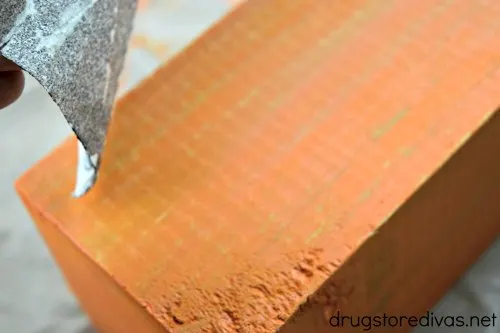
When the second coat of orange dries, use your sandpaper to distress the pumpkins. Focus on the edges because that’s where the distressing will look most noticeable. Use the sandpaper to distress the sides as well. You can distress as much or as little as you like.
I like sanding with the grain, then just varying pressure to distress some spots more than others, but you can sand against the grain for a completely different look. It’s completely up to you.
Use a wet paper towel to wipe away any orange sawdust created by distressing.
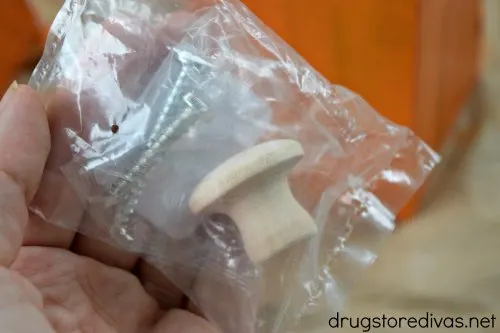
Paint the wooden drawer pulls green to make the pumpkin’s stem. Depending on the color green you buy, you may need a second coat.
The drawer pulls come with the hardware (aka screws) to affix them into the door. You won’t be needing those for this project, so just set them aside. Or in my case, just put them in your husband’s workbench and hope he can find a need for them.
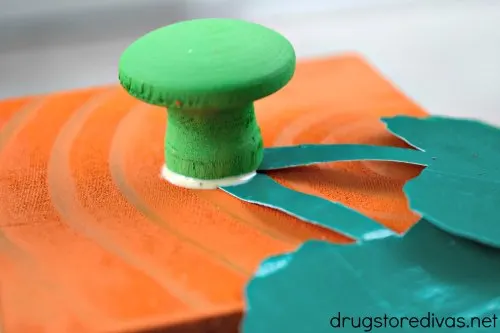
Now it’s time to make the leaves from the duct tape. You’ll want to make two leaves per pumpkin. (Find a full explanation of how I made the leaves in the section below).
Use the wood glue to glue the leaves and stem down to the top of the pumpkin. Let it dry.
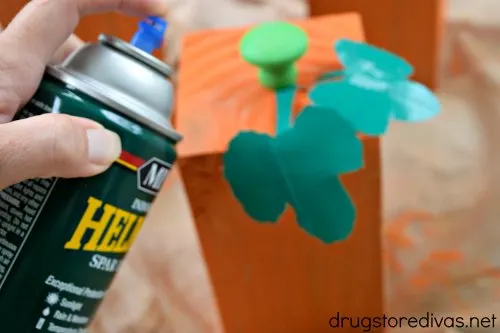
When the stem is stable, coat the pumpkins with a layer of spar urethane. Let the spar urethane dry for 15 minutes, then spray a second coat.
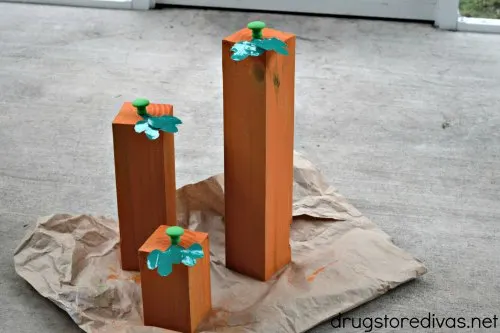
Display them outside (or sneak over to a neighbor’s house and display them there).
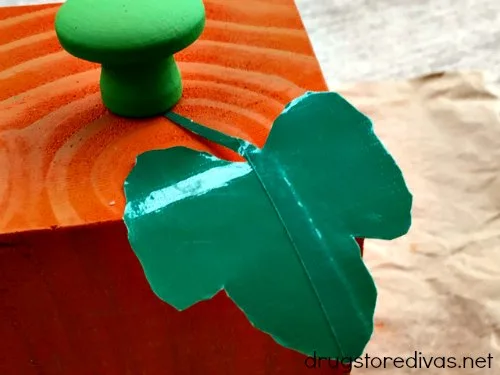
How To Make Duct Tape Pumpkin Leaves
Honestly, this was what took me the longest because I couldn’t get a method down.
My original plan was to fold a piece of duct tape in half and just freehand the leaf. But cutting through duct tape with a pair of scissors is actually a lot harder than it sounds. So much of the adhesion accumulates on the scissors, and pulls the duct tape. I freehand cut a lot of card stock, but duct tape wasn’t allowing it.
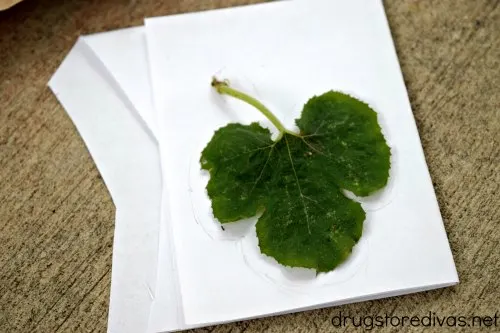
So then I went to my garden and actually got a leaf from our spaghetti squash plant. I really just wanted to put that on there and call it a day. But those would wilt so quickly.
So I went to option three. And that’s the method that worked.
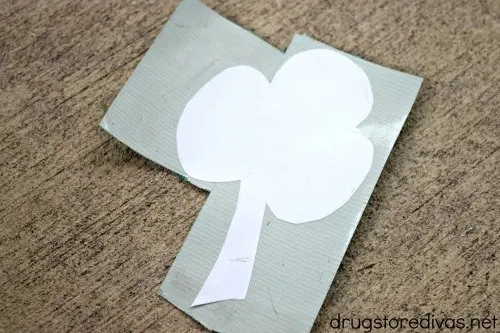
Draw a pumpkin leaf on a piece of printer paper, including the stem (or, in my case, trace the spaghetti squash leaf. Pumpkins are a squash, so they have the same leaves). Don’t worry about details. Just make each section of the leaf rounded.
Cut it out from the printer paper.
Cover the cut out in green duct tape. Cut around the edges of the printer paper to cut the leaf out. Make sure your scissors stay inside the printer paper. Don’t try to cut along the duct tape. You’ll end up with the same adhesion and pulling issue. If you stay cutting on the printer paper itself, you won’t have any issues at all.
Once you have the leaf cut out, go around the edges to make embellishments. Pumpkin leaves aren’t round. They have sharp edges and grooves. As long as you stay cutting on the printer paper, you’ll be able to embellish this as much as you wish.
Purchase Wooden Pumpkins:
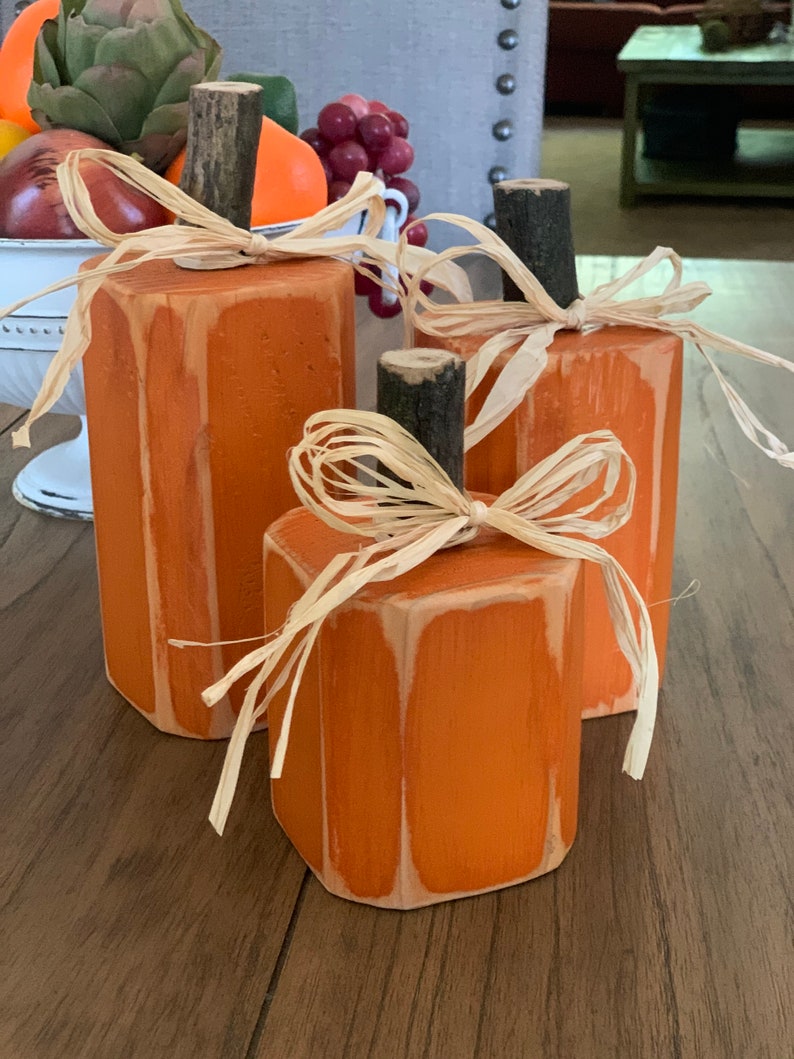
If you really like these but don’t want to spend your afternoon making them, you can order some similar wooden pumpkins online. The ones in the image above are here. You can find some other options below.
Just remember, make sure you hit the store’s minimum for free shipping or choose instore or curbside pickup where possible to avoid shipping costs.
More Homemade Pumpkin Crafts:
These rustic wooden pumpkins aren’t the only pumpkin craft we have on Drugstore Divas. Check out our other favorites below.
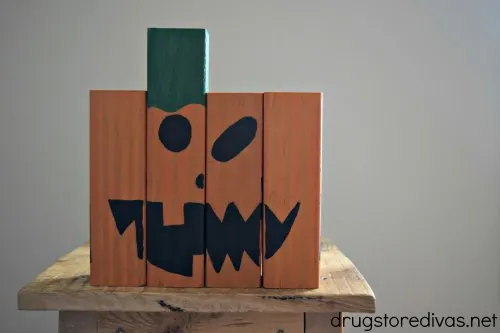
- DIY Mix And Match Wooden Pumpkin Face Decoration
- DIY Upcycled Tin Can Pumpkins
- DIY Toilet Paper Roll Pumpkin
DIY Wooden Pumpkins
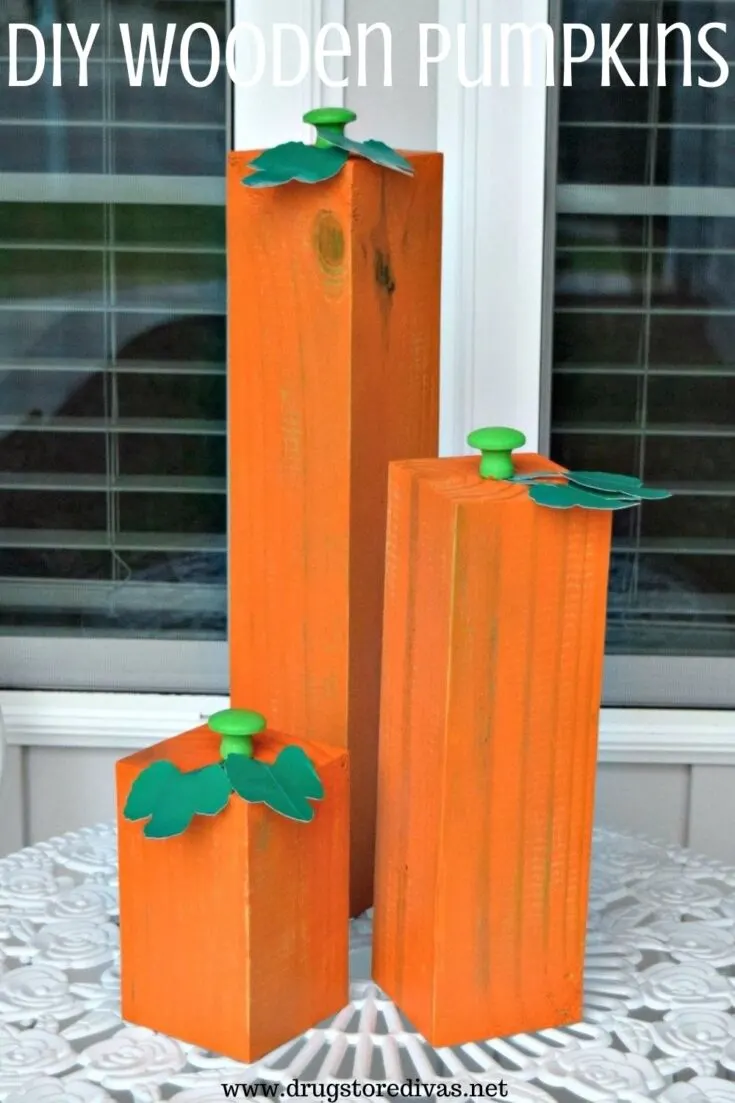
These DIY Wooden Pumpkins are such a beautiful outdoor fall decoration. Make them in an afternoon with this tutorial.
Materials
- Pressure treated 4×4 (3 feet worth)
- Sandpaper
- Paper towels
- Paint brushes
- Orange interior paint
- 3 round wooden drawer pulls
- Green interior paint
- Wood glue
- Green duct tape
- Blank sheet of printer paper (optional)
- Spar urethane
Tools
- Miter saw
- Tape measure
- Pencil
- Scissors
Instructions
 Use a tape measure and pencil to measure and mark the wood at 6 inches, 12 inches from there, and 18 inches from there (half a foot, a foot, and 1.5 feet, respectively). Use the miter saw to cut the wood to size. Gently sand the pieces. Clean the sawdust off with a dry paper towel.
 Paint a light coat of orange paint on the sides and top of each wood piece. Don’t worry about painting the bottom. Paint a second coat of orange on every surface.
 When the second coat of orange dries, use your sandpaper to distress the pumpkins. Use a wet paper towel to wipe away any orange sawdust created by distressing.
 Paint the wooden drawer pulls green to make the pumpkin’s stem. Depending on the color green you buy, you may need a second coat.
 Make two leaves per pumpkin. (See details in the post itself).
 Use the wood glue to glue the leaves and stem down to the top of the pumpkin. Let it dry.
 When the stem is stable, coat the pumpkins with a layer of spar urethane. Let the spar urethane dry for 15 minutes, then spray a second coat.
Notes
Have you used this DIY Wooden Pumpkins Tutorial to make your own homemade fall décor? Let us know about it in the comments.

Rebecca
Tuesday 22nd of September 2020
Love these wooden pumpkins!
Marilyn
Monday 21st of September 2020
Those are so dang cute!!
Ann Butler
Sunday 20th of September 2020
Fun Pumpkins.
Julie Briones
Sunday 20th of September 2020
Your wooden pumpkins are so cute!
Joanne
Friday 18th of September 2020
These are so cute! Thank you so much for sharing with us.