This DIY Crocheted Headband post is sponsored by ApotheCARE. All thoughts and opinions belong to Drugstore Divas.
Winter is coming. And that means you really need to bundle up. Plus, you really need to put more care into your hair in the winter than you do in warmer weather. Four quick winter hair tips: One: Don’t comb your hair when it is wet. That causes breakage. Two: Your hair stays wet longer this time of year since you don’t have the heat from the day to dry it, so use your blow dryer in the morning after letting your hair air dry a bit. Three: Use a great shampoo so the winter weather doesn’t make your hair fall flat. And four: Don’t cover your head with a hat.
Let’s talk a bit more about tip three. As far as shampoo, lately I’ve been using the ApotheCARE Essentials Hair Care shampoo and conditioner. You can find the premium hair care line at CVS.com. The products will launch in store in 2018, but you can find them now online for $12.99 for a 12 oz. bottle. Currently, only the ApotheCARE Essentials Booster Shampoo and Conditioner are available on CVS’ website, but the brand does have additional products in its line, like the ApotheCARE Essentials The Colorist Mask Sachet and a Dry Shampoo.
What’s great is the shampoo and conditioners have no dyes or silicones and some of the line is also paraben free.
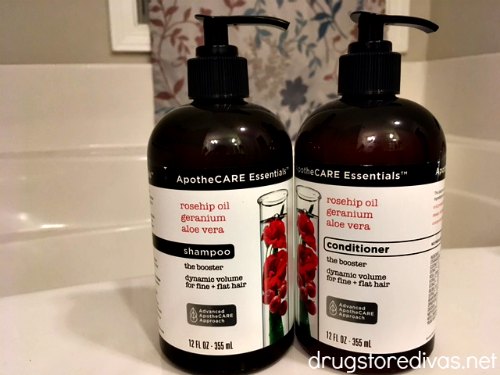


I have the ApotheCARE Essentials Booster Shampoo and Conditioner in our shower for almost a week now. It’s made with rose hip oil, geranium, and aloe vera. It smells strongly of flowers (although the scent doesn’t linger after the shower) and is perfect for fine and flat hair since it builds weightless, thicker-looking volume — exactly what we need in winter.
I actually do feel like my hair has more body since using these products. It also holds my style longer than other shampoos. I can curl my hair, sleep in it, and still wake up to waves in the morning (rather than waking up to a mess of knots).
The best part about the ApotheCARE Essentials Booster Shampoo and Conditioner is the bottle. It’s a pump bottle rather than a traditional shampoo bottle, and that’s great if you’re putting this in your guest bathroom. That way, when your guests visit, they don’t have to fumble with the lid of a shampoo bottle and worry about turning it over and potentially dropping it. And the pump bottle definitely makes the guest shower look nicer too. Those little touches really make a difference.
Now, about tip four: No hats. The hat will weigh down all the hair on the top of your head, defeating the benefits of the ApotheCARE Essentials products. Instead, go for a headband.
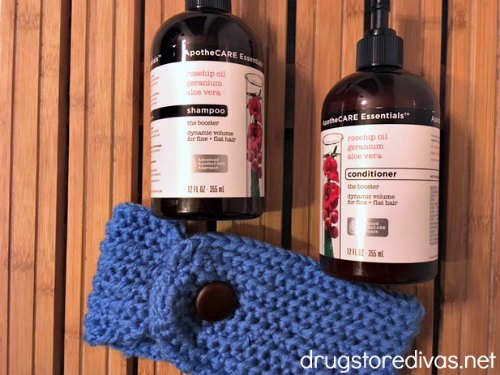

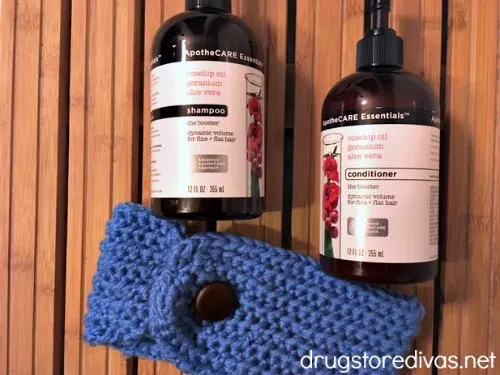

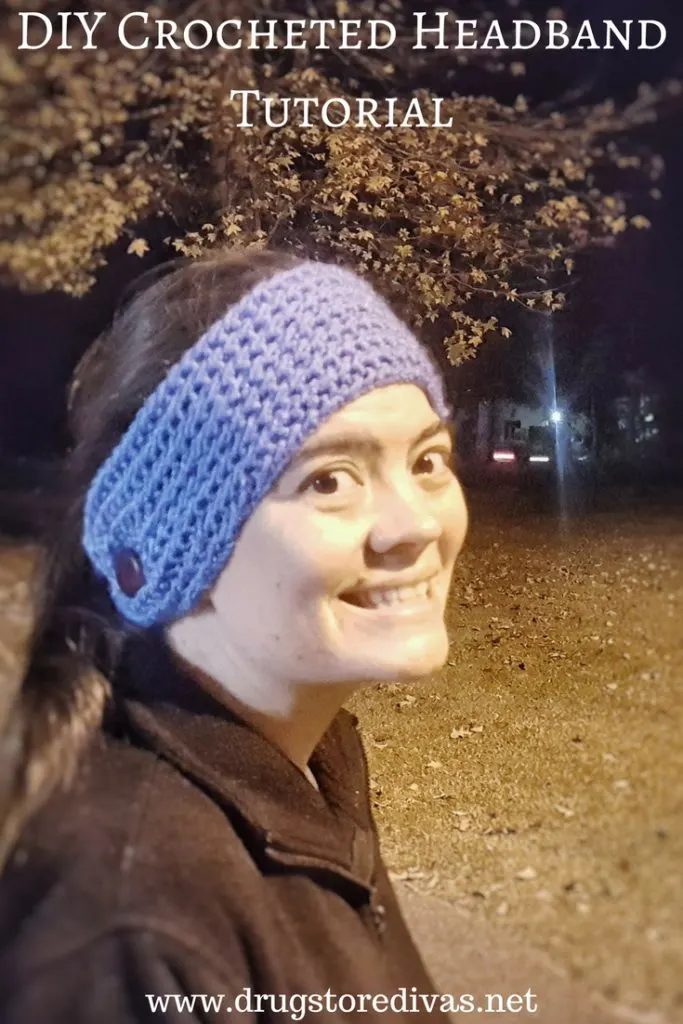
Personally, I love crocheted headbands. They don’t flatten my hairstyle and still keep my ears warm. I recently made one myself (so I can have one in each of my jackets) and as I did, I put together a DIY Crocheted Headband Tutorial so you can make your own. It does take a bit of time, but it’s so worth it.
DIY Crocheted Headband
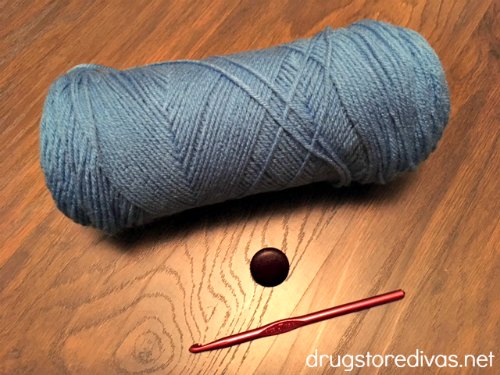


What You’ll Need:
- Yarn
- Crochet hook (I used a J size)
- Button
What You’ll Do:
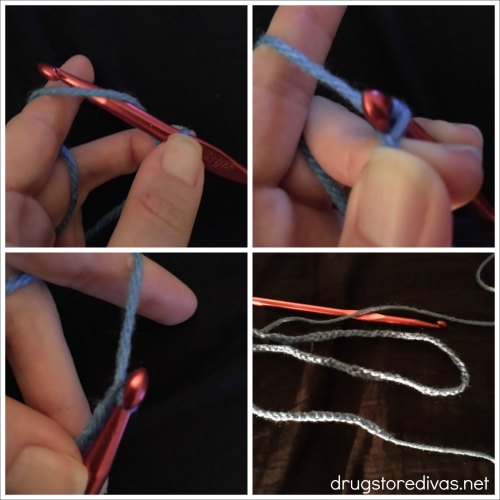

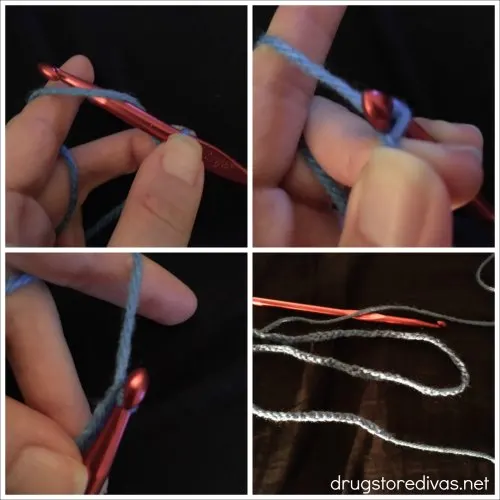

Wrap the yarn around the crochet hook twice. Grab the second loop with the needle’s point and pull it through the first loop, creating a slip knot. Wrap the yarn around the hook again, grab it with the hook’s point, and pull it through the new circle. This is called a chain stitch.
Continue until the chain you created is about four times the length of your hook. You can measure it on your head to make sure it fits around your head. It fit perfectly for me, but your head may be larger.
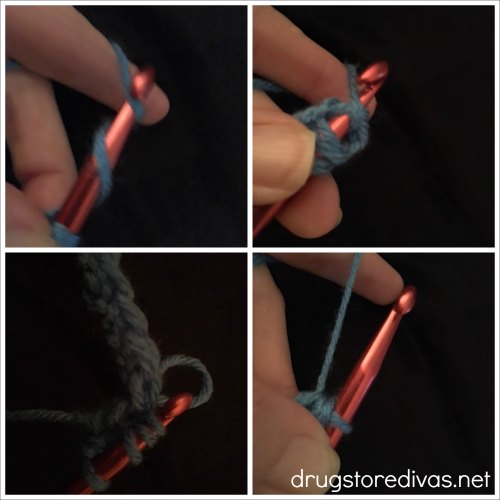

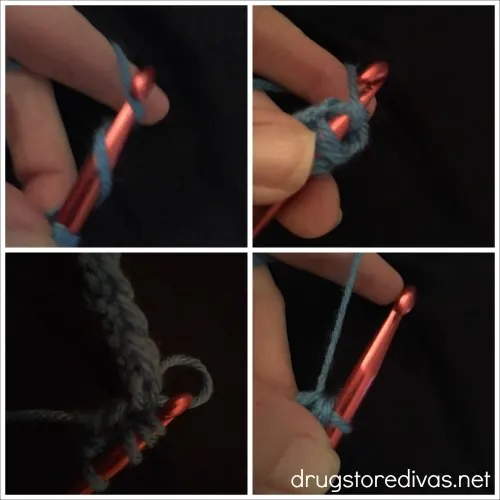

Now it’s time to start your second row.
Loop the yarn around the hook twice. This actually creates three loops. Go in through the first stitch of the first row. Pull it out and loop the yarn around the hook again. Pull the three loops through the last loop.
Time to do it again.
Loop the yarn around the hook twice. Again, this creates three loops. This time, skip a stitch and go in through the second stitch in the first row. Pull it out and loop the yarn around the hook. Pull the three loops through the last (created) loop.
Continue until you reached the end of the first row, then, go back.
Loop the yarn around the hook twice, creating three loops. Now, go through the newly created opening (it’s a large hole) in the second row. Come out and loop the yarn around the needle. Pull the three loops through the last loop.
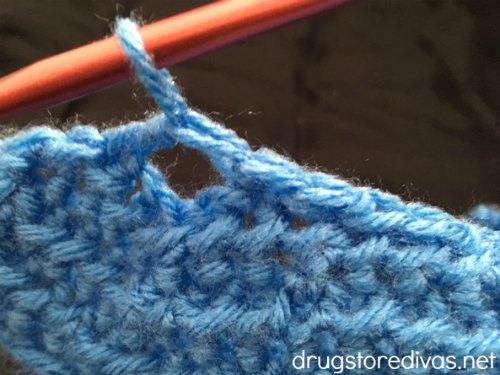

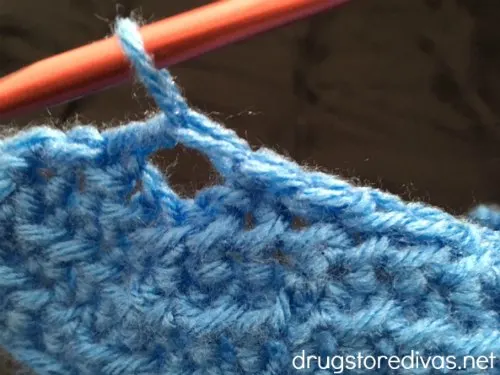

Continue this for five rows. About ten holes before you finish the sixth row, loop the yarn around twice and skip four or five holes (depending on the size of your button) before going in. This will create your button hole. Continue on as you were before for another five rows.
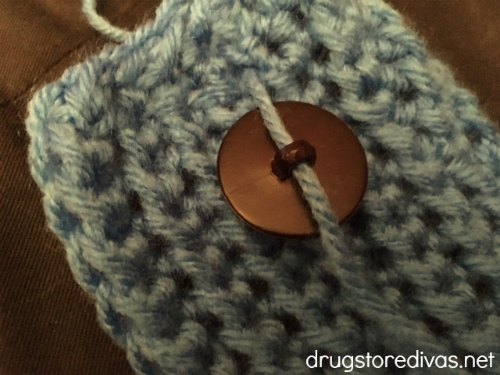

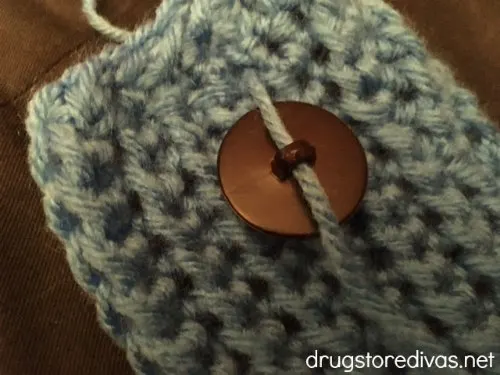

When you’re done, tie a knot, then leave about three inches of yarn before you cut it. Use the leftover yarn to tie the button to the end opposite of the button hole. I love mine and wear it all the time. It came out really nice and looks like something I bought. But even better, it’s keeping my hairstyle great during the winter and keeping the benefits of using the ApotheCARE Essentials products.
What line of ApotheCARE Essentials products would you pair with this crocheted headband?


Audrey
Friday 15th of December 2017
ApotheCARE sounds like awesome stuff! I have to make sure I take really good care of my hair to keep it looking good. I live in the northeast, so it's especially important that I'm good to my hair in the winter.
Jennifer
Friday 15th of December 2017
Apothecare Hair Essentials sounds like a great line! I need to get some of this stuff. I take great pride in my hair, and lately, it hasn't been everything I want it to be.
Rachel
Thursday 14th of December 2017
These are nice im gonna try to make them
Desiree Lopez
Thursday 14th of December 2017
I've never heard of the ApotheCARE Essentials Hair Care before but I need to check them out! I'm always looking for products to make my hair look nice.
Crystal
Thursday 14th of December 2017
Winter has been rough on my hair. The lack of moisture has my hair looking dull and thin. The ApotheCARE sounds like a great line for the season, and the rest of the year too.