This DIY Card Stock Skeleton post is sponsored by Crest.
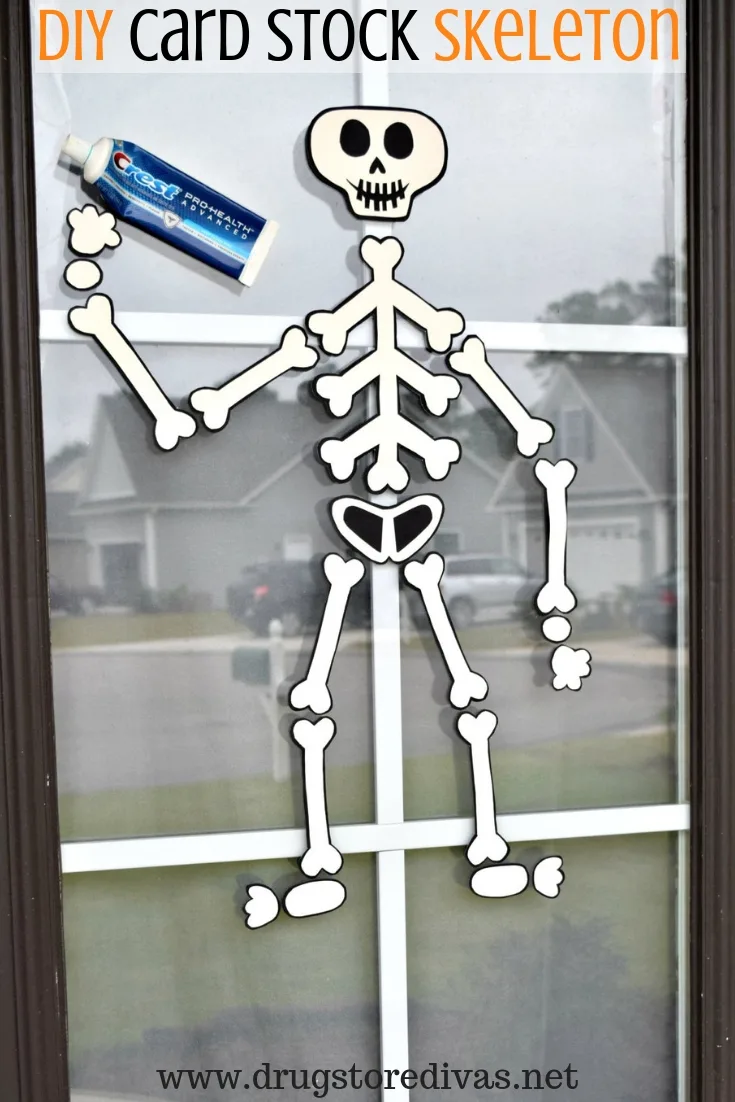
As I’ve mentioned before, our store-bought Halloween decorations are up in our impossible to access attic. Instead of going through the complete headache of getting them down, this year, I decided to make a handful of our own, including a DIY Card Stock Skeleton.
I absolutely love how he came out.
Like absolutely love it.
This homemade card stock skeleton is so bold and perfect, and you can see him as you’re pulling up the block. It’s so cool. I positioned him in a way that his hands need to be holding something, so I gave him a tube of Crest toothpaste to hold — mostly because Crest sponsored this post. You could put anything that you want in his hands. I just wouldn’t do food or candy. It would look cute, but you might be inviting bugs and critters to your front door (literally) that way.
DIY Card Stock Skeleton
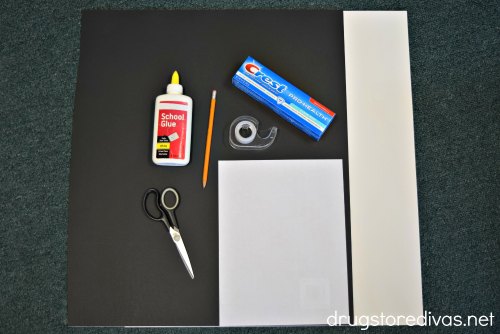

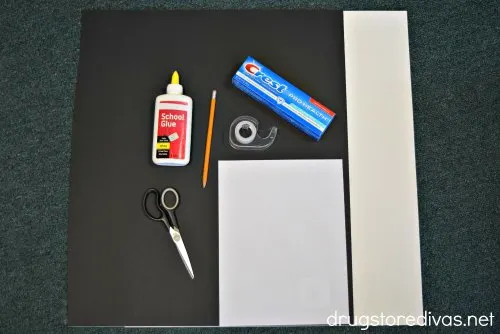

What You’ll Need:
- White poster board
- Black poster board
- Glue
- Pencil
- Tape
- Scissors
- Printer paper
What You’ll Do:
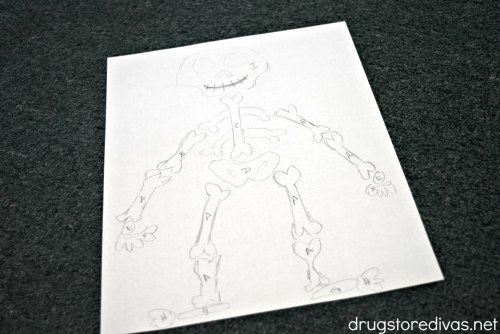

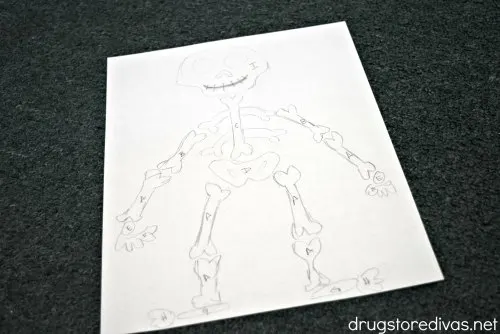

Start by drawing out your skeleton model on a sheet of printer paper. Just freehand it so you can figure out how many components you need. I drew the head, body, pelvis, two bones per arm and leg, wrists, hands, ankles, and feet.
Obviously, your sketch doesn’t have to be to scale.
Label your template. I started with the leg bone and called it A. To make my life easier, I made sure both leg bones and one of the arm bones were the same size.
So, I had six labeled A. The second arm bone was B, and I had two of those. On and on.
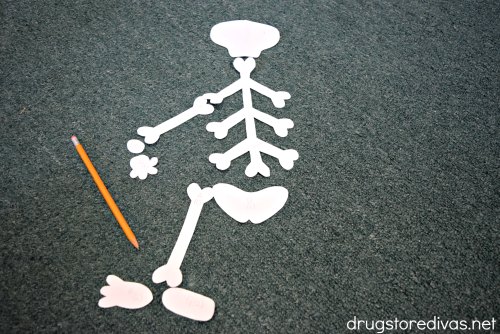


Then, start drawing your template pieces on another sheet of printer paper. Now, for “A”, you are going to make six total, but only one template.
Cut out the template pieces.
Lay the template pieces out so you can get a feel for the size of your card stock skeleton.
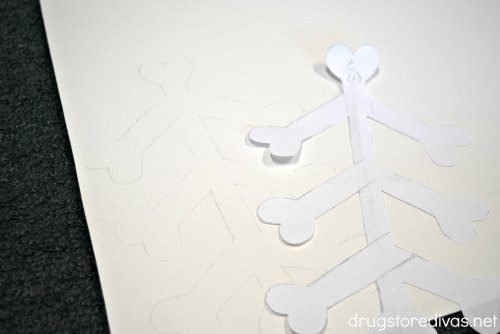

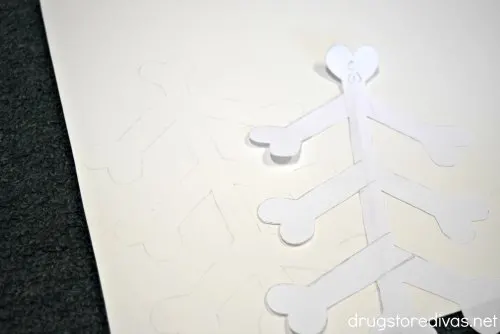

Trace each piece onto the white poster board and cut each piece out. This is where you’ll be cutting six of “A”.
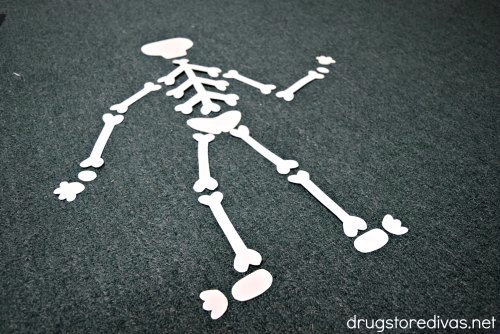

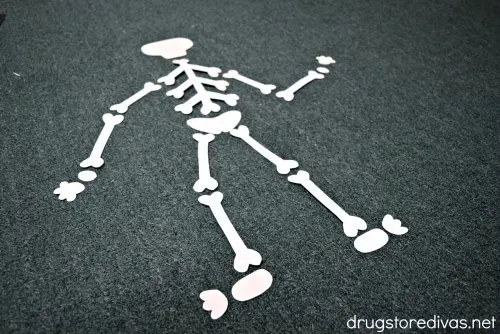

When all your “bone” pieces are cut out, assemble your skeleton on the ground, just so you can assure you’ve cut all the necessary pieces.
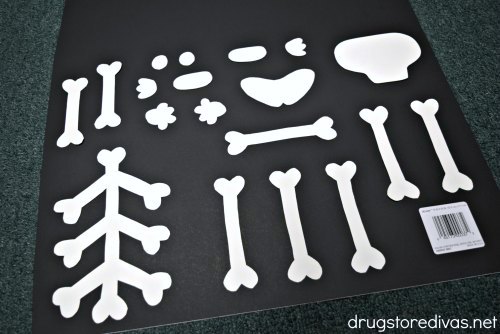

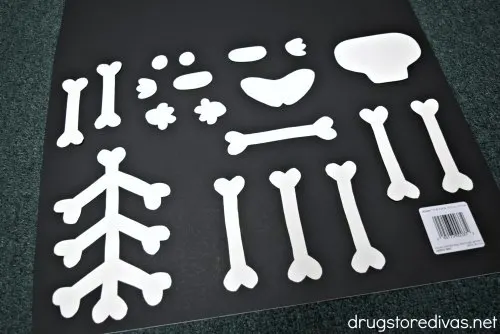

Glue each bone down to the black poster board, leaving a generous amount of room around each. Let that dry completely.
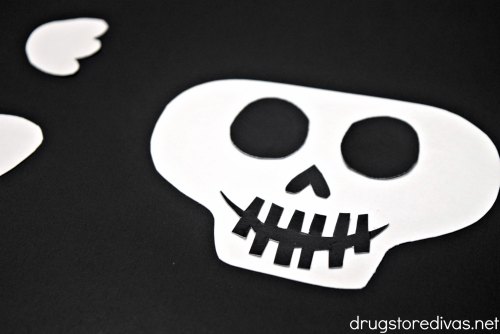

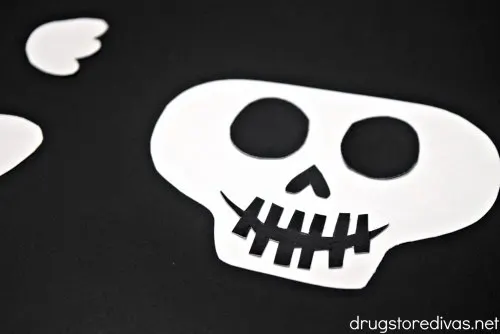

While you’re waiting, use a scrap of black poster board to cut out the face for the skull and the hollow space in the pelvic bone. Glue those down.
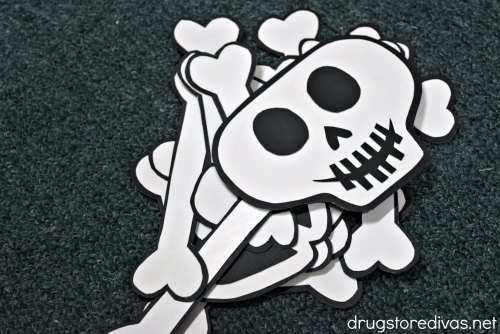

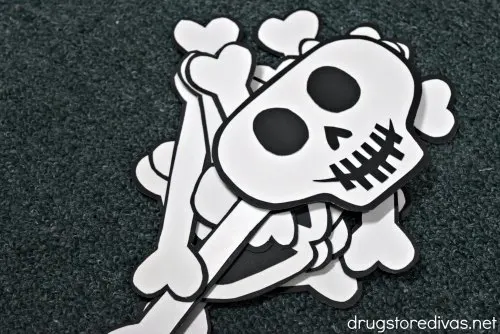

Then cut each bone from the black poster board, leaving about 1/8 of an inch around.
Tape the skeleton onto your door, window, wall, wherever you want him to be displayed.
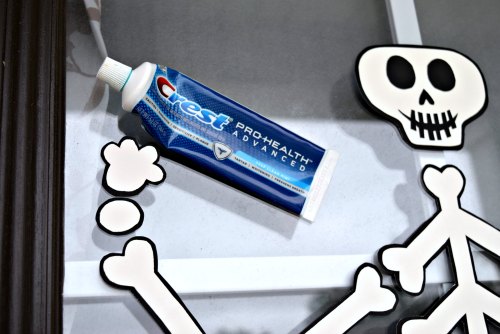

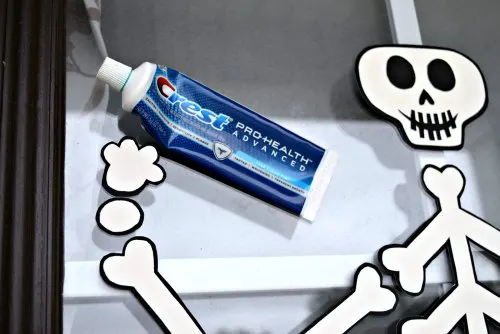

Affix the toothpaste tube near his hands.
If you have him on your front door like we do, it’s a subtle reminder to trick-or-treaters that they should brush their teeth after all the candy. And that includes parents. According to a recent survey from Crest, 86% of parents eat candy that was given to their child while trick-or-treating.
I’m pretty sure our parents dipped into ours when we were young. We don’t have kids, but we do have trick or treaters, and I’ve been getting into the candy I bought for them. But, actually, I’m not alone. That same survey found that 73% of people purposefully buy more Halloween candy than they needed for trick-or-treaters so they can eat the extra.
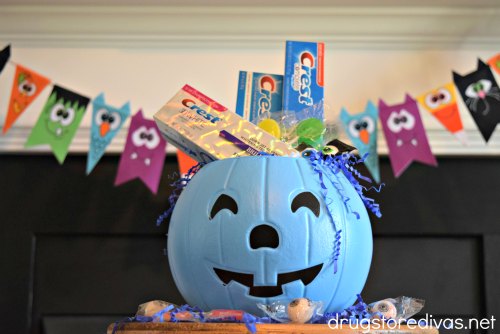

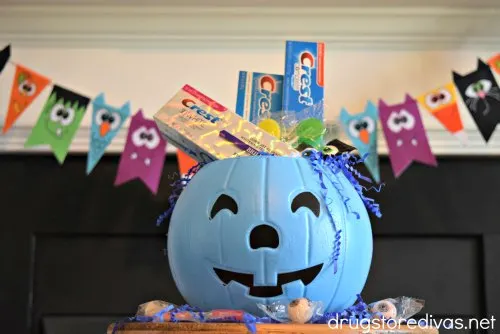

I actually got a pumpkin filled with candy and Crest from Crest, so that’s the candy I’ve been getting into — and am gonna hand out on Halloween so I can stop getting into it.
If you get into it, especially on Halloween, you’ll be interested to know that only 48% of adults enforce a stricter teeth brushing/flossing routine on Halloween for themselves, but 70% are stricter on their kids that day!

Kippi Ohern
Saturday 31st of October 2020
Super cute skeleton for Halloween! Pinning Happy Halloween, Kippi