
If you’re throwing a birthday party, this DIY Birthday Party Hat Banner is such a fun decoration. You don’t need a fancy cutting machine or software to make it. Just some scissors and free time.
To make it the best party, check out all of our birthday party posts.


Our neighbor was throwing a surprise party for her husband last month asked me for a little bit of help. We didn’t have that much time to plan the party, but I knew that I wanted to make a birthday party hat banner.
They’re really simple, but pack a really big punch as far as birthday party decorations go. The best part about them, honestly, is that you can put them together very quickly. So even if you’re planning a last minute birthday party, you still have enough time to make this.
The most time consuming part of this is waiting for the photos to be printed. You can print them at home if you have a photo printer, but it’s easy enough to just order them to be printed at your closest drugstore. Just be sure to order them with enough time to get printed (so, not a half hour before your party is going to start).
My neighbor handled ordering the photos of her husband, and I handled the rest of the banner.

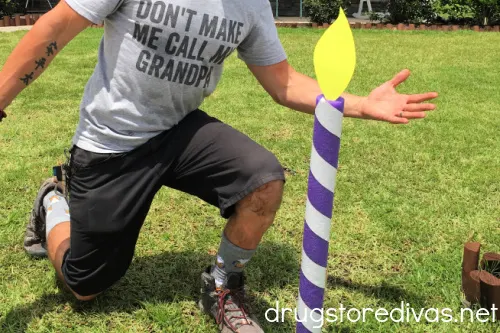
If you’re planning a birthday party and want some more DIY birthday party ideas, definitely make our DIY Pool Noodle Birthday Candles. Those are so fun to put out on the lawn.
DIY Birthday Party Hat Banner
Affiliate links are included in this post and Drugstore Divas may make a small commission if you use them.

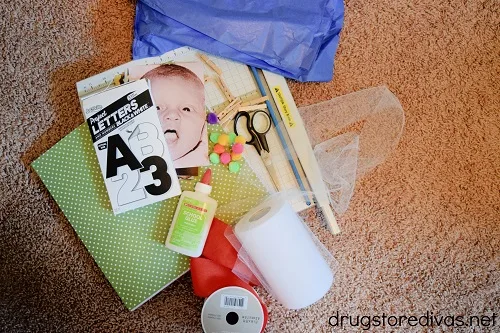
DIY Birthday Party Hat Banner Supplies:
You can get the full list of supplies in the how to card below.
- Printed photos – We use 5- x 7-inch photos. Anything smaller than that makes the banner pretty short. Conversely, using 8- x 10-inch photos would be too large and the banner would look pretty ridiculous.
- Scrapbook paper – If you don’t have any, cardstock works too.
- Paper trimmer – You could use scissors, but a paper trimmer is faster.
- Sticker letters and numbers – We use project letters and numbers but you can use any type of stickered characters.
- Glue – White glue is fine.
- Tape – This is to stick the photos to the hats.
- Embellishments – We used ribbon, pom poms, and fake flowers. You can choose whatever you have at home.
- Tulle – I love using tulle as the string because it looks pretty and adds a little fanciness to the banner. If you don’t have any, or don’t want to buy tulle just for this project, you can use jute twine, butcher’s twine, or string instead.
- Mini clothespins – This is to hold things in place as it dries. You don’t have to use these, but we found it helped so much.
How To Make A DIY Birthday Party Hat Banner:
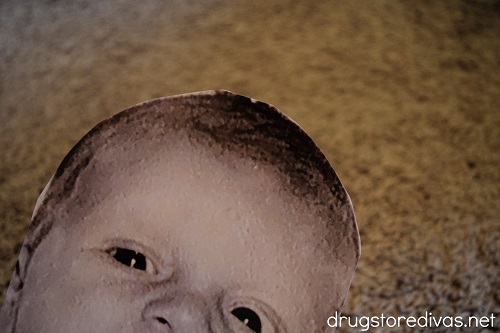
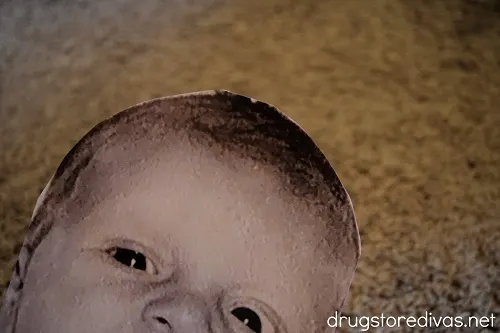
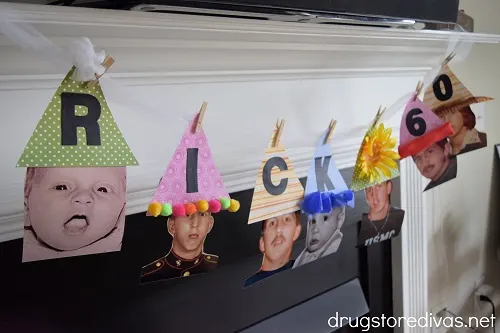
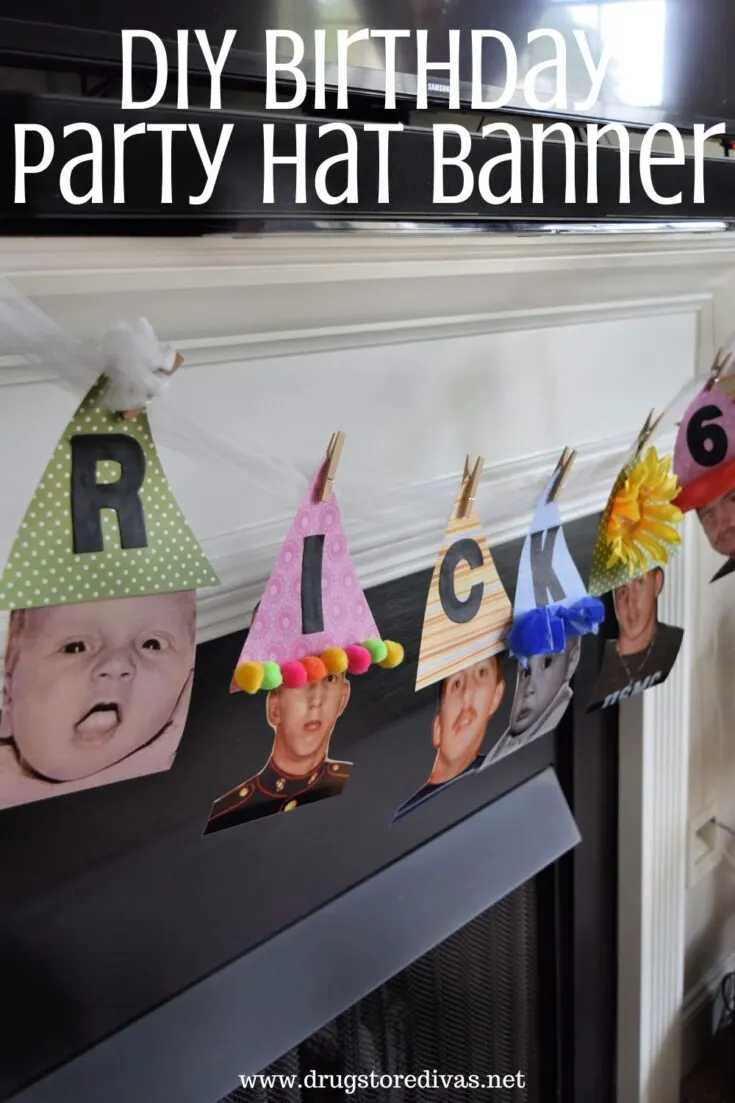
Choose photos of the birthday boy or girl. You’ll need to crop the photos in a way that nearly the full photo is just the person’s face. If you don’t crop the photo tight enough, the birthday hat won’t sit right.
Print them out at your local drugstore, through Amazon Photos, or however you print pictures.
Cut out the background behind the top and sides of the face, leaving the body. You could cut the body, but we prefer to leave it because then you can see the clothing in the photo and that’s fun too, especially if the photos are old.
Set the photos aside.
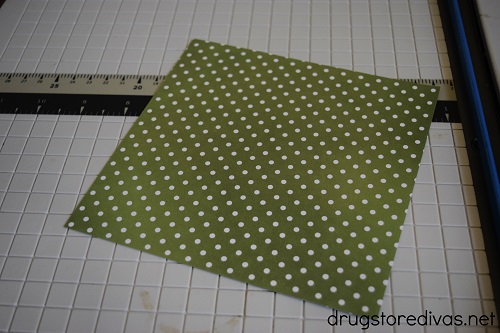
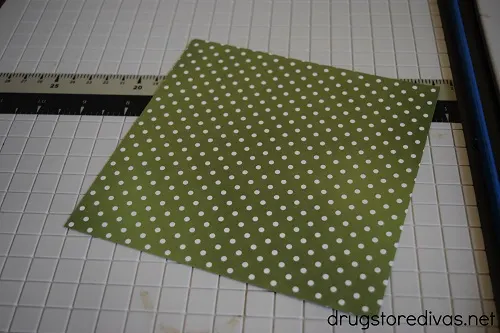
Use the paper trimmer to cut the scrapbook paper in half, then half again, to leave you with four 6- x 6-inch squares.
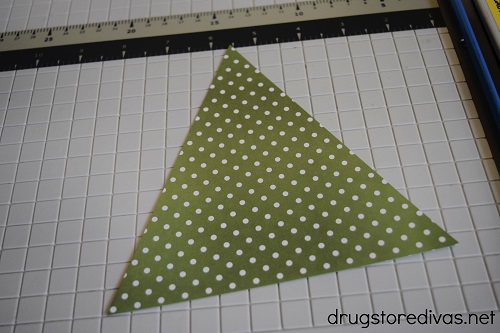
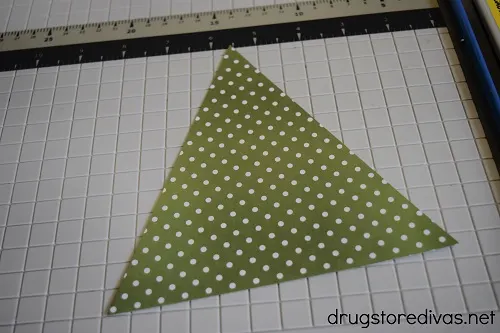
Find the midpoint of one of the sides. Angle the scrapbook paper square on the paper trimmer to cut from one corner to the midpoint. Do that on the other side to create a perfectly sized triangle.
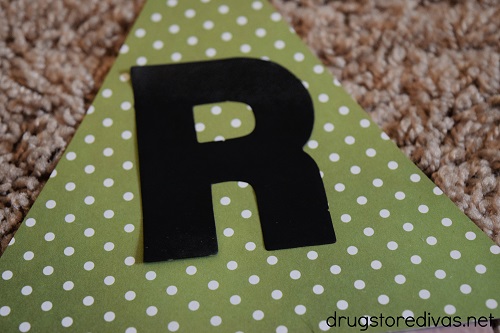
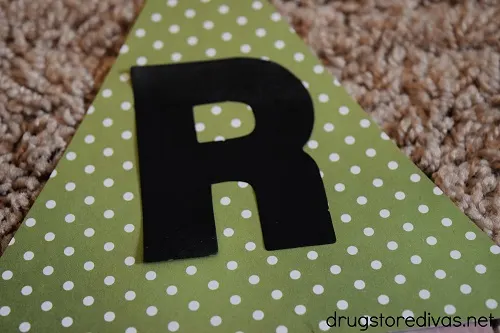
Add a project letter to the center of the triangle. You’ll want to spell out the birthday person’s name, add their age (if it’s a milestone birthday), and leave some for blank spaces between the name and age.
If you want to, you could cut the letters out of cardstock yourself, but it’s a lot easier to use the project letters in this project.

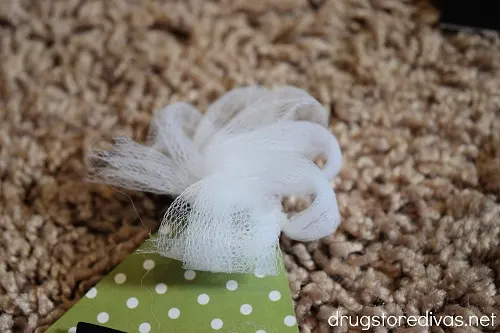
Add embellishments to the party hats.
You can add ribbon to make bows, add pom poms, pieces of flowers, anything that adds to the hats. You don’t want to add too much, though, because you don’t want to weigh the hats down too much. Glue the embellishments down on all the hats.
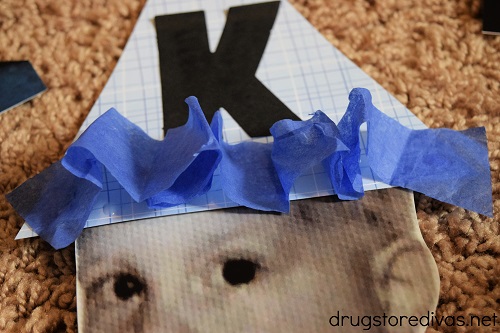

When the embellishments have dried, tape the photo faces to the backs of the party hats, making it look like the photo faces are wearing the caps.


Continue until they’re all done.
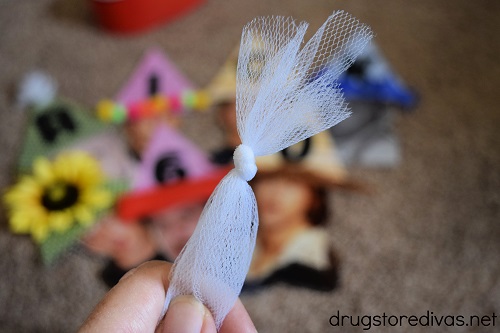

Cut a long piece of tulle, double the length that you want the banner. Tie the ends of the tulle together so the tulle is double (this will help with the strength of the tulle).
Stretch it so the knot is in the middle of the tulle. Use that to align your party hats evenly.
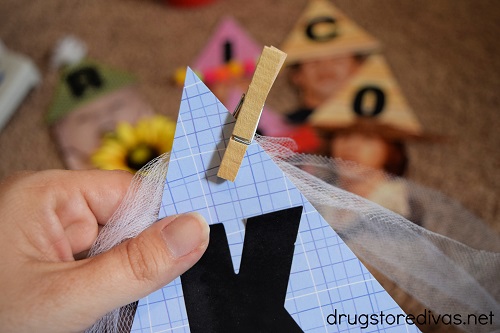

Use the clothespins to attach the party hats to the tulle. Start with the middle hat on top of the knot, then space out the rest of your hats, saving a little bit of room at each end to hang the banner.
Display wherever your party guests will see it.

DIY Birthday Party Hat Banner: Frequently Asked Questions
If you really like this Party Hat Banner, but you don’t want to make it yourself, you can actually order one online.
Most Party Hat Banners are just digital files and it’s on you to print and string them. So just be sure to read through the descriptions before placing your order so you know exactly what you’re ordering.
DIY Birthday Party Hat Banner

If you’re throwing a birthday party, this DIY Birthday Party Hat Banner is such a fun decoration. You don’t need a fancy cutting machine or software to make it. Just some scissors and free time.
Materials
- Printed photos
- 12-x 12-inch scrapbook paper
- Project letters
- Glue
- Tape
- Ribbon
- Pom poms
- Fake flowers
- Tulle
- Mini clothespins
Tools
- Paper trimmer
Instructions
- Print out photos (making sure to crop them close to the face). Cut out the background behind the top and sides of the face, leaving the body. Set them aside.
- Use the paper trimmer to cut the scrapbook paper in half, then half again, to leave you with four 6- x 6-inch squares.
- Find the midpoint of one of the sides. Angle the scrapbook paper square on the paper trimmer to cut from one corner to the midpoint. Do that on the other side to create a perfectly sized triangle.
- Add a project letter to the center of the triangle. You’ll want to spell out the birthday person’s name, add their age (if it’s a milestone birthday), and leave some for blank spaces between the name and age.
- Add embellishments to the party hats.
- When the embellishments have dried, tape the photo faces to the backs of the party hats, making it look like the photo faces are wearing the caps.
- Continue until they're all done.
- Cut a long piece of tulle, double the length that you want the banner. Tie the ends of the tulle together so the tulle is double. Stretch it so the knot is in the middle of the tulle. Use that to align your party hats evenly.
- Use the clothespins to attach the party hats to the tulle.
- Display wherever your party guests will see it.
Notes
Have you made this DIY Birthday Party Hat Banner? Let us know how it went in the comments.