
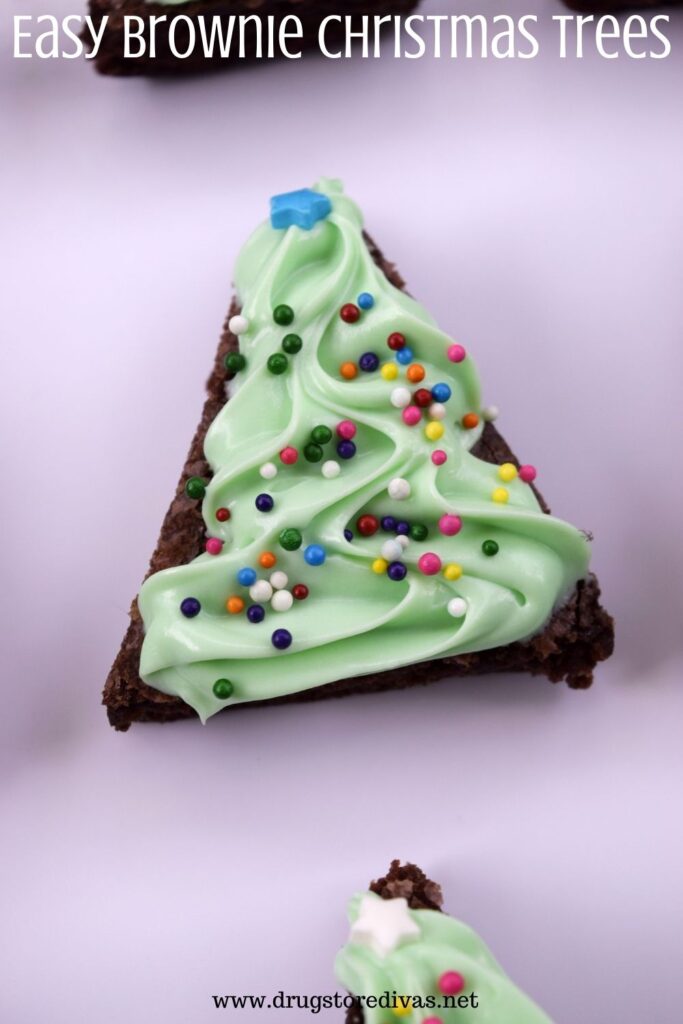
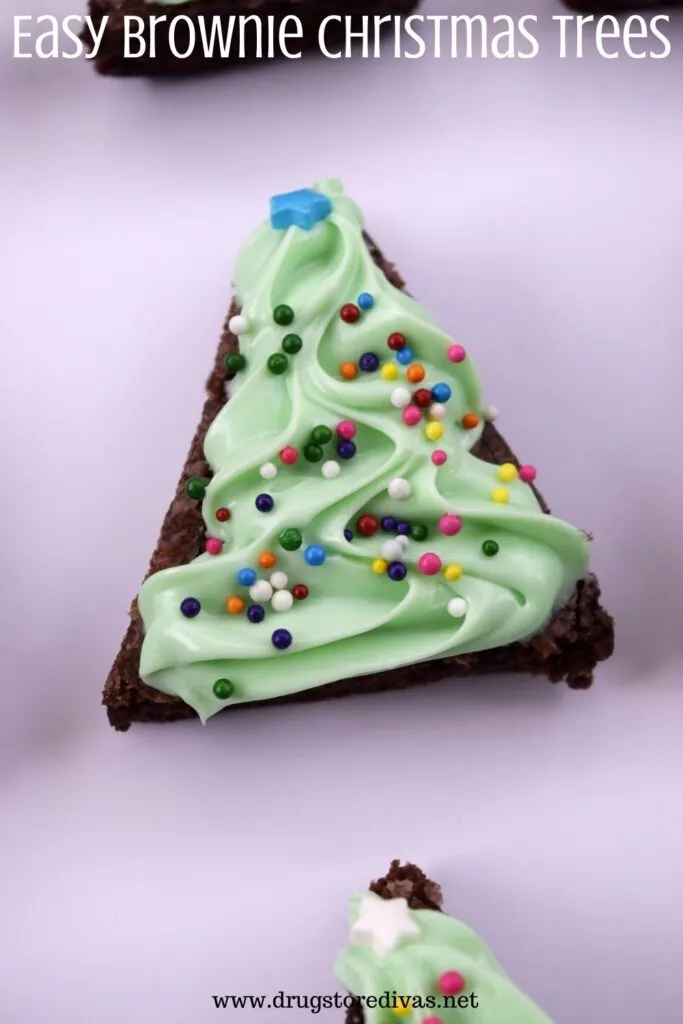
Looking for a fun holiday treat? Try this Brownie Christmas Trees recipe. They’re super easy to make using boxed brownie mix.
For more ideas of what to make, check out all of our recipes.
I love sweets. I have the biggest sweet tooth of anyone you’ll ever meet. Pete, however, is really good at not eating sweets. His only real weakness, though, is brownies. So of course, I like to bake brownies when I can, then wrap them in foil so Pete can take them to work.
He loves brownies no matter how they look, but I like to do something special for Christmastime, like brownie Christmas trees.
These are pretty simple to make, especially since you start with a box of brownie mix. And they’re so cute, so they’re totally worth the extra effort.


This easy brownie Christmas trees are just one of the Christmas tree-shaped recipes we have on Drugstore Divas.
For more, check out our list of Christmas tree-shaped foods, which has both sweet and savory recipes.
Easy Brownie Christmas Trees Recipe
Affiliate links are included in this post and Drugstore Divas may make a small commission if you use them.
This recipe uses boxed brownie mix. This was originally inspired when we saw the recipe in a recipe booklet from a popular brownie brand, but of course, if you have a favorite brownie recipe, you can use that instead.
Brownie Christmas Trees Ingredients:
You can get the full list of ingredients with measurements in the printable recipe card below.
- Brownie mix – You’ll also need whatever ingredients the boxed brownie mix calls for.
- Cream cheese frosting – Any white frosting will work, but cream cheese frosting is my favorite white frosting.
- Green food coloring – Either gel or traditional food coloring works.
- Star-shaped sprinkles – You need one per brownie.
- Rainbow nonpareils sprinkles – You need a handful per brownie.
How To Make Brownie Christmas Trees:
Line a 9- x 11-inch pan with parchment paper.
Quick note: You’re going to need to cut these brownies into tree shapes because you’re not baking them in tree shapes.
The easiest way to do this is to line your pan with parchment paper, leaving excess around the edges. Then, when your brownies have cooled enough to remove them from the pan, you can grab the edges of the parchment paper and take the entire batch out.
It’s so much easier to cut the brownies into trees that way because you’re not trying to maneuver around the baking pan.
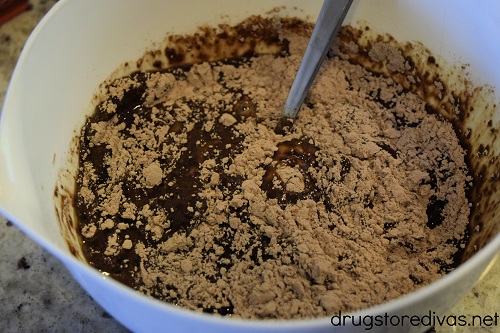
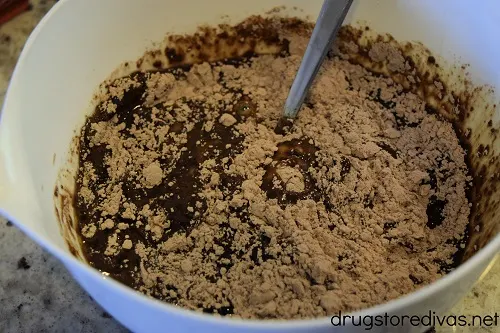
Make and bake the brownies according to the package.
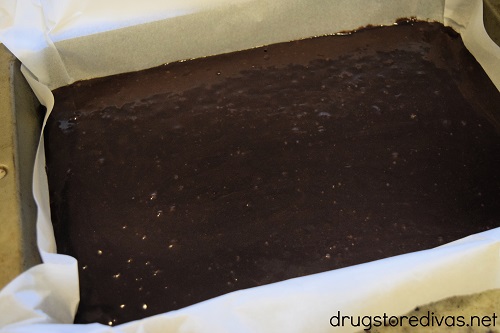
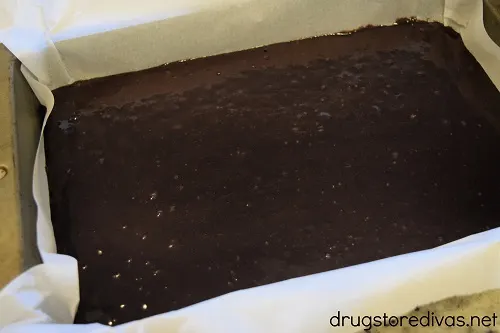
Cool the brownies on the counter. When they’ve cooled to room temperature, put them in the fridge to cool overnight.
You can wrap them in plastic wrap in the pan they baked it in the fridge instead of trying to transfer them to another container.
Quick note: You really want to wait until the brownies have cooled completely to cut and decorate them. If you cut them when they’re warm, they will potentially crumble and won’t hold their triangle shape.
If you decorate them when they’re warm, the icing will melt and create a mess. This is why we suggest cooling your brownies in the fridge overnight.
If you can’t wait overnight, at least let them cool on the counter until the brownies are cool to the touch, then put them in the fridge for at least an hour.
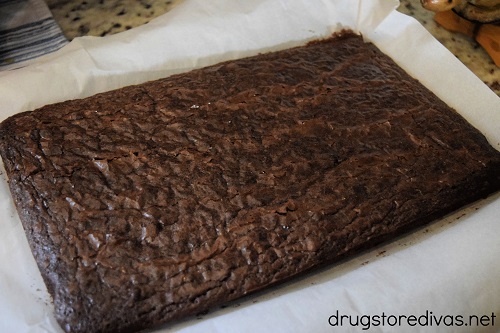
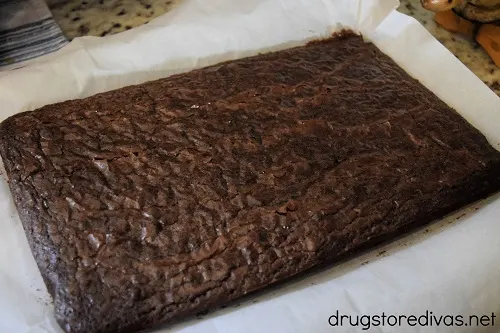
The next day, remove the parchment paper and the brownies from the pan.
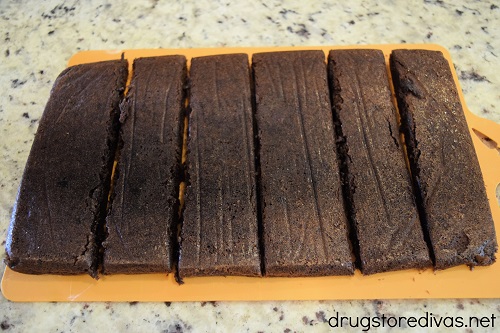
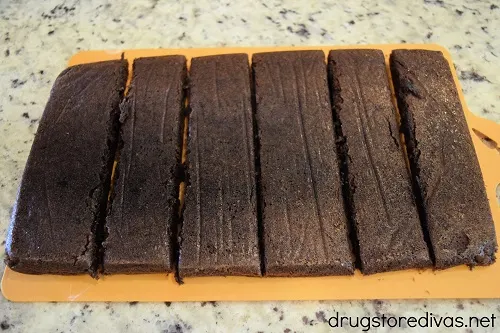
Flip the brownies onto a cookie sheet so the parchment paper side is up. Then, remove the parchment paper.
Cut the brownies into six sections making the cuts across between the longer ends of the pan.
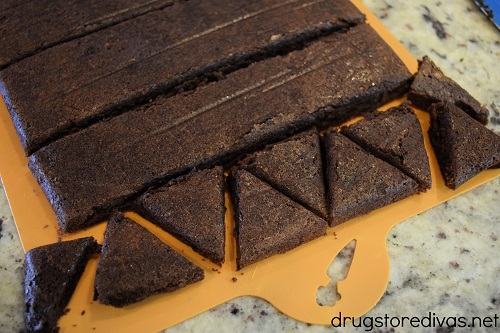

Then, cut triangles from each strip.
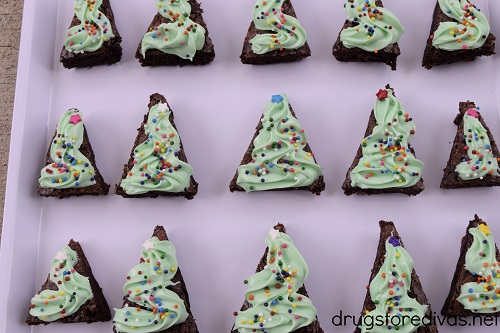
I fit seven full triangles in each strip, then had a little leftover on each side.
Eat those sides. That’s your payment for a job well done.
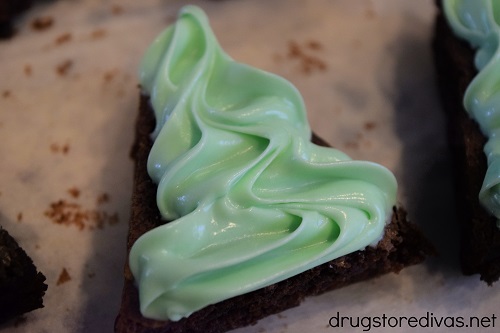
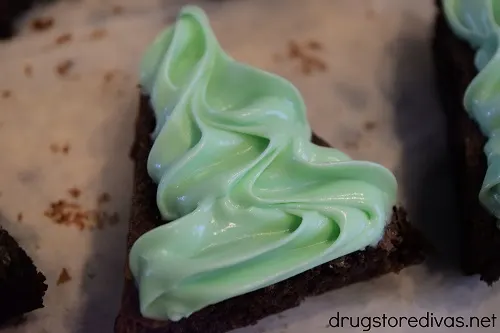
Scoop a heaping teaspoon of frosting into a bowl. Add one drop of green food coloring. Stir.
If you want your coloring to be darker, add more food coloring and stir again. Keep adding food coloring and stirring until you reach your desired color.
If you have a piping bag, spoon the colored frosting into the piping bag, add a thin tip, and you’re ready to go.
If you don’t have a piping bag, put the frosting in a ziptop bag. Cut the corner (the smaller the cut, the better). Push the frosting towards the hole in the corner. No tip needed.
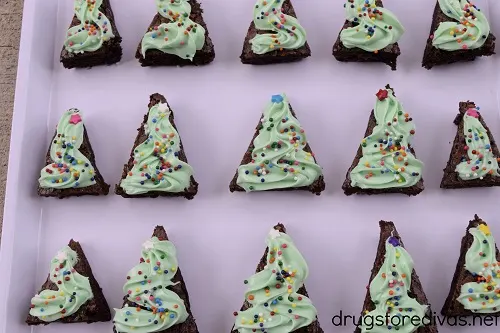
Pipe the frosting on the brownie triangle.
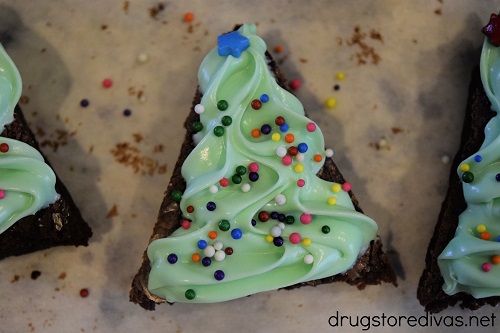
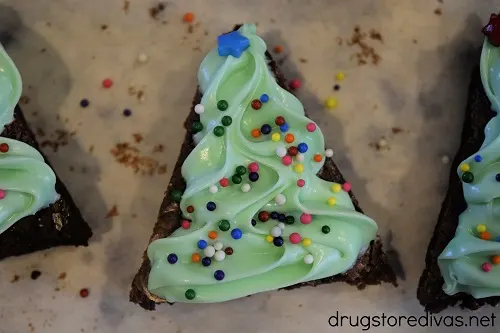
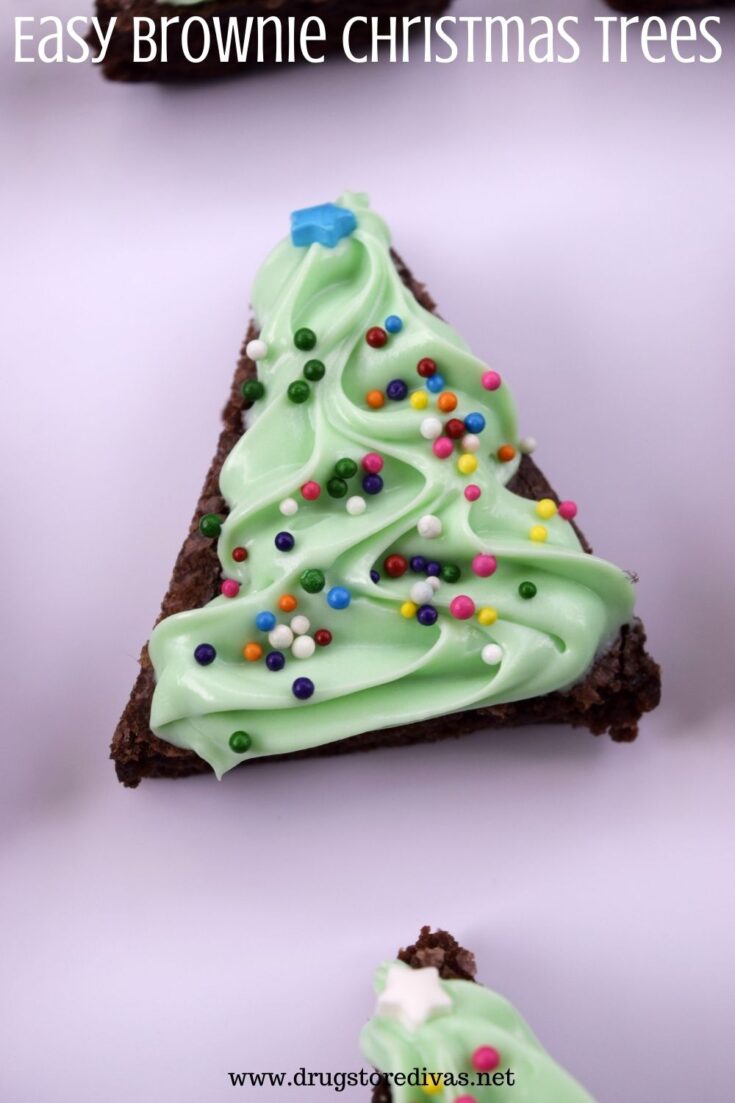
Add a star-shaped sprinkle at the top of the frosting, then add sprinkle “ornaments” on the rest of the frosting.
Brownie Christmas Trees: Frequently Asked Questions
Cool your brownies completely, then put them in the fridge.
When you finally get to cutting them, use a flat (not serrated) knife and push down in one motion. Pull it out in one motion as well.
Clean the knife after every cut.
However, plastic knives are rumored to cut brownies better. I’ve never used a plastic knife, but the Internet says brownies don’t stick to plastic knives in the same way they do to metal knives.
If these brownie trees don’t have enough sugar for you, you can use a mini candy cane to make a tree trunk. Just snap off the curved portion and stick a bit of the straight portion into the brownie bottom, leaving the majority of the candy cane exposed.
If you’re worried about someone biting directly into a candy cane, you can use a small pretzel rod instead.
We never add a trunk because I don’t feel these need one, but you do you.
Easy Brownie Christmas Trees
Looking for a fun holiday treat? Try this Brownie Christmas Trees recipe. They’re super easy to make using boxed brownie mix.
Ingredients
- 1 box of brownie mix
- 2/3 container cream cheese frosting
- 6 drops green food coloring
- Star-shaped sprinkles
- Rainbow nonpareils sprinkles
Instructions
- Line a 9- x 11-inch pan with parchment paper.
- Bake the brownies according to the package. Cool them on the counter. When they’re cool to the touch, put them in the fridge to cool overnight.
- Remove the parchment paper (and the brownies) from the pan.
- Flip the brownies onto a cookie sheet (so the parchment paper side is up) and remove the parchment paper.
- Cut the brownies into six sections (making the cuts across between the longer ends of the pan).
- Then, cut seven triangles from each strip.
- Scoop a heaping teaspoon of frosting into a bowl. Add one drop of green food coloring. Stir.
- If you have a piping bag, spoon the colored frosting into the piping bag, add a thin tip. If you don’t have a piping bag, put the frosting in a ziptop bag. Cut the corner (the smaller the cut, the better). Push the frosting towards the hole in the corner. No tip needed.
- Pipe the frosting on the brownie triangle.
- Add a star-shaped sprinkle at the top of the frosting, then add sprinkle “ornaments” on the rest of the frosting.
Notes
Nutrition Information
Yield
42Serving Size
1Amount Per Serving Calories 5Total Fat 0gSaturated Fat 0gTrans Fat 0gUnsaturated Fat 0gCholesterol 0mgSodium 2mgCarbohydrates 1gFiber 0gSugar 0gProtein 0g
Have you used this Easy Brownie Christmas Trees Recipe? Let us know how it went in the comments.
Joy
Thursday 11th of December 2025
Oh, they look delicious!!
EsmeSalon
Wednesday 3rd of December 2025
Easy and cute.
Jacqui
Friday 2nd of December 2022
This is such a creative and fun idea! They turned out great
Erlene
Sunday 3rd of January 2016
I that these are so easy to make and there is no waste cutting out triangle shapes. Super cute idea. Hope you can come back and share on Merry Monday!
Quinn Caudill
Monday 14th of December 2015
What a cute idea and would be great for a kids party.Thanks for sharing with us at #Throwback Thursday. Pinned. Hope to see you again next week. Quinn