I love using candy melts. Candy melts make your desserts look amazing, and make you look like a candy magician, with very little effort on your part. But sometimes, candy melts can be a little finicky. So I put together this list of tip for using candy melts.
I would definitely read thought these tips before you start any recipes with candy melts. But, if you already started your recipe and get in a bind, this post will help you out too.
Let’s start with the basics, though before we get to tips.
What are candy melts?
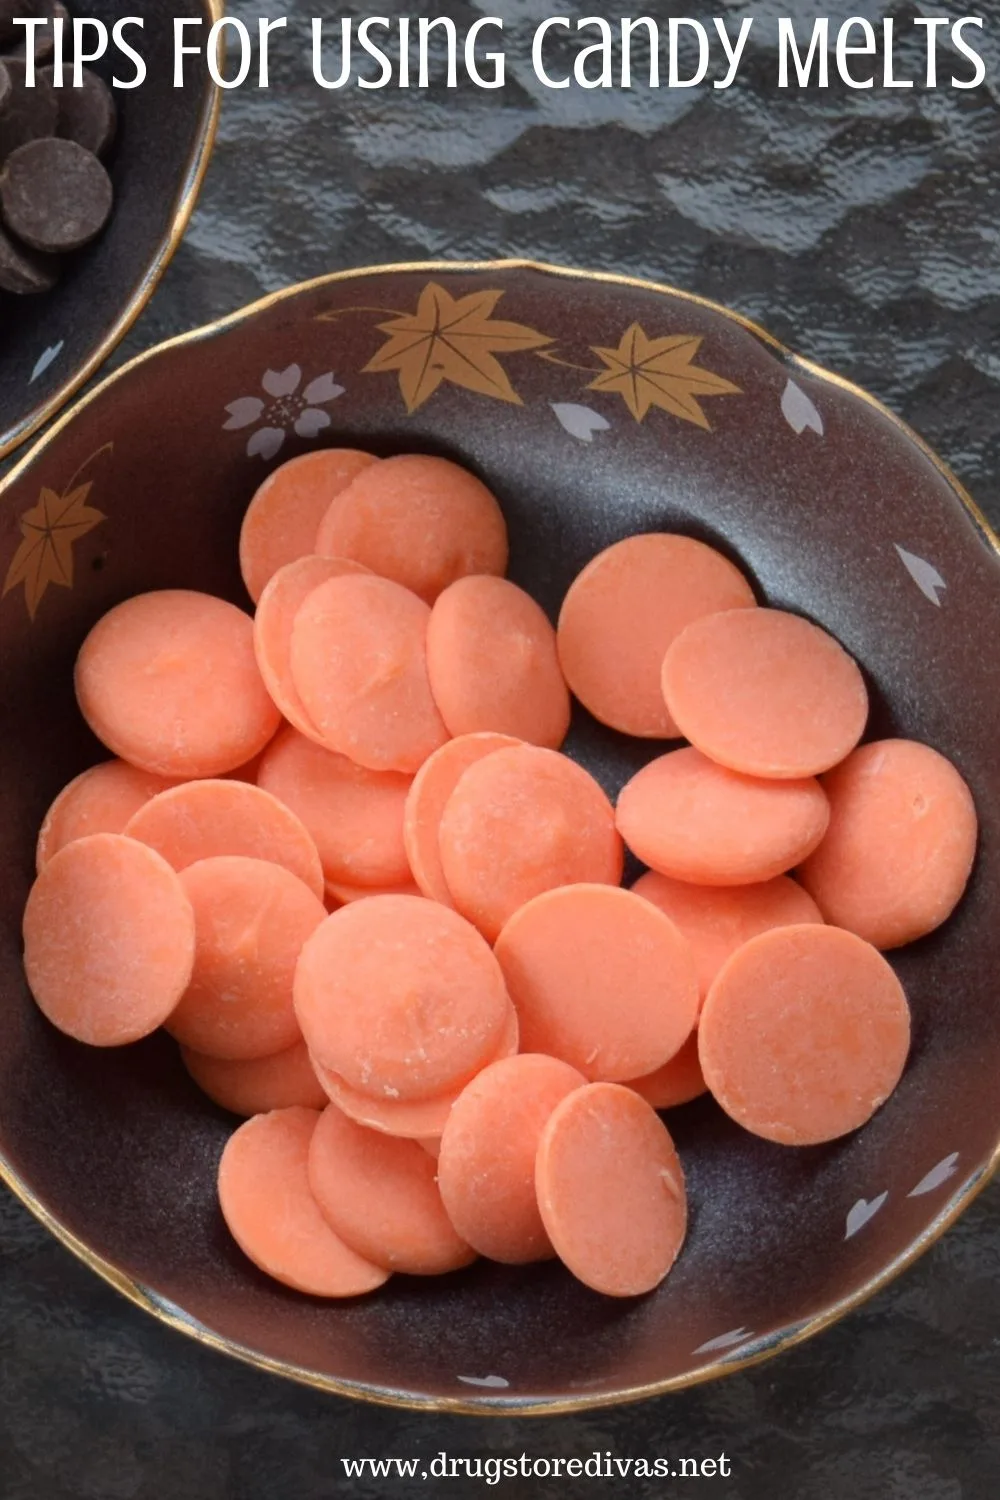
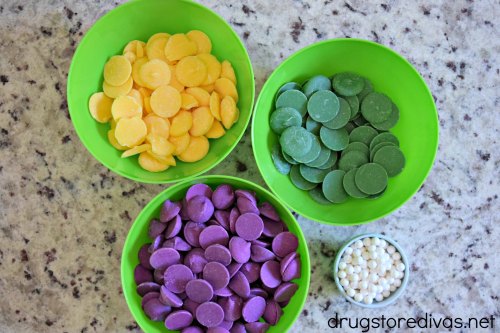
Candy melts are a vanilla-flavored confectionery coating. See how the word “chocolate” is not in that definition? It’s because candy melts are not chocolate. That’s why, when I use them in recipes, I’ll call the recipe “candy bark” instead of “chocolate bark.” These aren’t chocolate.
The bad thing about candy melts not being chocolate is the flavor, well, isn’t chocolate. It’s vanilla, technically, but it’s a little waxy. The good thing about candy melts not being chocolate is you can leave candy melts on the counter indefinitely and they won’t melt. That means you can also leave whatever you make using candy melts out (like lollipops), and you won’t have to worry about them melting.
Where can you buy candy melts?
Most grocery stores, as well as big box stores with grocery sections, will (usually) carry candy melts. You can also order candy melts online.
Tips For Using Candy Melts
If you’re not used to using candy melts, they can be a little finicky. So I thought it would be helpful to put together a few tips for using candy melts to help you.
Melt Candy Melts In The Microwave
Melting candy melts in the microwave is the easiest way to go. The bag will tell you exactly how to melt candy melts in the microwave, but I usually microwave for one minute, stir, then microwave for 30 seconds, and stir again. If they’re still not melted enough, continue microwaving and stirring at 30 second intervals until you reach the consistency you need.
Candy Melts Can Be Reheated
One of the best things about candy melts is candy melts can be reheated. So if you’re moving a little slowly, you can just throw the candy melts back into the microwave and heat them up again (at 30 second intervals) until they are melted.
Candy Melts Can Be Reused
Because of the tip above, I actually reuse candy melts. If I melt more than I need, I simply leave them on the counter to cool and harden. I put them back in an airtight bag and I’m able to reuse them in my next recipe without any trouble.
Candy Melts Can Expire
Unfortunately, candy melts don’t last forever. So yes, candy melts can expire. Each unopened bag will last for about 18 months — from the date it was made, not from the date you bought it. After that, they’re not really fresh and can be near impossible to melt.
Look at your bag and you’ll see a manufacturer’s code. One that reads 1720LS4. That means the bag was made on January 7, 2020. So it will expire July 7, 2021.
When you’re buying these in store, flip over a couple and look at the code on the bag. Find the ones that were manufactured last, and those are the ones that will last longer.
If you have an open bag of candy melts, store it in an airtight container or ziptop bag to keep it as fresh as possible. Folding over the top and close it with a chip clip (which I am guilty of doing) isn’t the best way to go. You’ll be exposing your candy melts to air and speeding up the expiration. Then, when you try to use them, you’ll have a clump of candy melts that won’t melt, no matter what you do. And then you’ll end up running out to the store at the eleventh hour to buy a new bag.
Use Shortening To Thin Out Your Candy Melts
f you need to thin out your candy melts, you can add a bit of shortening to your candy melts after you have melted them. The amount of shortening you need will be based on how many candy melts you’re melting at a time (since you don’t always melt a full bag at once).
If you want to be all fancy-schmancy about thinning your candy melts out, you can purchase a dipping aid. Add the aid to your candy melts and you can thin them out enough for dipping (because when you’re dipping into melted candy melts to make something like cake pops, the candy melts might be too thick).
Whatever you do, don’t use butter to thin out candy melts. I tried that and my entire bowl of candy melts ceased and I had to throw them away. Granted, the bag was probably expired and nothing was going to save them anyway. But butter, milk, half and half, water, and cream are not going to work with candy melts.
Candy Melts Will Cool Faster In Colder Weather
If it’s cold out, or just cold in your house, the candy melts will cool faster than if it’s hot out (or hot in your house). In those cases, I microwave the candy melts a little longer than usual.
If you don’t, there’s a good chance your candy melts will start to harden before you’re done using them. If your candy melts harden too soon, you can always microwave them again. But, if you’ve already combined them with a second color, like when you make a candy bark, you’re in trouble.
Candy Melts Harden Quickly
Depending on what you’re making, you might need your candy melts to cool before you can move on to the next part of your recipe. The good news is candy melts take between 5 and 60 minutes to cool and harden completely.
If you need them to cool and harden quicker, you can put the your recipe in the refrigerator.


10 Recipes Using Candy Melts
We have a few recipes, including other candy bark recipes, that we made using candy melts. So, if you want to try your hand at something, these recipe links below can inspire you.
I picked out 10 recipes, all of which are pretty different, so you can see the different ways you can use candy melts. Believe it or not, we actually have more than 10 recipes using candy melts that I could have picked.
1. Mardi Gras Candy Bark
2. No Bake Watermelon Cake Pops
3. Shamrock Pretzels
4. Slow Cooker Candy
5. Christmas Chocolate Pretzels
6. Halloween Popcorn
7. Candy Cane Chocolate Hearts
8. Chocolate Christmas Trees
9. Red, White & Blue Chocolate Patriotic Stars
10. Halloween Fudge
