
 Pete is an essential worker, which means that every day during this crisis, when so many people are under stay at home orders, he has to leave and go to work. We’ve been lucky that he is so healthy, but it does make me really appreciate all the other essential workers who leave their homes daily and put their health at risk. So when I was asked to be a part of the Lowe’s #BuildThanks campaign that thanked the essential workers, I jumped at the chance to put together a DIY Thank You Sign.
The challenge was to create a thank you sign using only materials I had at home. Yes, Pete goes out every day, but he goes to work and back. I wasn’t planning on sending him on a wild goose chase to look for craft supplies for me.
I used card stock, poster board, skewers, packing tape, scissors, and glue (plus a couple other things) to make a sign which I posted as a sponsored Instagram photo last week.
So many people liked it, so I decided to make it a full blog post in case you want to make your own DIY Thank You Sign for the essential workers in your area.
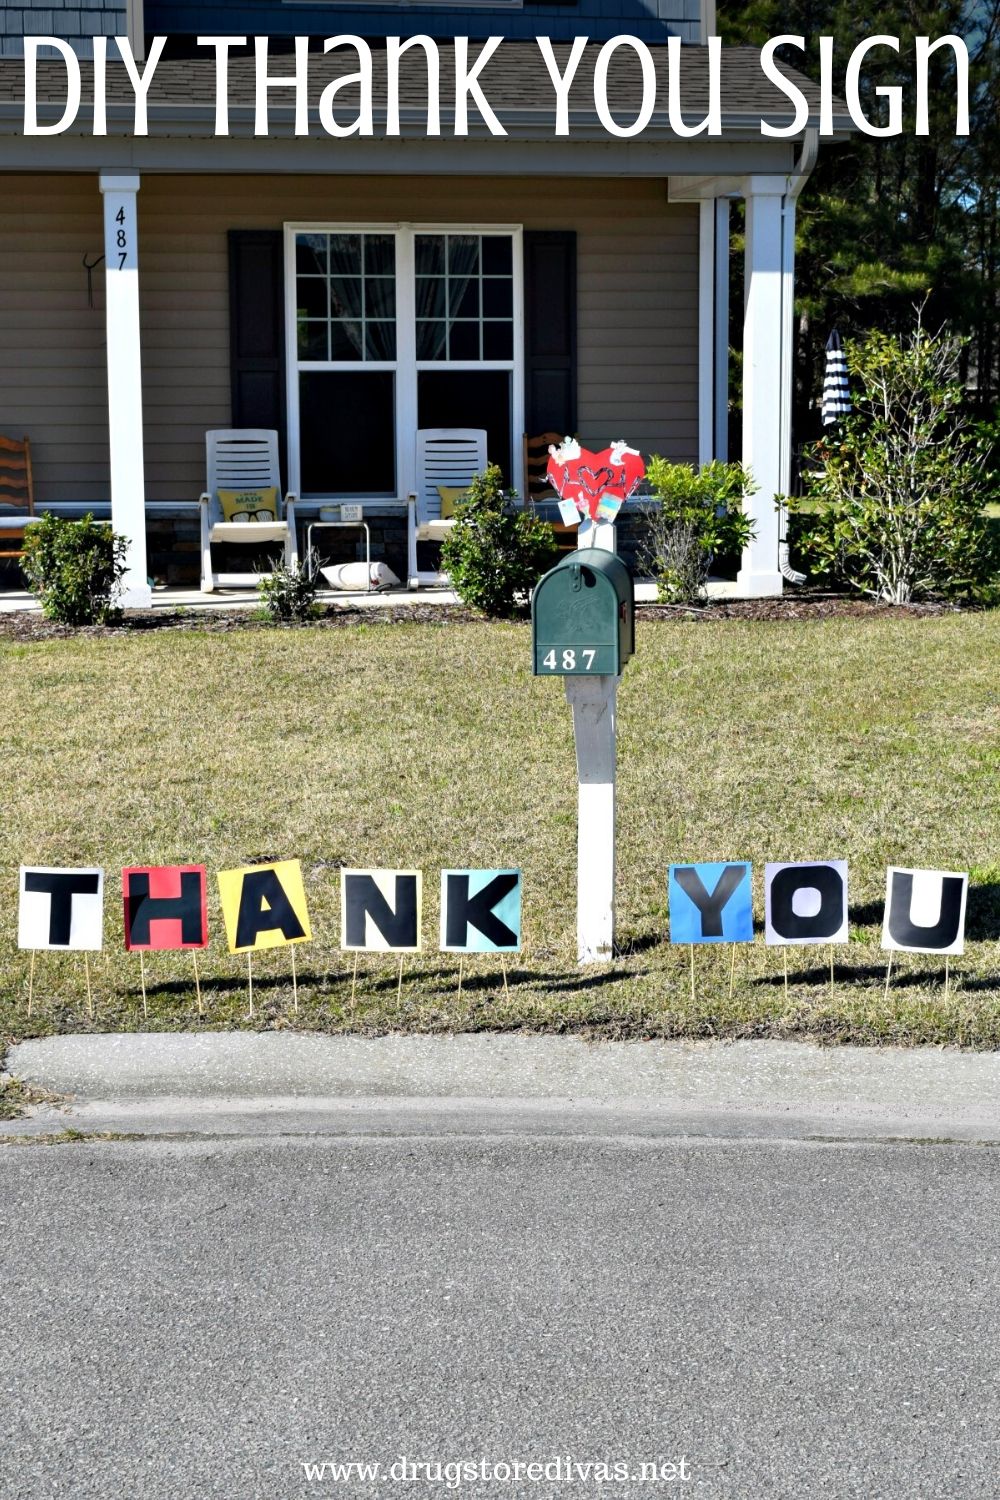
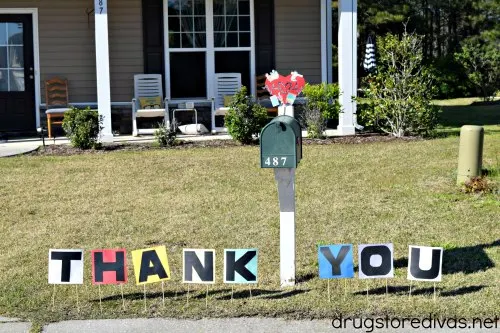
DIY Thank You Sign
I really, really wanted to make this perfect because Pete is an essential worker. So it was important to me to make this as nice as possible. So I was a perfectionist when it came to the letters. I made templates for them first, out of printer paper. My tutorial will show that. But, if you’re a little more relaxed about your letters, you can skip that part.
Also, our community is hanging rainbows. That way, when people are out on their daily walks, they can go on a “rainbow hunt” and look for rainbows. So I made a rainbow thank you sign. You can, obviously,
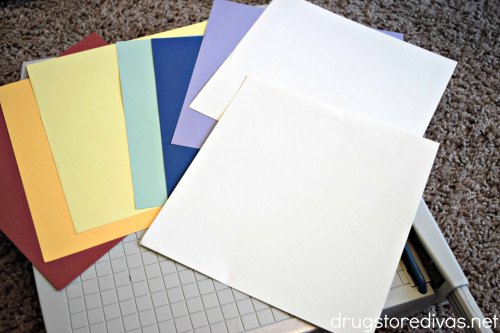
What You’ll Need:
- 1 sheet cardstock in the following colors: orange, yellow, green, blue, and purple
- 2 sheets cardstock in the following colors: red and white
- Black poster board
- Ruler
- Pencil
- Skewers
- Packing tape
- Glue
- Paper trimmer
- Printer paper
What You’ll Do:

Use the paper trimmer to cut all but one of the red pieces of cardstock to 8×8-inch squares.
Cut eight pieces of printer paper to 7×7-inch squares.

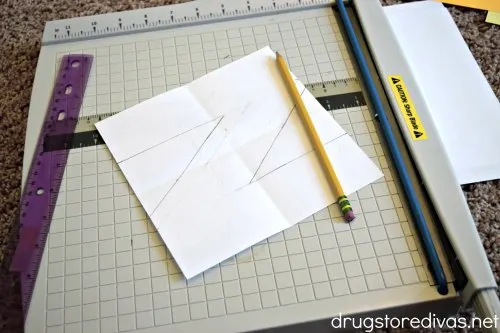
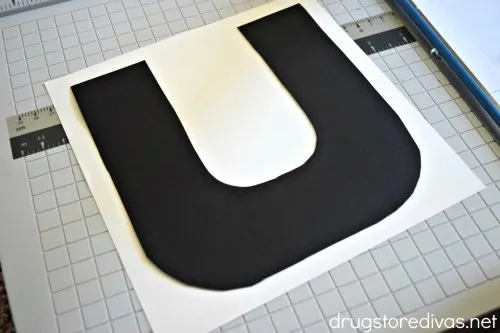
Measure the letters T, H, A, N, K, Y, O, and U out on the printer paper. Personally, I made each letter 2-inches white and made sure to work from edge to edge of the 7×7-inch square.

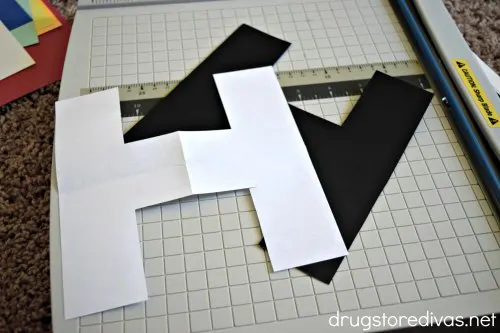
Once you have the letters drawn on the printer paper, cut them out. Use these as a template to cut the letters from the black poster board.

Glue the black poster board letters onto the colored cardstock in this order:
T – White
H – Red
A – Orange
N – Yellow
K – Green
Y – Blue
O – Purple
U – White
This way, the white pieces are the clouds and you have the rainbow between.

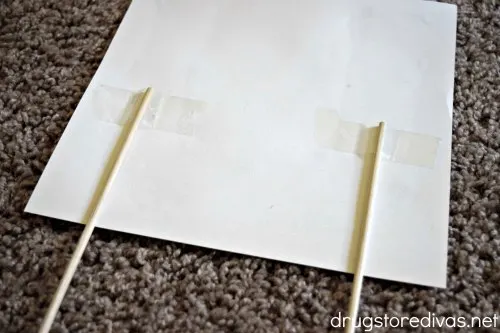
When those have dried, flip them over and use the packing tape to affix two skewers (pointy side down) onto the back.

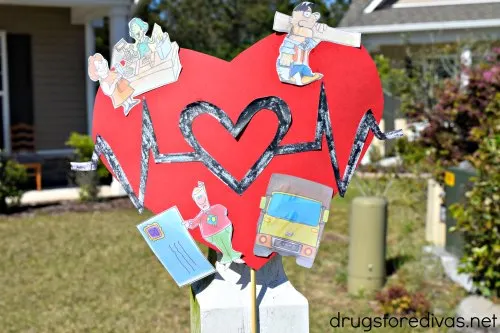
Take the final piece of red cardstock and cut a heart from it. Draw (or print) images of essential workers and hang it on the heart.
For me, I did a construction worker, a postal worker, a cashier, and a delivery truck. Then, I made a huge heartbeat with a heart in it to represent the healthcare professionals and I put that across the center. When those dry, use the packing tape to affix a skewer to the back.
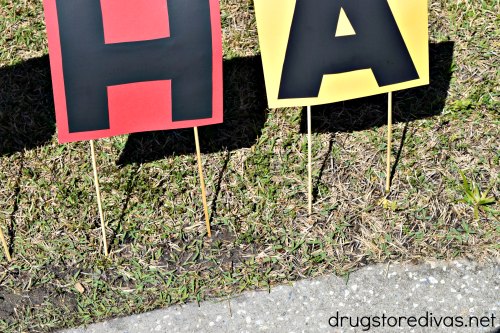

Use the skewers to stick the letters into the ground. With eight letters, this is 64-inches long — so over 5-feet across. That means the postal workers and delivery drivers can see it as they’re coming up our cul de sac.
And Pete too.
The first time Pete came home, he knew exactly who I was thanking. And when our neighbor saw me setting it up the first time, he asked me if it was to thank the essential workers. So the sign is working. I’m glad everyone “got it” right away.

Every day, I put up my DIY Thank You Sign when I wake up and take it down when it gets dark out. I thought about leaving it up permanently, but my mom reminded me that the morning dew would ruin them. And after all this work, I want to keep them forever.
Want more inspiration from the #BuildThanks campaign?
DIY Wreath from a Repurposed Pool Noodle – Blesser House