
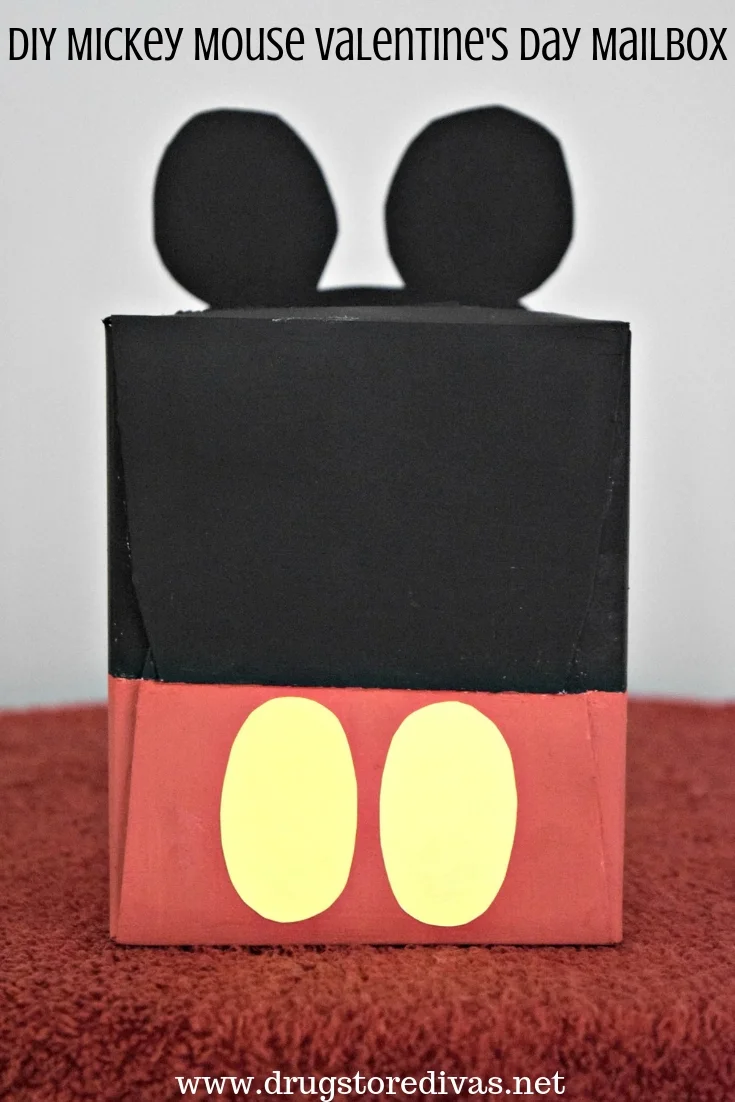
Valentine’s Day mailboxes don’t have to be complicated. This DIY Mickey Mouse Mailbox is an upcycled tissue box.
For more ways to make this the best holiday, check out all of our Valentine’s Day posts.

I remember being in third grade. We were handing out Valentine’s Day cards to our entire class. My boyfriend — who had been my boyfriend since second grade — gave me a card. But not just a card. He also gave me a small stick of perfume taped to it.
I’m sure we did class Valentine’s every year in elementary school, but this is the only year I remember so vividly.
If you have a child in elementary school, you probably have to make a Valentine’s Day Mailbox. You don’t have to stress over it. Trust me. I was stuffy and sick all last week, so I turned an empty tissue box into a DIY Mickey Mouse Valentine’s Day Mailbox.
It’s super cute, gets the job done, and didn’t require me to leave the house during the Polar Vortex to get any supplies.
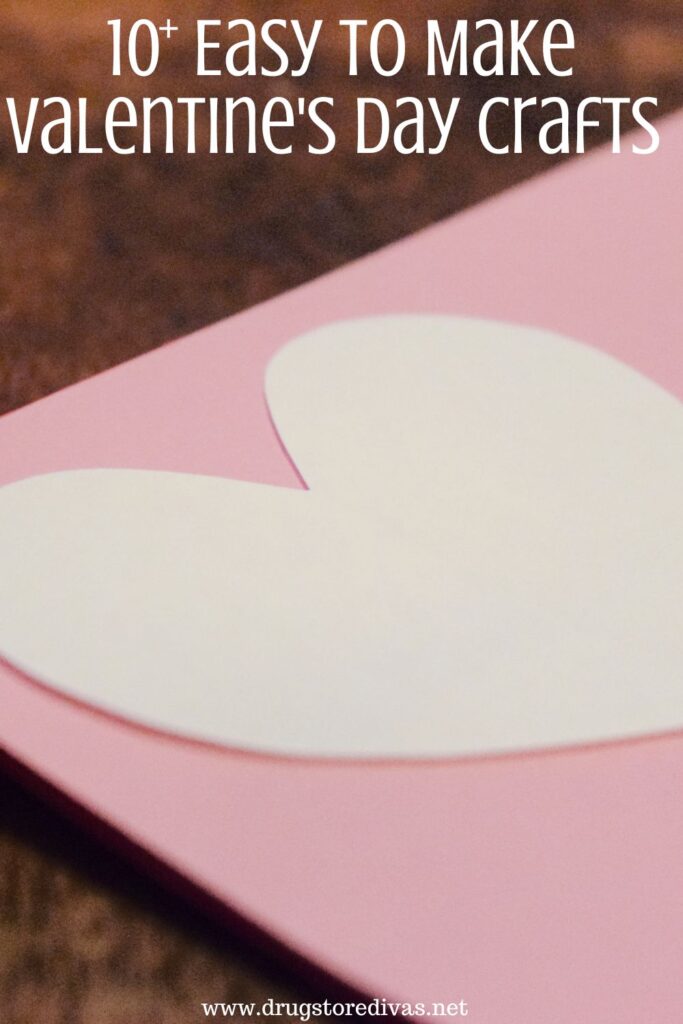
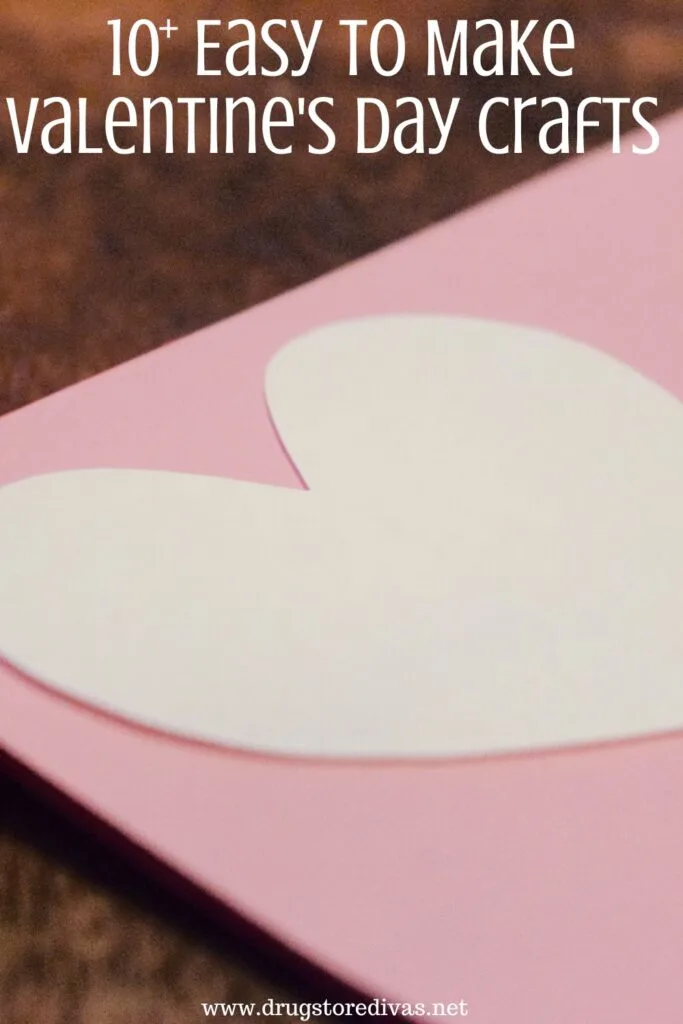
This isn’t the only craft for Valentine’s Day that we have on Drugstore Divas. For more, check out our post of Easy To Make Valentine’s Day Crafts.
DIY Mickey Mouse Valentine’s Day Mailbox
Affiliate links are included in this post and Drugstore Divas may make a small commission if you use them.
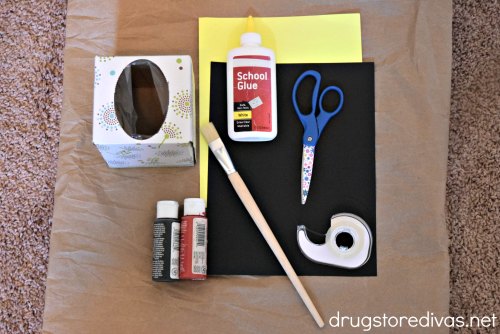

DIY Mickey Mouse Valentine’s Day Mailbox Supplies:
- Empty tissue box
- Tape
- Paint brush
- Red acrylic paint
- Black acrylic paint
- Scissors
- Yellow card stock
- Glue
- Black card stock
How To Make A Mickey Mouse Valentine’s Day Mailbox:
Empty the tissue box and pull out the plastic film from the inside.
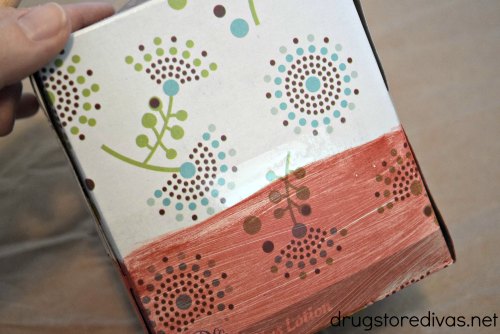

Tape around the center of the box. This will help you get a straight line when you paint.
Paint a layer of red paint below the paint.
Let it dry completely before painting another layer. You may need a few layers depending on how much of a design you had on your tissue box to begin with.
You want to paint multiple thin layers rather than one thick layer. Cardboard is really porous and will absorb a lot of paint if you paint a thick layer. And, since it’s cheap cardboard (since tissue boxes are, generally, thrown away after they’re used), it can curl and start to fall apart if it absorbs too much paint too quickly.
So thin layers will mean this holds up a lot better than thick paint. It may take a little longer because you have to wait for paint to dry, but it’s worth it.
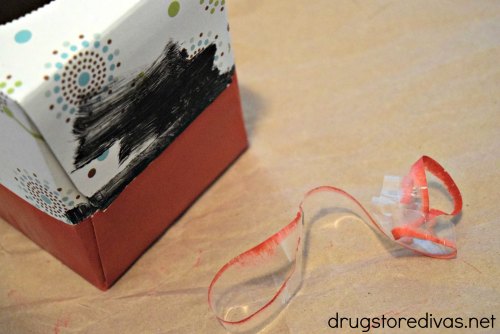

Carefully pull the tape off after the red paint has dried completely. Try to not tear the box (but it’s okay if you do).

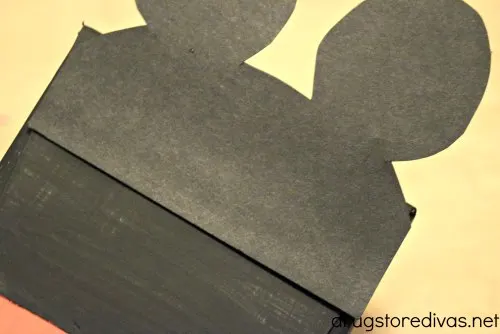
Paint the upper half of the box, including the very top, black.
Again, depending on how much of a design you have on your box to begin with, you may need to paint multiple layers.
Let it dry completely.

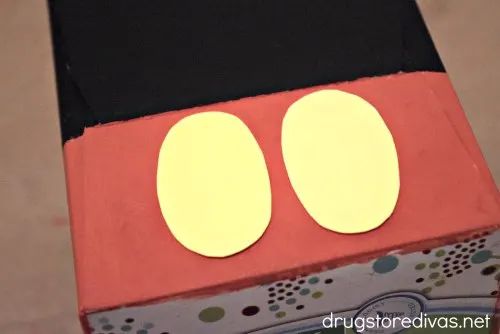
Cut two ovals from the yellow card stock and glue them down to the red paint on one side of the box.
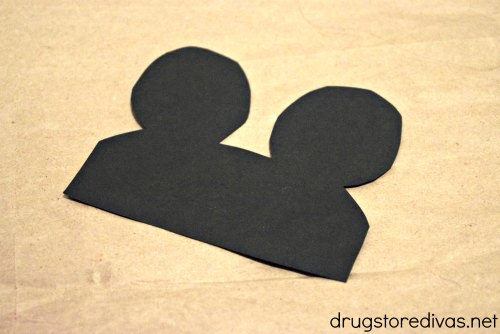

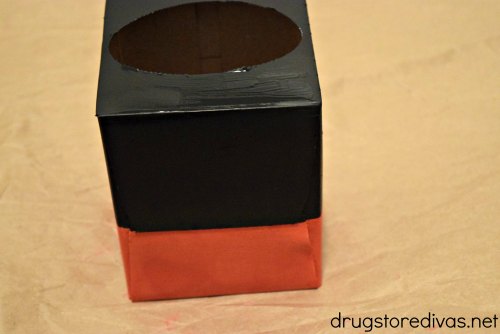
From the black card stock, cut a pair of Mickey Mouse ears.

Glue that down to the back of the box. Let it dry completely.
That’s it.
Well, that’s the simplest version.
If you wanted to go a little extra, you can add printable Mickey Mouse hands and printable Mickey Mouse shoes. Just click those links to be brought to free printable clip art templates for those (and for other Mickey Mouse parts, like printable Mickey Mouse ears, if you didn’t want to make your own ears).
You may end up needing to resize those based on the size the box you use as a base, so just keep that in mind before you print and waste your printer ink.
Of course, if you have time, you could just cut them out by hand from card stock instead of printing them.
DIY Mickey Mouse Valentine’s Day Mailbox: Frequently Asked Questions
We used a tissue box in this craft because we had an empty tissue box. So, we didn’t have to buy anything to be the box itself. That’s a really frugal upgrade.
If you don’t have a tissue box, or just want to make something a little more reusable, you can purchase a box online and use that.
A box with a lid is a little easier than, say, an Amazon box because of how it opens.
You can easily personalize this Mickey Mouse mailbox with your child’s name on it. You have a few options to do that.
You can look online for a printable Mickey Mouse font. There’s no official font on Microsoft Word. So you’ll need to download a third party font, upload it, and then use it. Print out your child’s name in that font, cut it out, then affix it onto the box.
Another option is to order a Disney Font Custom Name Decal Sticker and stick that onto the box.
And, if you really don’t care about the font, you can either paint your child’s name on the box or use alphabet stickers to spell out your child’s name.

Purchase Valentine’s Day Mailboxes Online:
If your kid needs a Valentine’s Day mailbox for classroom valentines, and you just don’t have the time to make one, you can purchase one online. You can’t purchase this one, but you can purchase one like the Valentines Day Cards for Kids and Pop Up Mailbox (pictured above) from the following stores:
Be sure to check a store’s minimum cart total to qualify for free shipping. Also, consider instore or curbside pickup to avoid shipping charges.


More Mickey Mouse Craft Ideas:
Believe it or not, this isn’t our only Disney-themed Valentine’s Day craft. For another, check out our DIY Mickey & Minnie LOVE Signs.
DIY Mickey Mouse Valentine's Day Mailbox
Valentine’s Day mailboxes don’t have to be complicated. This DIY Mickey Mouse Mailbox is an upcycled tissue box.
Materials
- Empty tissue box
- Tape
- Red acrylic paint
- Black acrylic paint
- Yellow card stock
- Glue
- Black card stock
Tools
- Paint brush
- Scissors
Instructions
- Empty the tissue box and pull out the plastic film from the inside.
- Tape around the center of the box. This will help you get a straight line when you paint.
- Paint a layer of red paint below the paint.
- Carefully pull the tape off after the red paint has dried completely.
- Paint the upper half of the box, including the very top, black. Let it dry completely.
- Cut two ovals from the yellow card stock and glue them down to the red paint on one side of the box.
- From the black card stock, cut a pair of Mickey Mouse ears.
- Glue that down to the back of the box. Let it dry completely.
Notes
You can add printable Mickey Mouse hands and shoes, if you want.
Did you make this DIY Mickey Mouse Valentine’s Day Mailbox? Let us know how it went in the comments.