
If you’re looking for a way to decorate Easter eggs that doesn’t involve dye, check out our DIY Washi Tape Easter Eggs tutorial. It’s super easy and the eggs will last for years.
For more help making this the best holiday, check out all of our Easter posts.
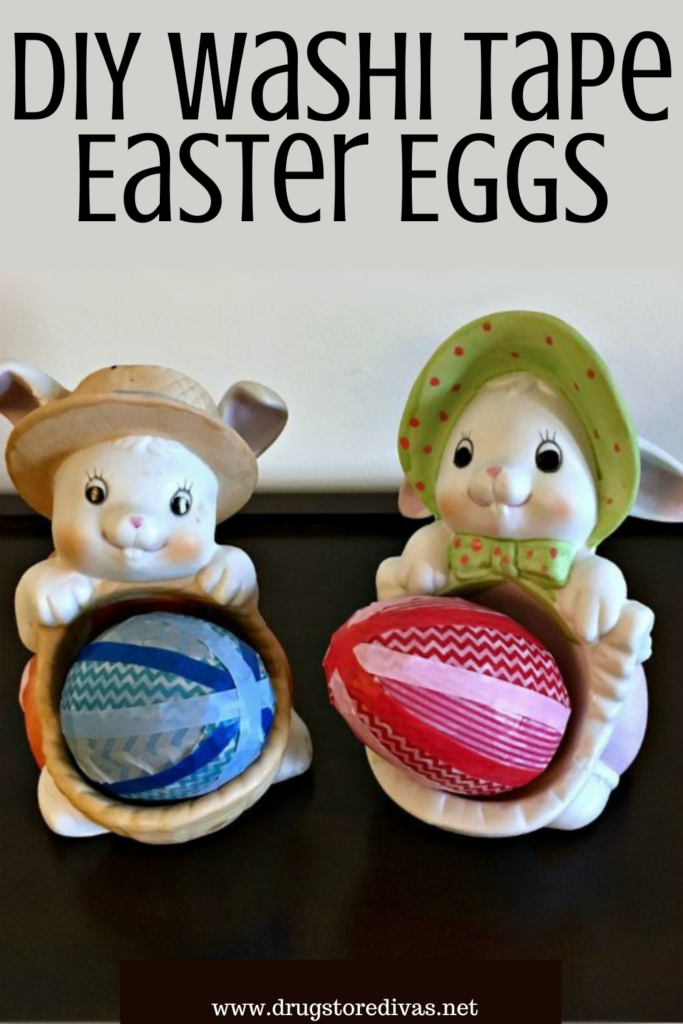
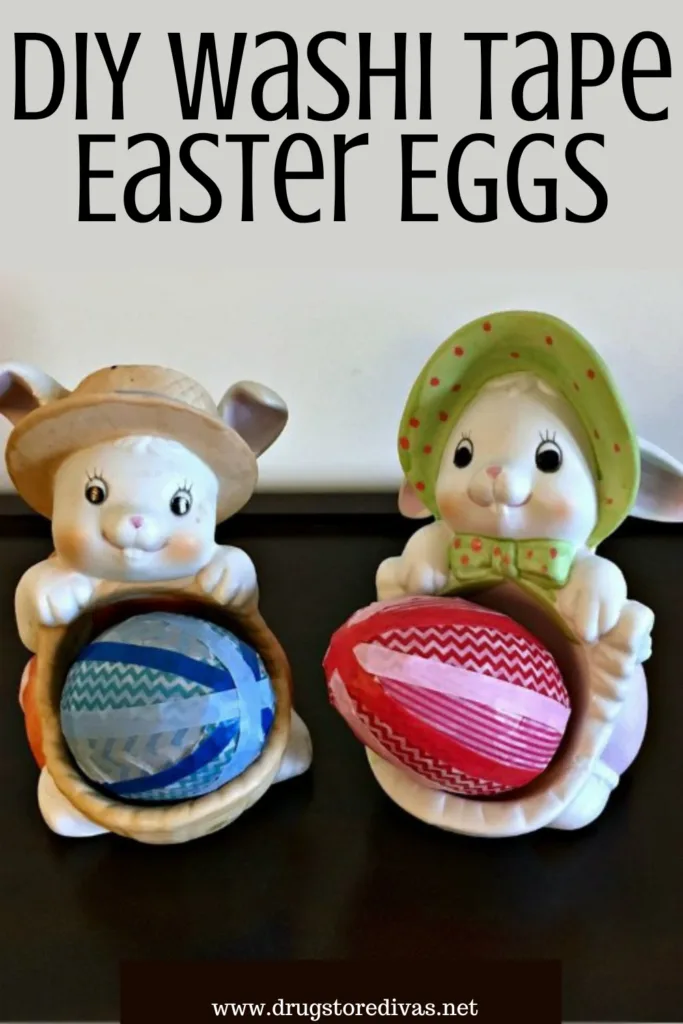
My mom loves washi tape. She has done so many cute projects with them since her love affair began. For Easter last year, she used washi tape to decorate plastic eggs.
They’re really cute — and easy and fun too. That’s the good thing about working with washi tape. It’s so forgiving. If you place it and you’re a little off, you can just pick it up and lay it down again. Or if you finish and want to change part of the pattern, you can do that easily too.
This is definitely a really fun activity — and a much cleaner way of decorating Easter eggs. You don’t have to worry about food coloring tablets, vinegar, spills … you know, all the fun parts about dying Easter eggs.

These Washi Tape Easter Eggs aren’t the only Easter-themed craft we have on Drugstore Divas. For more, check out all of our Easy Easter Craft Ideas.
DIY Washi Tape Easter Eggs
Affiliate links are included in this post and Drugstore Divas may make a small commission if you use them.

How To Make DIY Washi Tape Easter Eggs:
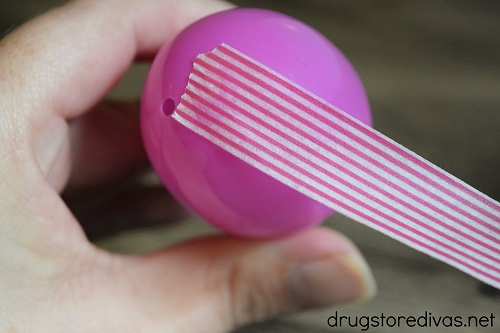

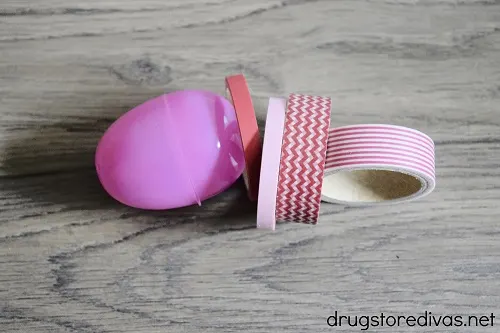
Cut a long strip of washi tape.
Affix it on to your egg, going from the top of the egg to the bottom of the egg.
If your piece of tape is a little too long, you could cut it or just let it start to go back up the other end of the egg. Either works.
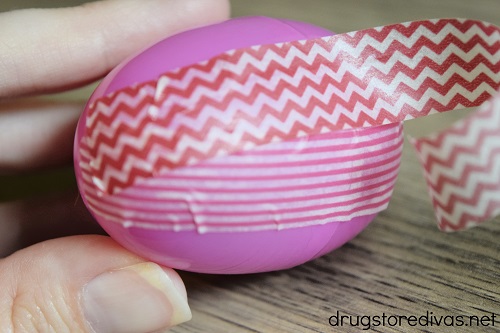

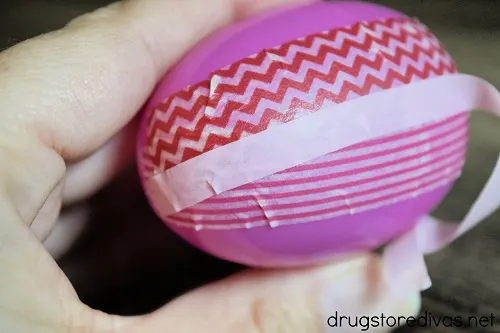
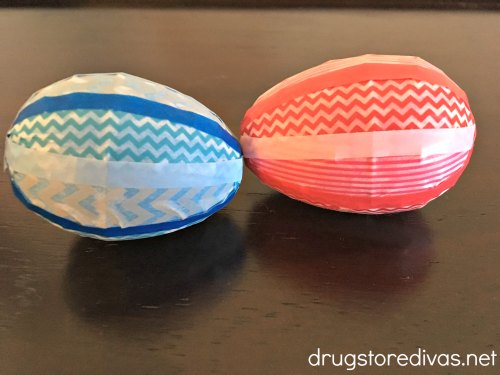
Cut another strip of washi tape and stick it next to the first piece. Continue around until you cover the entire egg.

If you’re really feeling creative, cut out small triangles or circles and use those to make fun patterns on the eggs instead. If you have mini craft punches, you can use those to cut out shapes as well.
That technique works a little bit better on white faux eggs for crafts rather than plastic eggs that you fill with treats for egg hunts because it’s kind of hard to cover the seam of the plastic eggs with washi tape.
Since these eggs will just be sitting on display, you can leave them as is. However, if you think your washi tape eggs will get handled at all, you might want to paint a thin layer of Mod Podge over the washi tape to assure that the tape sticks indefinitely.
Let the Mod Podge dry overnight before putting the eggs on display.

DIY Washi Tape Easter Eggs: Frequently Asked Questions
Washi tape is a decorative, Japanese masking tape. Washi tape is always beautifully decorated. You can get patterned tape, glitter tape, and more. A washi tape roll is similar to how origami paper is decorated, just in small, tape form rather than as a piece of paper.
It’s a lot easier to use than traditional masking tape because it’s easy to remove and reposition, unlike traditional masking tape that ends up losing some of its adhesiveness.
Washi tape is really popular now, so you can find it in the dollar store, the craft supplies section of big box stores, or even online.
Washi tape is used as a decorative tape. It’s really good at sticking to most surfaces, like glass, plastic, tile, etc. What it’s not really good at, though is sticking to itself.
You can’t really loop washi tape and use it to stick two pieces of paper together that way. It’s just not that sort of sticky. In that instance, you want to use Scotch tape.
If you don’t have plastic eggs, you can use real eggs (either raw or hard boiled eggs) in this. I would just be careful about using raw eggs because you don’t want to press down too hard and crush the egg in your hand.
What’s great if you use hard boiled eggs is that this is a dye-free way to decorate Easter eggs. So, when you want to eat these, you don’t have to worry about eating food dyes (which some people are concerned about). Just crack the shell on these and eat away.
Although, if you’re not concerned about food dye, you actually could dye eggs, let them dry, and then add washi tape on top of the dyed egg to give them a little extra pizzazz.
If you want to use real eggs and keep these for a long time, you’ll want to use blown out eggs. If you do that, you’ll just want to make sure the eggs are completely dried out before you start crafting with them. You’re going to cover the holes that you use to blow out the eggs, so you want to make sure there’s nothing wet inside that can start to smell after a while.
I get it. Eggs are really expensive right now. And maybe you have young kids you want to craft with, but you just don’t want to buy plastic eggs for this.
What you can do is download a printable Easter egg templates. Cut out those paper eggs. Decorate them with colorful washi tape. Then, flip the egg shape over and trim away any excess washi tape. That’s it.

More Easter Décor Ideas:
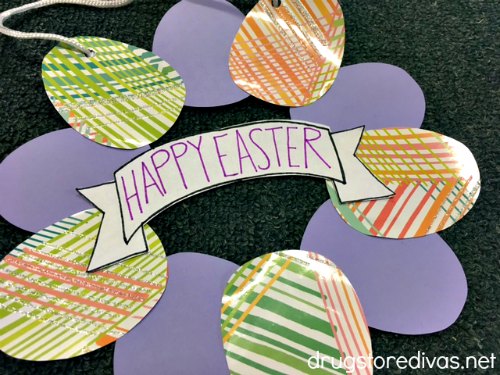
This isn’t the only Easter decoration tutorial on Drugstore Divas. For more Easter crafts you can make at home, check out our DIY Easter Egg Wreath for your front door, our DIY Scrap Wood Easter Bunny, or our DIY Scrap Wood Chicken.
DIY Washi Tape Easter Eggs


If you’re looking for a way to decorate Easter eggs that doesn’t involve dye, check out our DIY Washi Tape Easter Eggs tutorial. It’s super easy and the eggs will last for years.
Materials
- Plastic Easter eggs
- Washi tape
Tools
- Scissors
Instructions
- Cut a long strip of washi tape.
- Affix it on to your egg, going from the top of the egg to the bottom of the egg.
- Cut another strip of washi tape and stick it next to the first piece. Continue around until you cover the entire egg.
Notes
If you’re really feeling creative, cut out small triangles or circles and use those to make fun patterns on the eggs instead.
Have you made these DIY Washi Tape Easter Eggs? Let us know how it went in the comments.
Celeste | The Whole Serving
Monday 10th of April 2017
I have loads of Washi tape, this looks like a great way to put it to use.
Sue from Sizzling Towards 60 & Beyond
Monday 10th of April 2017
Cute!
Carol ("Mimi")
Saturday 8th of April 2017
Who knew you could create such pretty Easter eggs with washi tape? These are adorable.
Sandra Garth
Friday 7th of April 2017
I bought a couple rolls of washi tape a few years back and never used it. These eggs are so cute and hopefully I can my tape. Thank you for sharing with us this week at Celebrate Your Story, have a great weekend.
Teri @ The Freshman Cook
Friday 7th of April 2017
These are adorable and very festive. I have some washi tape, and I can't wait to give this a try!